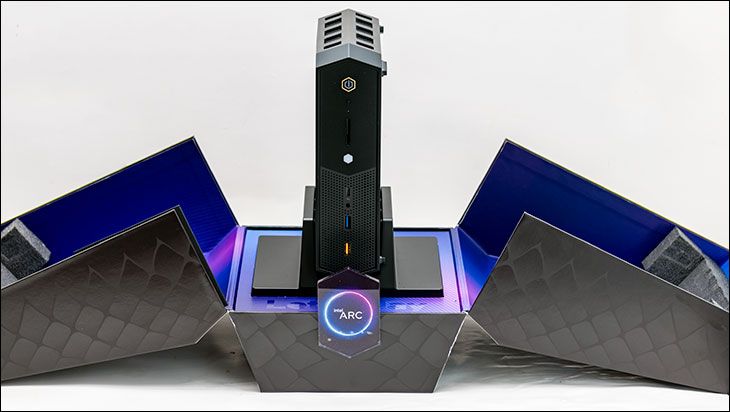
If you do not buy the fully kitted version, or want the blue glow to show a logo and not just a blue square, the first thing you will want to do when you unpack your shiny new NUC 12 Enthusiast is remove the top lid. To do this gently unscrew all the bolts holding the plastic lid in place. Be careful and take your time. Do not panic if they do not come out. Panic if they do… as they are captured bolts. If captured bolts actually do come all the way off… you are going to have to go looking for the itty-bitty retaining washer that fell somewhere inside the case. That is never fun. So just unscrew them until you no longer feel any resistance. Then stop.
With that done, and by removing the top, we come to our first change between the last gen NUC Enthusiast and this new snake. All though you cannot see it until you remove more captive bolts, the included metal ‘topper’ has been dramatically improved over its predecessor. In the past this was basically a hunk of alloy that had the LED light diffuser mounted on one side of it and the heat pads for the M.2 slots on the other. It worked and was compact, but suboptimal from a M.2 passive cooling point of view.
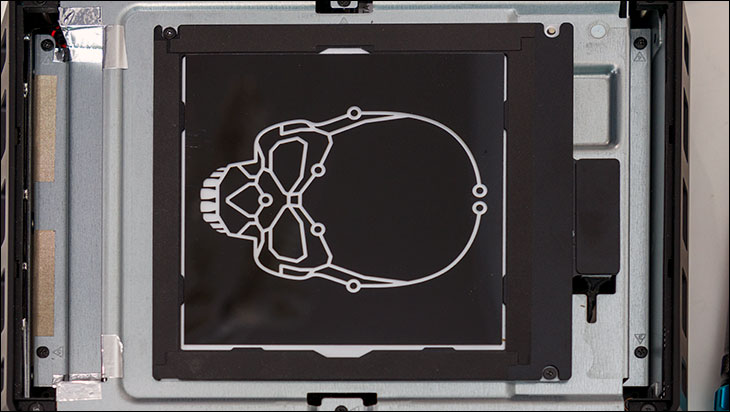
With this new generation the M.2s get their own dedicated, albeit smaller, heatsink. Yes, this heatsink is tied directly to the larger one (that still has the LED diffuser mounted directly to it) but this air gap between the two allows for greatly increased passive cooling / air flow convection to happen… and neatly explains where a lot of the increased z-height comes from.
This new design makes perfect sense as there are not only three (versus two) M.2 ports for upgradability, but two of three are PCIE 4.0 compatible (the third is still 3.0×4 like previous generation). As we all know PCIe 4.0×4 M.2s run hot and heatsinks are “strongly suggested” by all the NVMe SSD controller manufacturers. Sadly, while this is an excellent upgrade from previous generation, the M.2s are still passively cooled. A small tertiary cooling fan for this side of the PCB would have further enhanced the NUC 12 Enthusiast’s capabilities… and it is not like there is no room for a blower fan to be mounted next to the M.2 heatsink.
Furthermore, there may be room but there is no way to mount even a ‘slim’ 2.5 SDD in all this wasted space. This is a shame as there may be three M.2 ports and one of them is capable of using SATA M.2 form-factor drives, but high-capacity M.2s are expensive. Finding high capacity M.2s that are only 80mm long is both expensive and tough. Yes. Unlike the last generation, and in order to include three M.2 drives, Intel has dropped M2 110mm support. 110mm (aka M.2 22110) drives are the cheapest way to get 4TB of capacity, and yet for this generation of enthusiast NUC series M2 22110’s need not apply.
This oversight combined with the lack of a SATA 2.5-inch SSD is disappointing. Disapointing enough that before the next generation is released Intel thinks corrects these issues and includes 7.5/9/15mm z-height 2.5-inch hard drive bracket and giving us back a 22110 compatible M.2 port. The minor increase in overall footprint of the NUC Enthusiast would be worth it.
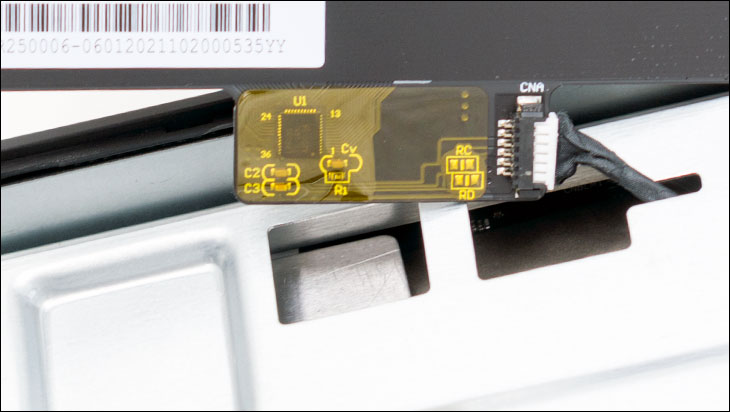
Moving on. We feel compelled to point out that before you try and remove this lid (to say… install your RAM or a SSD) you will need to be careful. The LED diffuser needs to be unplugged first. If you do not unplug it… the short cable is going damage the header on the motherboard, the diffuser, or possibly even both. The easiest way to accomplish this is to remove the diffuser’s screws, gently flip it over, unplug the cable… and then stick the cable through the included hole in the metal heatsink. Then and only then should you try and lift the metal heatsink up and then out of the NUC 12 Enthusiast.

As you can see Intel has pre-applied three decent M.2 2280 sized heat pads for you. Just be warned that over time these pads, just like all heat pads, are going to get a wee bit crumbly and may have to be replaced. We typically replace them at the same time we replace a M.2 drive. Using our Mit’ mic’ we got an average thickness of 1.16mm. Which is an oddball size to say the least. When in doubt go up to 1.2-1.25mm thick pads. Nice and ‘squishy’ 1.2-1.25 heat pads. They will be fine with this setup and will ensure that the M.2 drive is properly ‘connected’ (from a heat transfer perspective) to this heat sink.

Moving on. Zooming in on the itty-bitty WiFi card we can see that it has been nicely upgrade from its processor. The last generation used a 2×2 Intel “Killer” AX201 card. A card that was Wifi 6 (but not Wifi 6 Enhanced) compliant and offered BlueTooth 5.0 compatibility. For its day… it was decent. Not great. Not bad enough to yank and replace. But decent. For this generation Intel has opted for the newer, and better, Intel “Killer” AX1690. A WiFi card that is 6E aware and BT 5.3 certified… and is more than decent but actually good.

Sadly, this 2230 M.2 card still is only 2×2 (and Wifi 6E really is best with 4×4 configurations). Furthermore, the antenna array is housed along one side of the unit. Thus, making installing the NUC 12 Enthusiast in the proper upright position all the more important. To be fair, it also matters which side of the NUC 12 Enthusiast is pointing towards your router when laid flat on a desk… as even something as minor as that can (and will) impact overall WiFi (and BlueTooth) reception.
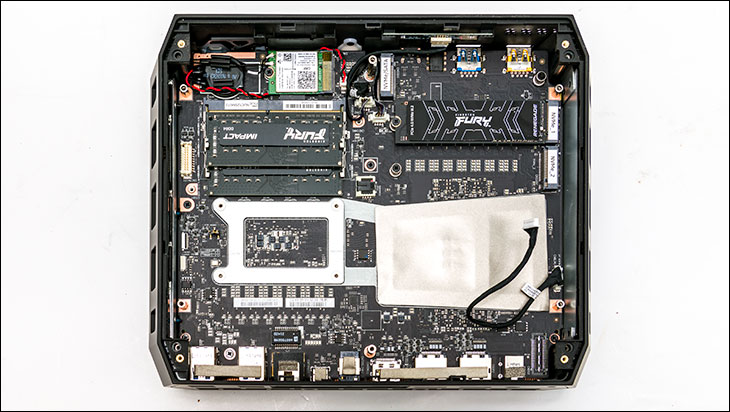
As expected, the NUC 12 Enthusiast makes use of two “laptop” DIMMS. To be specific these are DDR4 DIMMS. So, even if you do go for 2x32GB DDR4-3200 kits, upgrading the ram is both cheap and easy. Just be aware that ‘overclocking’ and ‘NUC’ do not belong in the same sentence. So do not waste your money on anything faster than DDR4-3200.
If for whatever reason you feel the need to access the back of the motherboard (most likely scenario being replacing a blower fan) do not. We repeat. Do. Not. Remove the motherboard yet. It’s actually a bit more of a tricky and time-consuming process than simply removing a bunch of screws / bolts and going full ham on it.
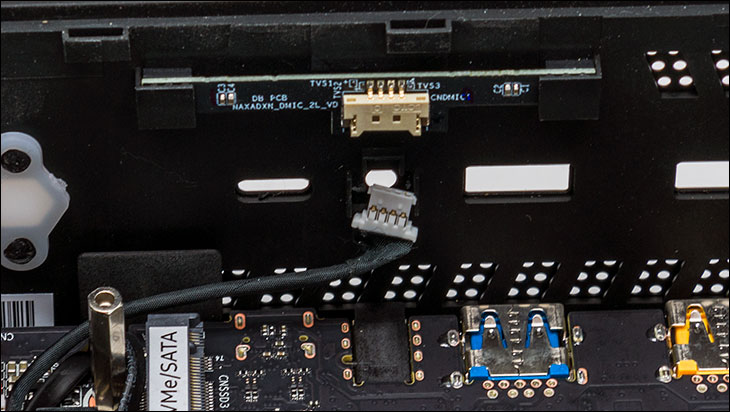
Instead, the first thing you will want to do is either unplug the small front I/O daughter card or simply slipping it up and out of its plastic retaining slots.
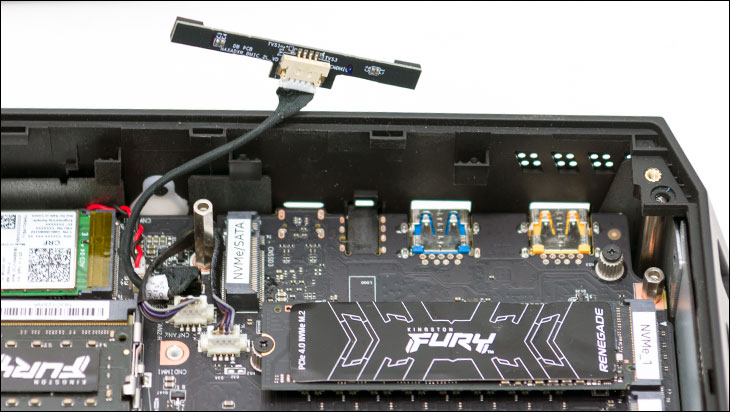
We recommend the latter not the former. That way it still is attached to the motherboard(ish… via a cable) and thus is less likely to get lost. Plus, it is one less finicky cable to plug back in later.
Next tilt the unit up and start unscrewing the bolts that hold the side fascia in place. The side fascia is one big unit with bolts holding it in place on both the front and back of the unit.
Before continuing, we need to go off on a slight tangent. Please bear with us. It’s for a good cause… a just cause (we can… and should). If you take a close look at the above photo you will notice something disturbing. Specifically, the use of M1.6mm bolts. When we saw that Intel has continued to use M1.6mm bolts are first words were a variation on “Oh for {Fix Auto}’s sake! Why Intel? Why!?”. Excluding expensive class types (e.g. class 12.9’ers) M1.6 bolts typically have a max torque load of about 1 to 2 pound inches (i.e. 1 to 2 pound(s) of pressure applied 1 inch of distance from the pivot point using the VDI 2230 90% yield point w/ 0.12 friction coefficient standard). In other words, they will catastrophically fail when above 2.2 pound inches (or less) of torque is applied to them. To put that in perspective 2.2 pound inches is a good sneeze’s worth of pressure and 1.1 is a mild yawn. Yes, they are “finicky”. Yes, they are “delicate”. Yes, they are downright fragile. We have lost track of the number of times we have seen expensive mechanical torque drivers on an assembly line go out of spec enough to fracture and even snap them. So yes, we cringe when we see M1.6 bolts used.

Worse still… these are (most likely) chinesium M1.6 bolts that were manufactured to the ‘cheapest and fastest’ standard rather than actual ISO standards. As that is what ‘standard’ most bolts are made to these days. As such, we would be highly recalcitrant towards applying even 1.11 pound inch of pressure to them (aka what Class 6.8 M1.6mm bolts are rated for… akka our minimum standard class for M1.6mm bolts). Instead, we would treat them more like low class 5.6 or 5.8’ers and keep it to half a pound inch of torque. This matters not just because it greatly annoys us but because the included Allen key is dangerous to the M1.6 bolts if you use it improperly. Most people will use it improperly.
To be precise the short end of the included Allen key offers a ~0.6 inch pivot length (and further reinforces our opinion that these are lowly class 5 bolts… as 1 pound at .6 of inch is right in the ball park for them and their 0.669 pound inch max torque rating). The long will apply a ~3-inch pivot length (and snap even Class 12.9 M.16 bolts when a mere 1 pound of force applied). In other words, you can safely apply 5 times the force on the short versus long. Even knowing this, 9 times out 10 people will still use the long length and have the short inserted into the bolt head. Don’t do this. Your fingers are not sensitive enough to not risk damaging the bolt.
The other, ‘smart’, person will use the short length as a pivot point with the long end inserted into the bolt head. Don’t do this either. If you have to use it (you shouldn’t… but if you must use it) don’t use either end. Place the long end in the socket head (so it is ‘tall’) and spin the Allen key via the shaft itself using a single finger and your thumb. Not from the tip and using your whole ham hand. Apply gentle force until you hit resistance. Then STOP, or you will feel/hear a “crunch”… and the head will fall off. Don’t be “that guy”. No one likes that guy. Except us. We constantly are called in to drill out and tap his mistakes. Over the years have made bank off that guy. So, we take it back. Be that guy and help support your local businesses.
This is a pet peeve of ours as Intel has been using these fragile M1.6 bolts on their Enthusiast NUCs since… well… as long as we have handled Enthusiast model NUCs. When it comes to external fasteners, those tiny M1.6mm bolts are supposed to be the bolt of last resort for engineers (unless you work at apple who pretty much consider M1.6 ‘overkill’). A bolt they should only use when there are no other better options. Options that would have been perfectly fine if used here. For example, just by going up to M2.0mm bolts the wiggle room people (and the factory torque wrenches) would have before they snap the bolts would be doubled. M2.5 would bring that up to over 4 times. We know Intel knows about the downsides to M1.6 bolts and why they are not necessary here, yet they continue to use them simply for aesthetic reasons. Even if that comes at the expense of their buyers. Yes. This is a classic case of Applie-itis. Where function follows form
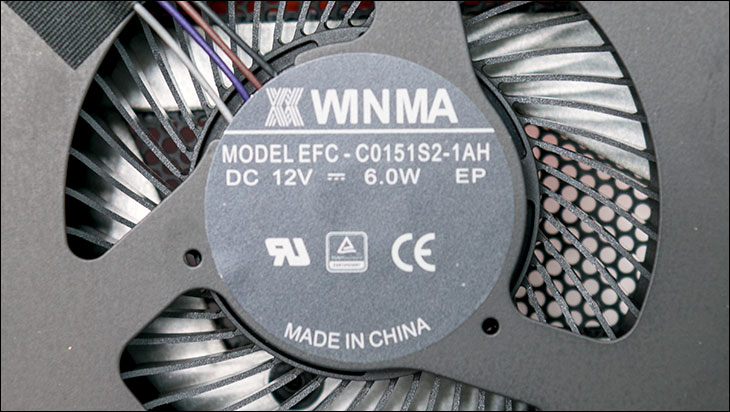
Furthermore, hex heads are a bad, bad idea compared to Philips heads when talking about external M1.6 bolts. Philips #000’s will (usually) ‘cam out’ before they snap the M1.6mm bolt… as John P. Thompson (most likely… probably… maybe) designed “Philips” heads to do that. Hex heads will not. They grab and will damage the head’s socket long before torquing out. LaCie knows this. Seagate know it. AMD know this. NVIDIA know it. Intel also know it. But, once again, they are being used for aesthetics with no regards given to end-user maintenance. Maintenance that will be necessary at some point as blower fans do die. Even the best eventually die. No comment on using ‘best’ and ‘WINMA’ blower fans in the same sentence.
Once you have carefully removed the bolts you can slide this side covering up and off. Be careful as it probably will want to ‘stick’ on the WiFi antenna ‘card’. So go slow and be patient.
