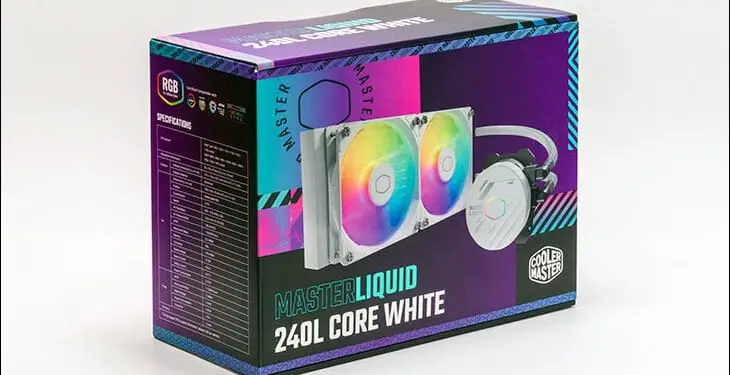
If you have installed an All In One / Closed Loop Cooling solution in the past decade (or more) you probably already know what to expect when it comes time to install your shiny new L Core model. This goes double if you have recently installed a Cooler Master AIO – especially their PL Flux series. Either way, all Cooler Master AIOs follow a very similar installation path with a few quirks that are more in the category of tradeoffs that their design team have to make in order to offer as easy an installation as possible to as many people as possible.

The most obvious quirk is the fact that the unit does not come with TIM pre-installed, nor the top mounting brackets preinstalled for you. While some will consider both to be annoyances, this is a Good Thing™. Intel and AMD are both making some excellent CPUs these days… so showing preference for one over the other would annoy half of the potential buyers of the L Core series. The same is true of the Thermal Interface Material still being in the tube and not pre-applied to the base of the ‘block. There are major differences in size between LGA 115x (35x35mm), LGA 1700 (45×35), and AM5 (40x40mm). As such anything pre-applied would have to either cater to the lowest common denominator (and be suboptimal for everything else) or have TIM smear all over the motherboards CPU securing bracket (also suboptimal).
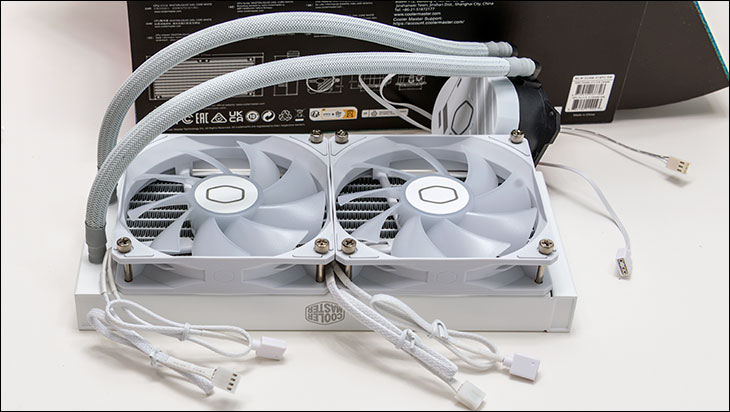
Also, yes. Cooler Master ‘could’… probably… should pre-mount the fans for their buyers but this would A) increase production time and costs, increase the cost of the (necessarily bigger) shipping container… and still annoy many system builders who want a particular configuration to the fans. As such it is a no-win scenario for Cooler Master, and we must (begrudgingly) accept this quirk as being acceptable.
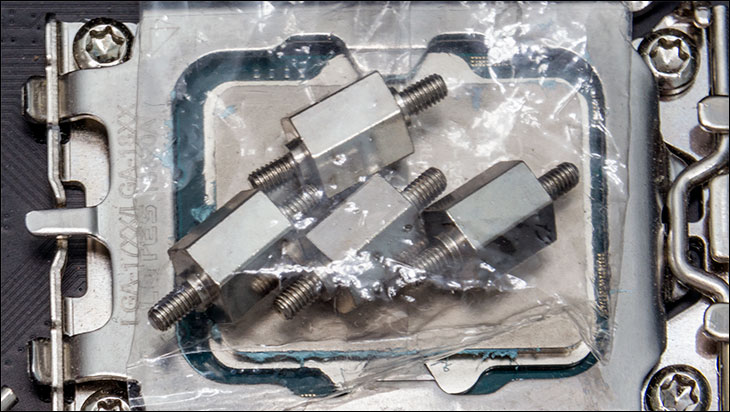
Moving on. When it comes to installing a new AIO on a new build we like to being with the waterblock and get it partially prepped for installation. In the 240L Core’s case that means grabbing the properly labeled baggie for a given socket type. In this case, Intel. This actually deserves mention. We love the fact that Cooler Master took the time to separate the mounting hardware by socket type and then label them. Yes, many others do this as well. But every time a manufacture goes out of there way to make their customer’s lives a little bit easier… we are going to mention it as this is a Core Value done right.
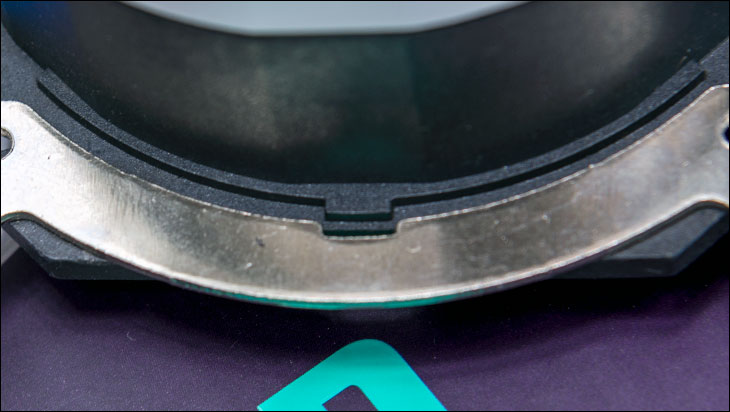
This brings us to the largest difference between the value-orientated L Core series and Cooler Master’s more premium PL Flux series. With the PL Flux the proper brackets are keyed so as to be darn near impossible to install incorrectly. With the L Core series these more expensive keyways are MIA. Instead, there is simply a little notch molded in the block’s plastic, and a cutout stamped into the brackets.
So if you install them and they look like this:
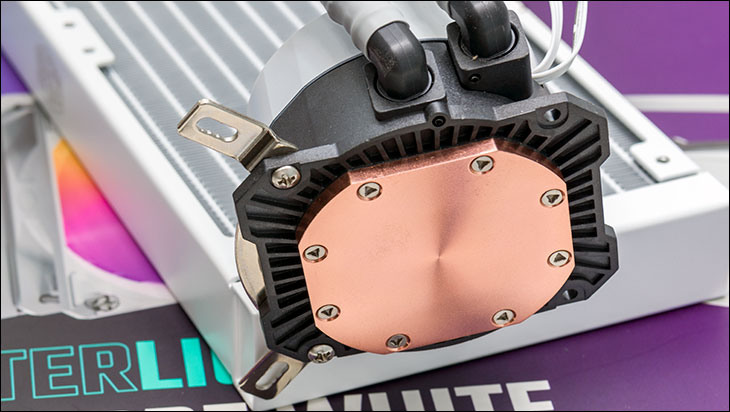
You. Are. Doing. It. Wrong.
They should look like this:

As such make sure they are right side up, align the tab and slot… and secure them in place with the proper small screws. One must screw upwards from underneath the block. Not downwards. Rinse and repeat for the other and you can then leave the block alone (for now).

The next step is to prep your motherboard. Depending on your socket type this will either involved picking the right backplate (Intel 11xx vs 1700) or using the stock backplate (AMD). Since we are using an Intel LGA1700 based motherboard this cooler requires choosing the proper Intel backplate to install.

It is actually fairly easy to pick the right one… as the 1700 is labeled 1700. If you are not the ‘read the instructions first’ type builder, the rectangular’ish / small ‘i’ looking backplate is for LGA 11xx, and the one that looks like a fancy capital ‘I’ (or something else if you are so inclined) is for 1700 motherboards. Either way its pretty easy to tell them apart… as these are the same backplates that ship with the PL Flux series.
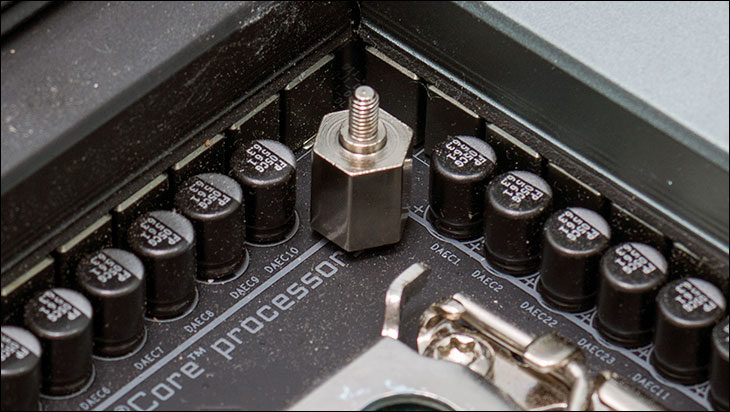
Put it in place, grab the properly labeled bag of double ended bolts… and secure this polymer backplate in place. With that accomplished we would then recommend turning your attention to the fans and installing them. The only exception to this is if you are planning on using four in a push/pull configuration. If that is the case, only install the ‘bottom’ 2 fans and leave the others (you have separately sourced) for when you mount the radiator into you PC case of choice.
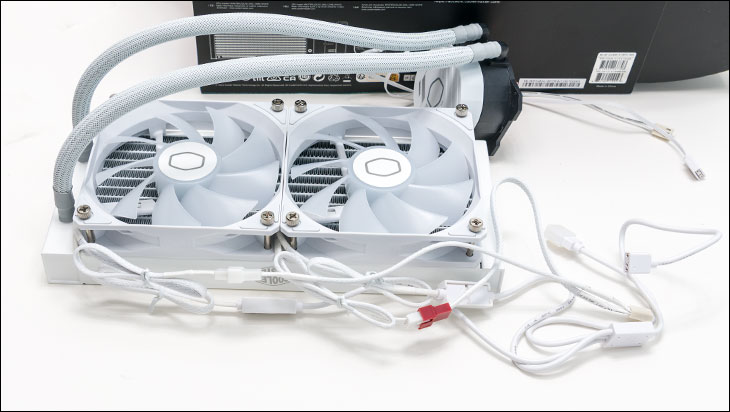
The only recommendation we can make when it comes to the fans is that you need to make sure all cables (2 per fan) are pointed in the right direction. With the ‘right direction’ being towards the back of your case when the rad is installed. We say this as you are going to have a bit of a rat’s nest to hide on the other side of the case. It is what it is… and the exact same issue to be expected from any RGB enabled AIO.
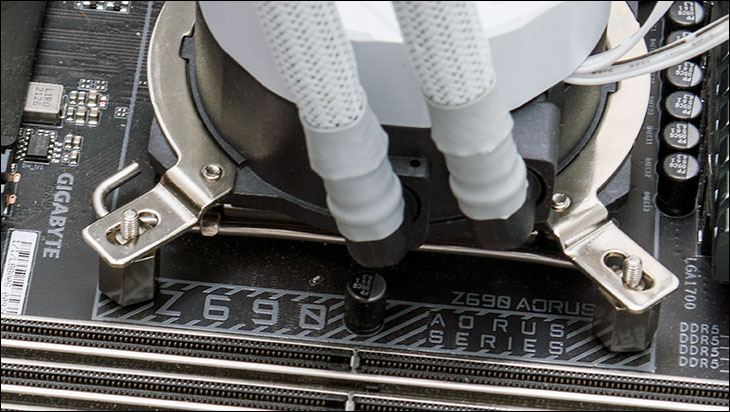
With that done it is time to mount the waterblock. Thanks to some real forethought on Cooler Master’s part, you can mount this block in any direction you so choose… as long as you are using a LGA 1xxx system.
If not, you will only have two options.
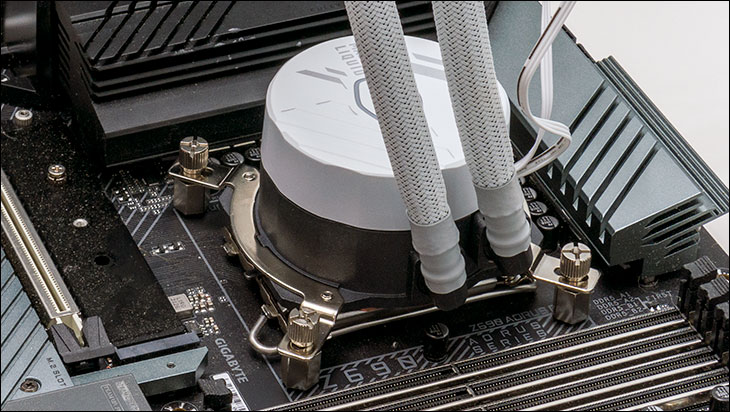
But we have four and it is a nice bonus for Intel owners. We say that as the inlet/outlet ports may be a wee too big in the footprint department and may hit your motherboard’s VRM heatsinks in certain directions. Even on small heatsinks it is tight. Once again this is a common issue with darn near all modern AIOs and it is nothing specific to the L Core series.
The same is true of your RAM, but with (up to) four options to choose from it is not a hardship to get at least one>/i> direction to ‘work’.
All that is left is to install the cables… and start to enjoy your successfully installed 240L Core AIO.
Overall, we think that Cooler Master has done an above average job compared to most value-oriented AIOs. Albeit with an added quirk or two that may trip up first time / inexperienced system builders. However, if one takes their time to read the instructions this is not a arduous task by any stretch of the imagination.
