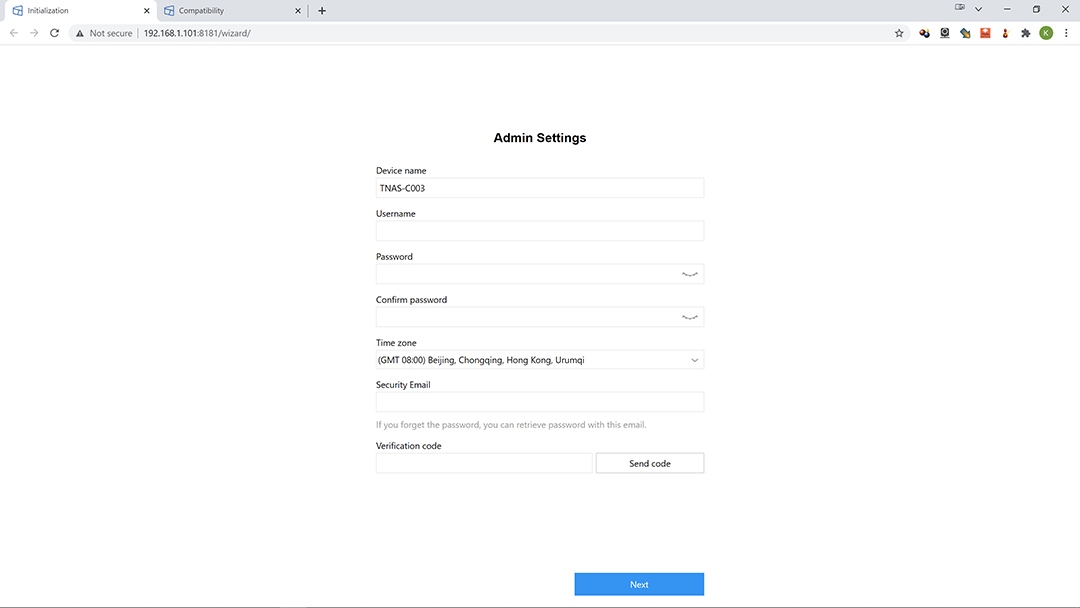
When ready your next step is to give the system a unique name, a unique administrator name and a secure password. Please do not use some variant of ‘admin’ and easy to guess password. Instead, pick a name that is easy to remember and for the password ombine three words into one, with the occasional number. For example, we have used things such TerraMast3RG0TGuD or H&K_B3caus3_U_Suck_And_W3_Hat3_U. This will help make your system more secure.
This typically is about when you are done with an installation wizard and have to access the actual GUI for the NAS. The TerraMaster way does not force you do that. In fact… once you are finished the wizard you basically never have to enter the GUI. Ever. Seriously.
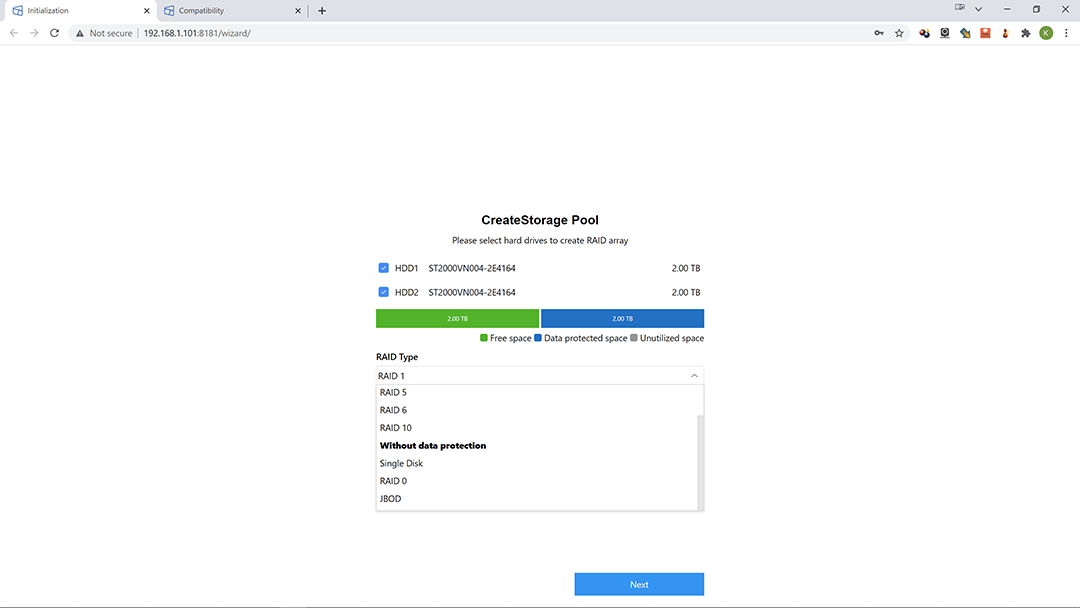
So instead, on the next screen you are greeted with configuring the storage pool. Where this is a dual bay unit you only have four options: single disk, Raid 0, Raid 1, and JBOD. Just a bunch of disks (JBOD) will create two separate ‘NAS drives’ (aka Z and Y drive in your OS’ file manager). Its good for… well… not much. The only time you should use this is you only have on drive installed and plan on adding redundancy later (aka migrating from JBOD to RAID 1 when you have the money for a second HDD) and even then, if you only have one drive installed you should pick ‘single disk’ instead. RAID 0. We would also ignore as you are combining both drives into one big virtual drive. One would do this for speed but this is not a speed demon NAS. It is underpowered in processing power, drive capacity, and network interface – i.e. RAID 0 is only good for combining a bunch (more than 2!) into one large network drive on 10GbE connections and using it for temporary storage.
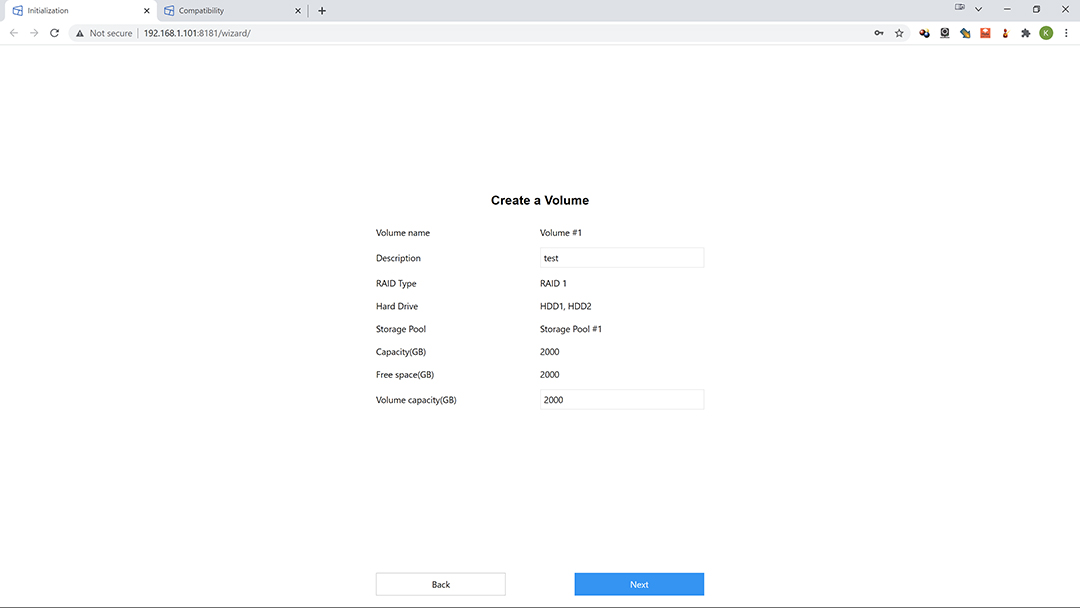
So pick Raid 1. This is mirroring. You only get the capacity of one drive (the smallest if you are using different capacity drives) but if one drive dies the other has a complete copy… as every time you add or delete from your ‘Z drive’ the changes are mirrored/copied to the other HDD. So pick Raid 1 in the drop down box and hit ‘next’. Then give it a name and tell it the volume capacity.
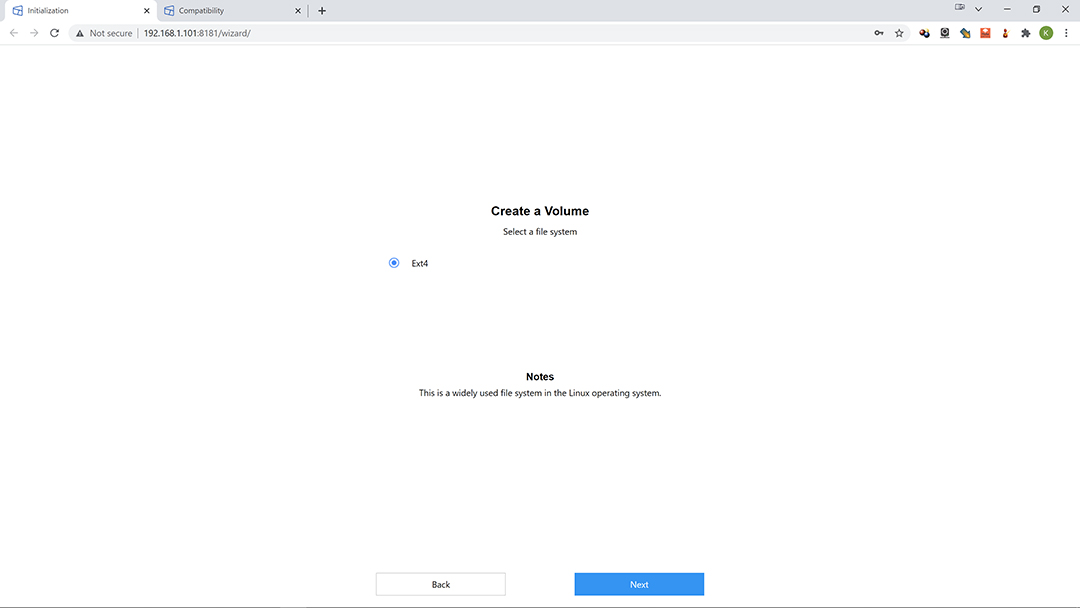
The next page is puzzling as there is only one option – Ext4 file system. Obviously, TerraMaster is at some point going to introduce Btrfs… or were going to introduce and changed their minds. In either case you have nothing to do but hit ‘next’.
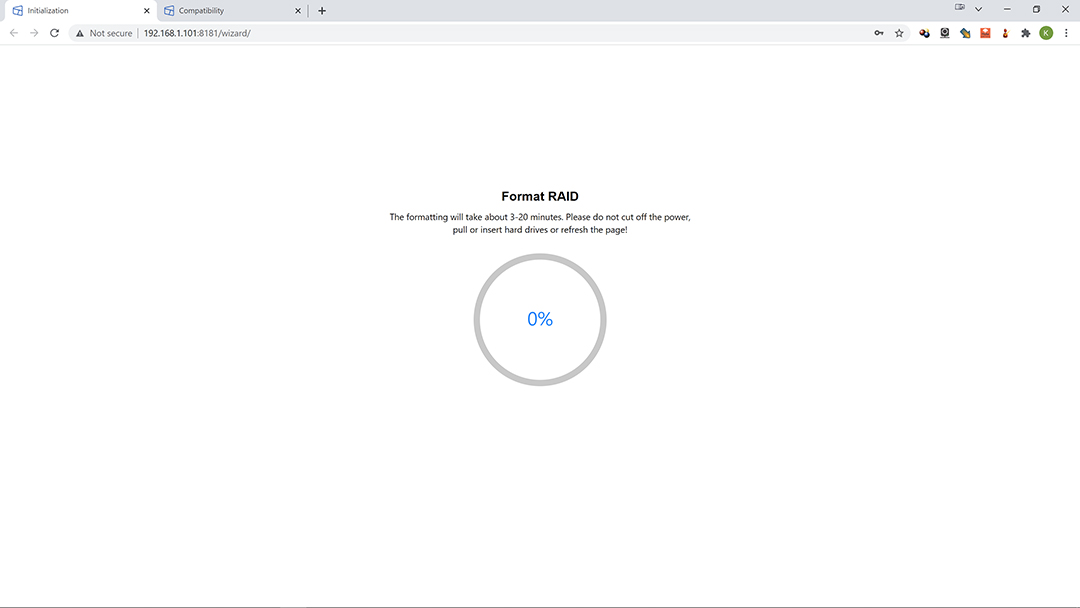
Then go grab another adult beverage as you will be waiting on the formatting process.
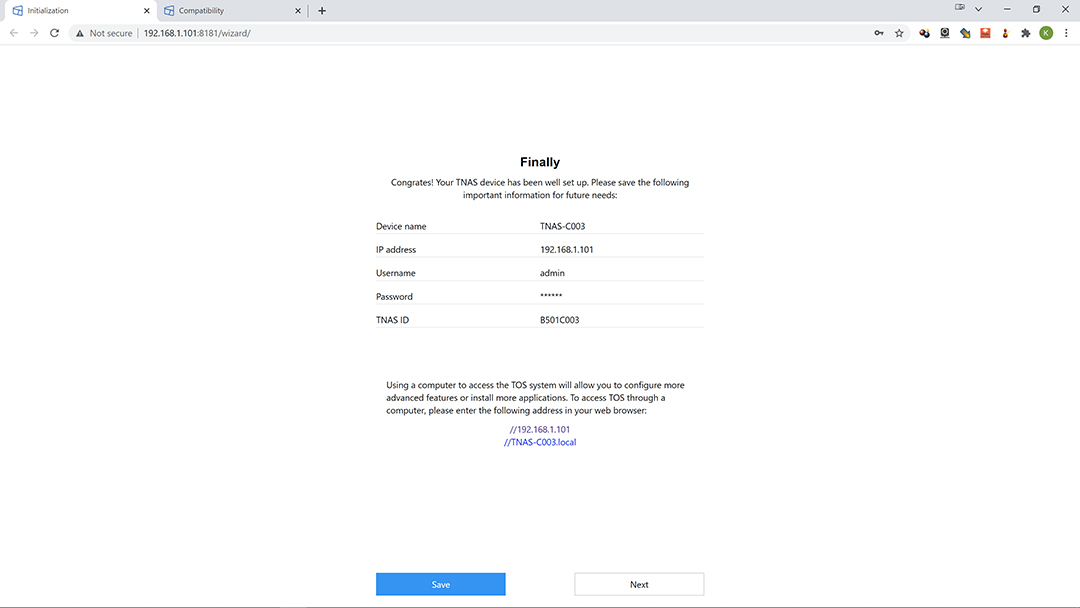
When you get back you are done (finally). All that is left is to save that data page or hit ‘next’ to finish the wizard… and you are truly done. Not listed but done in the background for you is the creation of a ‘public’ folder. This folder is the main folder that users over your home network can access. Put another way, TerraMaster automagically does all the hard work for you including setting up a shared ‘z drive’ folder with full r/w permissions for the account you just created in the wizard. Thus, the average jane/joe sixpack owner of a F2-210 never needs enter the full blow GUI for TOS (TerraMaster OS).

Instead, all they need do is go back to that shiny app they previously downloaded from TerraMaster, run it, click on the found F2-210 and hit ‘map network drive’. Bam. You are done and can start enjoying your first ever NAS.
