Let us be clear. If you have installed an All In One / Closed Loop Cooling solution in the past decade (or more) you probably already know what to expect when it comes time to install this new ML Atmos series. After all, Cooler Master (like all premium AIO manufactures) have spent a lot of time, money, and effort on perfecting their installation process. Where one generation simply refines their previous gen(s) policies and procedures. With that said, and just like all things in life, there are certain tradeoffs Cooler Master’s design team had to be made. These tradeoffs we like to call ‘quirks’ as they may appear… quirky if you do not understand the how or why certain steps are the way they are.
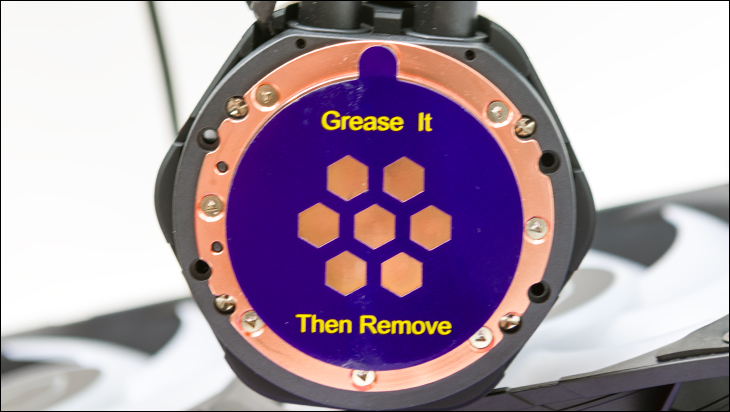
Off all these ‘quirks’ the most obvious is the fact that the unit does not come with TIM pre-installed, nor is the top mounting brackets preinstalled for you. We dislike pre-applied TIM as it usually means you only get one shot at mounting the AIO before you have to buy TIM so that you can finish a build. Nine times out of ten this does not matter, but that tenth time? That is when mister murphy comes out to play. Maybe you think you want a North-South orientation, squish the block in place and realize an East/West is more optimal due to how the tubing is bending. With pre-applied TIM this means cleaning off the block (and CPU), finding your tube of TIM in your parts bin and starting all over. With the ML ATMOS series you can try out the various orientations before you start. Once again. A quirk to some can net tangible benefits (in the ease of use category) for others… especially considering Cooler Master includes a multiple installation’s worth of TIM. Not just ‘one and done’.
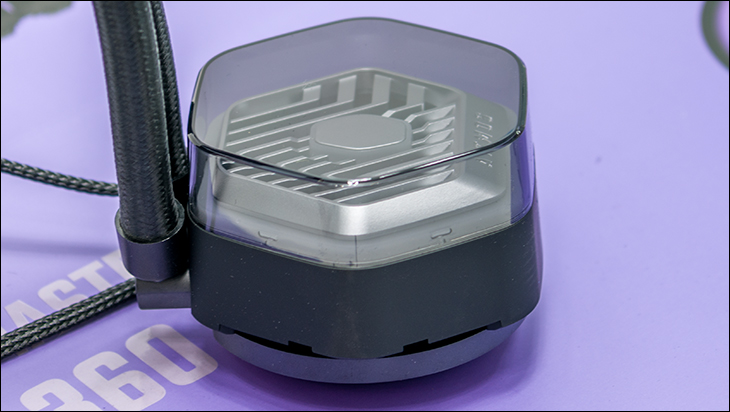
The same is true of the top mounting brackets not being preinstalled for you. While some will consider the extra couple minutes to be an annoyance, to us it this is a Good Thing™. Intel and AMD are both making some excellent CPUs these days… so showing preference for one over the other would annoy half of the potential buyers of the ML Atmos series. Thankfully, these are basically the only quirks this new ATMOS comes with as Cooler Master does factory mount the fans for your.
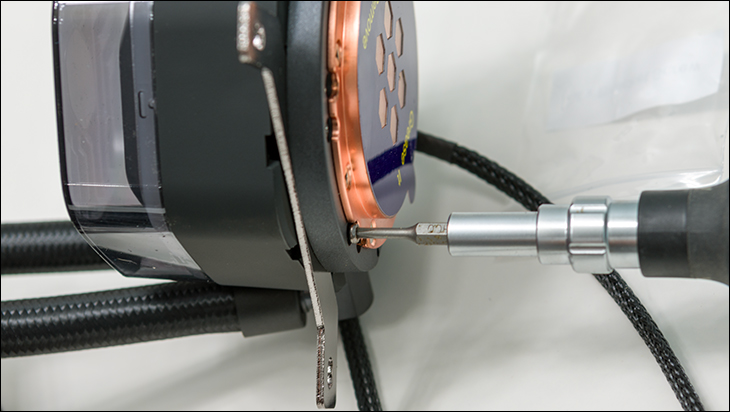
As for the installation process itself. Its rather straight forward and fairly hassle free. The only nit-pick has to do with the installation of those top brackets. However, Cooler Master has pretty much made even this step idiot(ish) proof… as they are keyed. Earlier gen ML (and PL for that matter) did not have these critical brackets keyed and they could have been installed upside down / improperly. Two little tabs is all it took to negate that issue and make it so that if you do somehow manage to install them wrong… its on you and you have only yourself to blame.
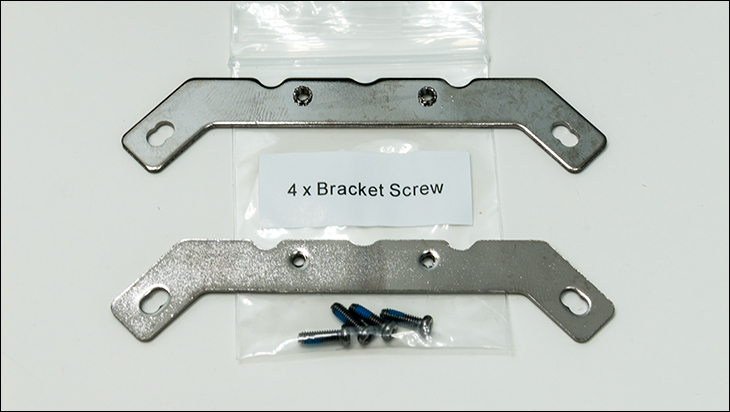
So grab the proper brackets, which come in a clearly labeled accessory box dedicated to either AMD or Intel systems, slide them in place, screw upwards from the bottom of the block, rinse and repeat for the second… and move on as you have successfully navigated the ‘hardest’ part of the ML Atmos installation process.
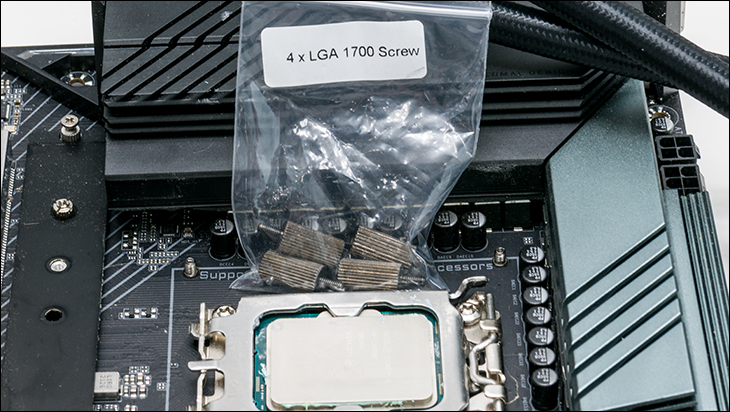
The next step is to prep your motherboard. Depending on your socket type this will either involved picking the right backplate (Intel 11xx vs 1700) or using the stock backplate (AMD). Since we are using an Intel LGA1700 based motherboard this cooler requires choosing the proper Intel backplate to install.

It is actually fairly easy to pick the right one… as the 1700 is labeled 1700. If you are not the ‘read the instructions first’ type builder, the rectangular’ish / small ‘i’ looking backplate is for LGA 11xx, and the one that looks like a fancy capital ‘I’ (or something else if you are so inclined) is for 1700 motherboards. Either way its pretty easy to tell them apart… as these are the same backplates that ship with the PL Flux series.
 Put it in place, grab the properly labeled bag of double ended bolts… and secure this polymer backplate in place.
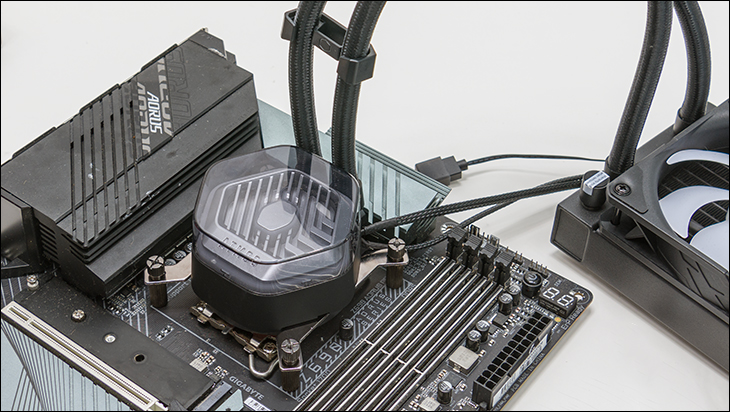
Then we would either mount the radiator (plus fans) inside your case or install the block on to your motherboard. There is no right or wrong way to do this, as some prefer having the motherboard portion completed before dealing with the radiator (and thus have more room to work with installing the block), while others do not like having the big rad just hanging while working on the block… and understand that in many cases once the rad is installed there is less room to maneuver inside said case. To us, if we are using a big monster Corsair 7000D we start with the rad, if we are dealing with a tiny mATX case or even the typical mid-tower… we start with the block.
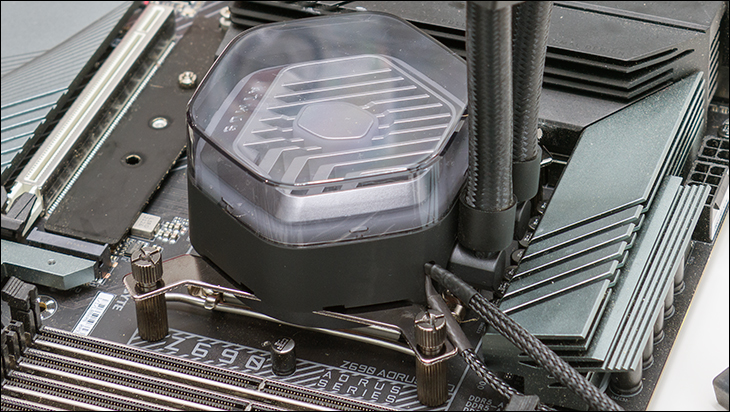
Either way, for the block all you need do is figure out which way you want the ports to face (we usually recommend towards the front of the case), apply some TIM, gently lay the block over the CPU… and bolt it down in a Z (one turn on 1, then 3, then 2, then bolt 4) manner. Then mount your rad, plug in the various cables and you are good to go.

As you can see this is not an overly complex nor tedious installation process. Rather it is straight forward, easy to understand and easy to accomplish. Just the way it should be when talking about a $150 cooling solution.
