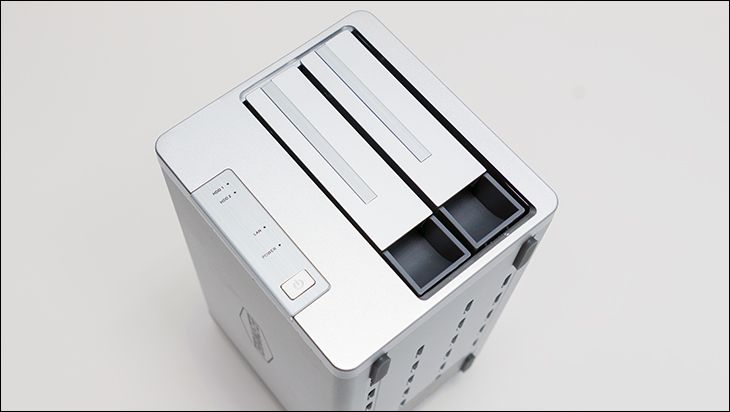
Like any modern(ish) NAS appliance there really are only a few hardware steps needed, as these are as close to ‘plug and play’ devices you can get with any ‘Bring Your Own Drive’ (BYOD) models. It however is obviously from an earlier era where certain refinements were still unknown even in the ‘premium’ end of the home user NAS appliance marketplace. As such the hardware setup and installation is best considered quirky by 2021 standards. Nothing too serious, but a few rough patches that you will have slow down and think about what you are doing before you do it. This is one of the things you are trading off in order to get such a rock bottom asking price.
With that initial observation taken care of, there are only a few hardware steps needed to start the initialization stage. To start take the TerraMaster F2-210 out of its shipping container, place it wherever it is going to (probably) spend the rest of its life, plug in the included Ethernet cable into the lone 1GbE port on the back, plug in the small power cable that is attached to the external power brick… but do not plug it into a wall outlet yet.
Of these steps the only observation we have is that it is disappointing that there is only one 1GbE port. Yes, this is an incredibly inexpensive NAS appliance but these days dual ports is all but become the de-facto standard for entry level models, and this older design is showing its roots… badly.
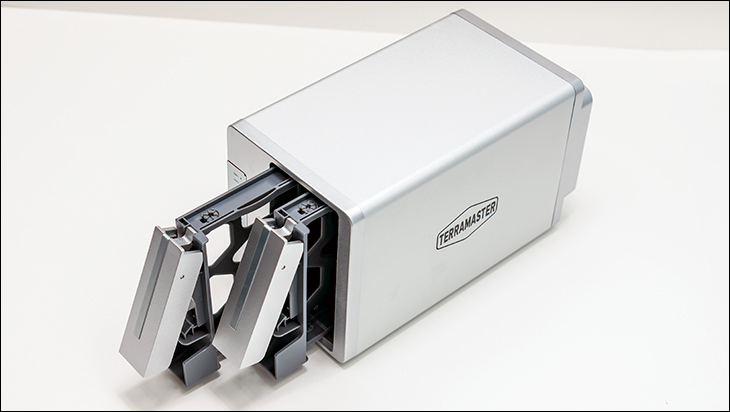
The next step is to prepare the hard drives and the caddies. Start by unlocking each caddy one by one and sliding it out of its hot swap bay. These are plastic caddies so be gentle… very gentle. They are made from home user grade polymers and if you are too rough, they can crack. That is a Bad Thing™. On the positive side, they do a decent enough job at securing the drive-in place, are fully compatible with 2.5-inch and 3.5inch HDDs. They even act as blanking panels if you do not install drives into both drive bays.
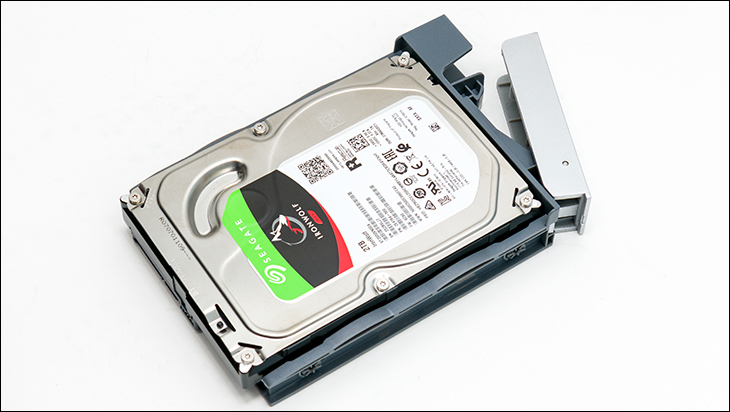
On the less-than-optimal side, they are the older style of consumer grade drive caddies so there is no securing strips or the like to help keep then in place until you grab ye olde screws and secure the drive in place. Instead, you simply slide the HDD into place and ever so gently (and slowly) screw four screws into place. Thankfully, the holes are rubber grommeted so vibrations are not a concern… but if you over-tighten the screws, they can actually screw through the gromet and reduce the ability of the caddy to secure the drive in place. That too is a Bad Thing™ so take your time and screw them in juuuuust enough. Once again this is because the F2-210 is an older model from an era that did not prioritize ease of use and robustness as much as it is these days.
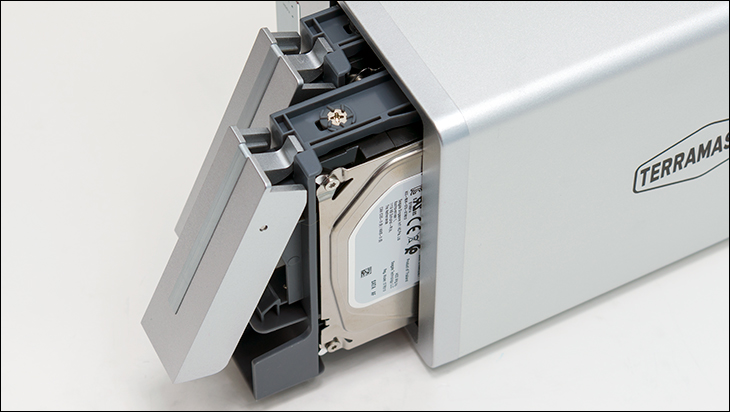
Assuming you did not make any mistakes, which you will not if you take your time, all that is left is to slide the drive(s) back in, plug in the power brick to the wall, and hit the power button. When that is done you are ready to configure your shiny new NAS appliance.
