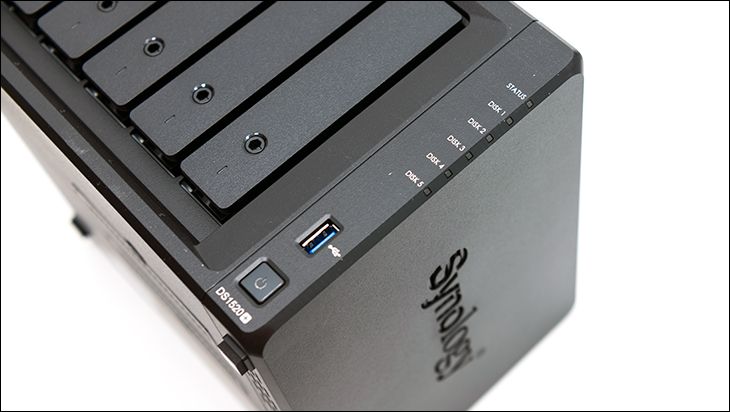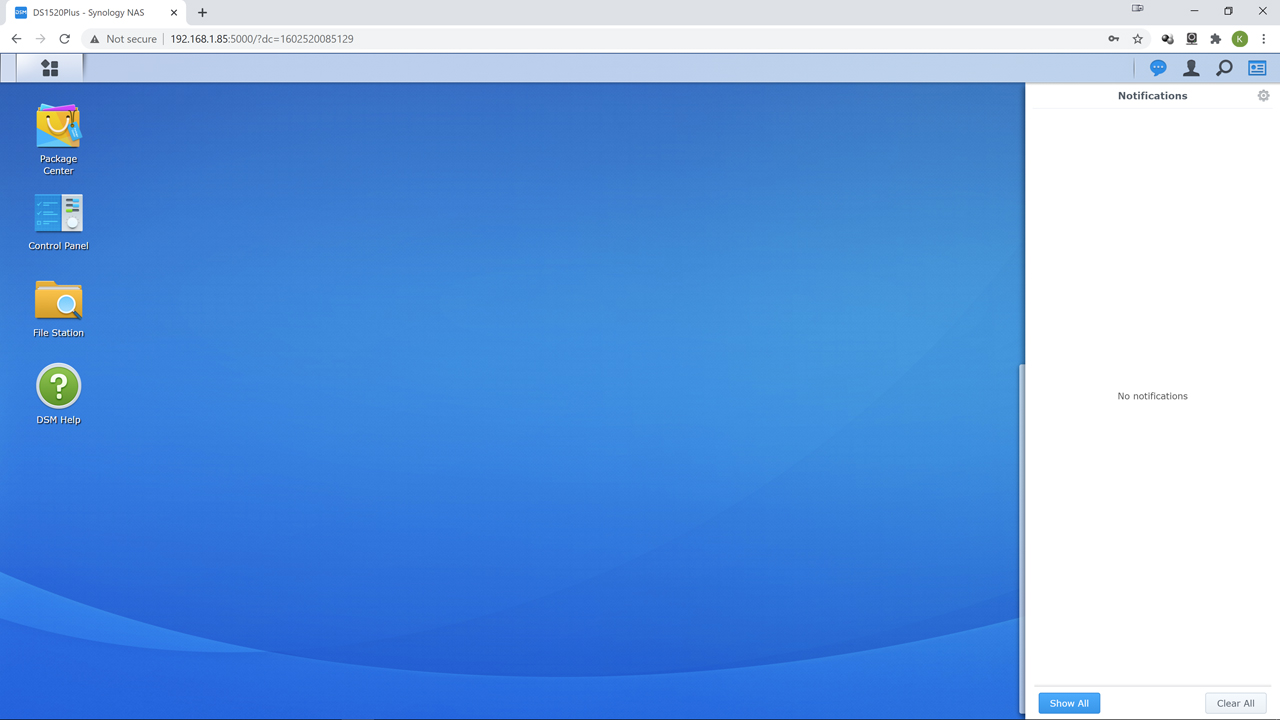
At this point you do have a fully functional Network Attached Storage appliance that for the most part can take care of itself. What you do not have is a system that is optimized for you. For example, when something goes wrong the device has no way of notifying you beyond a small amber LED and the occasional ‘beep’. That is sub-optimal.
So, the first thing we would do is navigate to the Control Panel and then scroll down to the ‘Notification’ option. Depending on how you want to be notified you will want to enable at least one option. We prefer Email. Type in your details, if necessary logging into Gmail in the process, and then hit the ‘send a test email’ button. If you get it, you are good to go. You will be notified when something squirrelly happens.

To give yourself another way communicating (read fixing) your new NAS we would then scroll down to the ‘Terminal & SNMP’ section of the Control Panel column. Tick Enable Telnet service, and enable SSH. Worst comes to worst you can use Putty and log in to get your NAS back up and running. Having more options when things go wrong is never a bad thing.
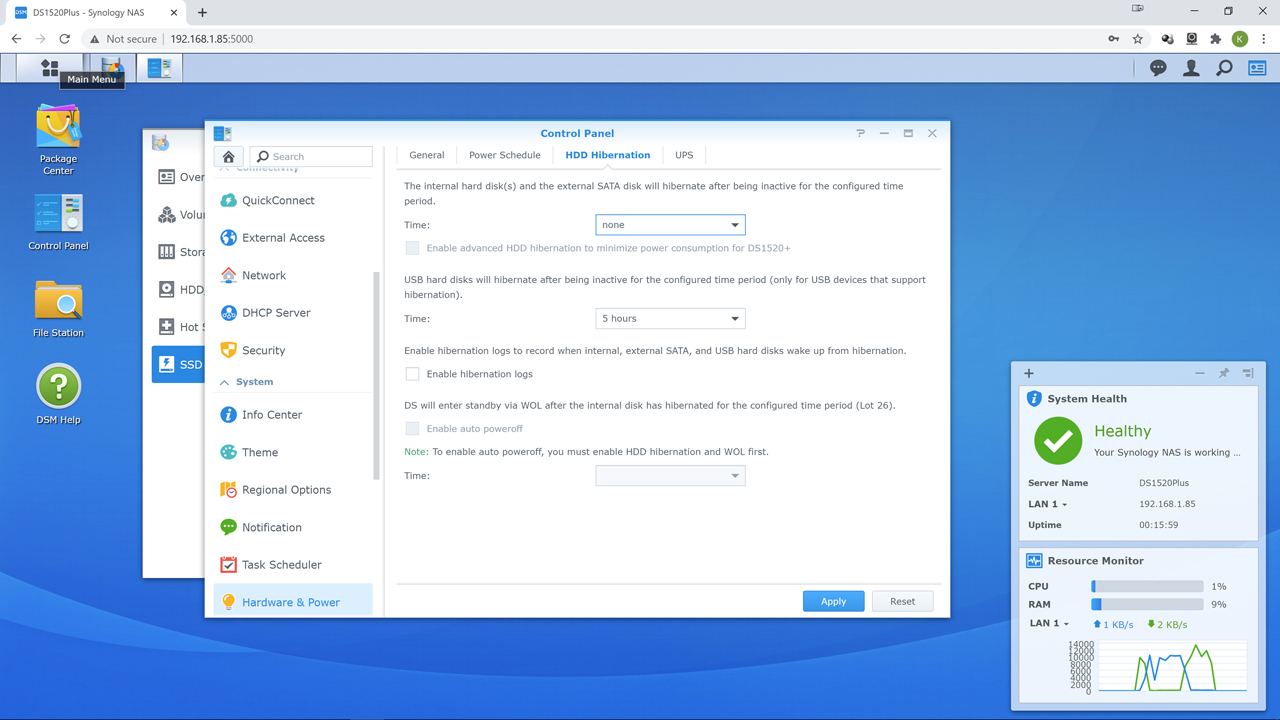
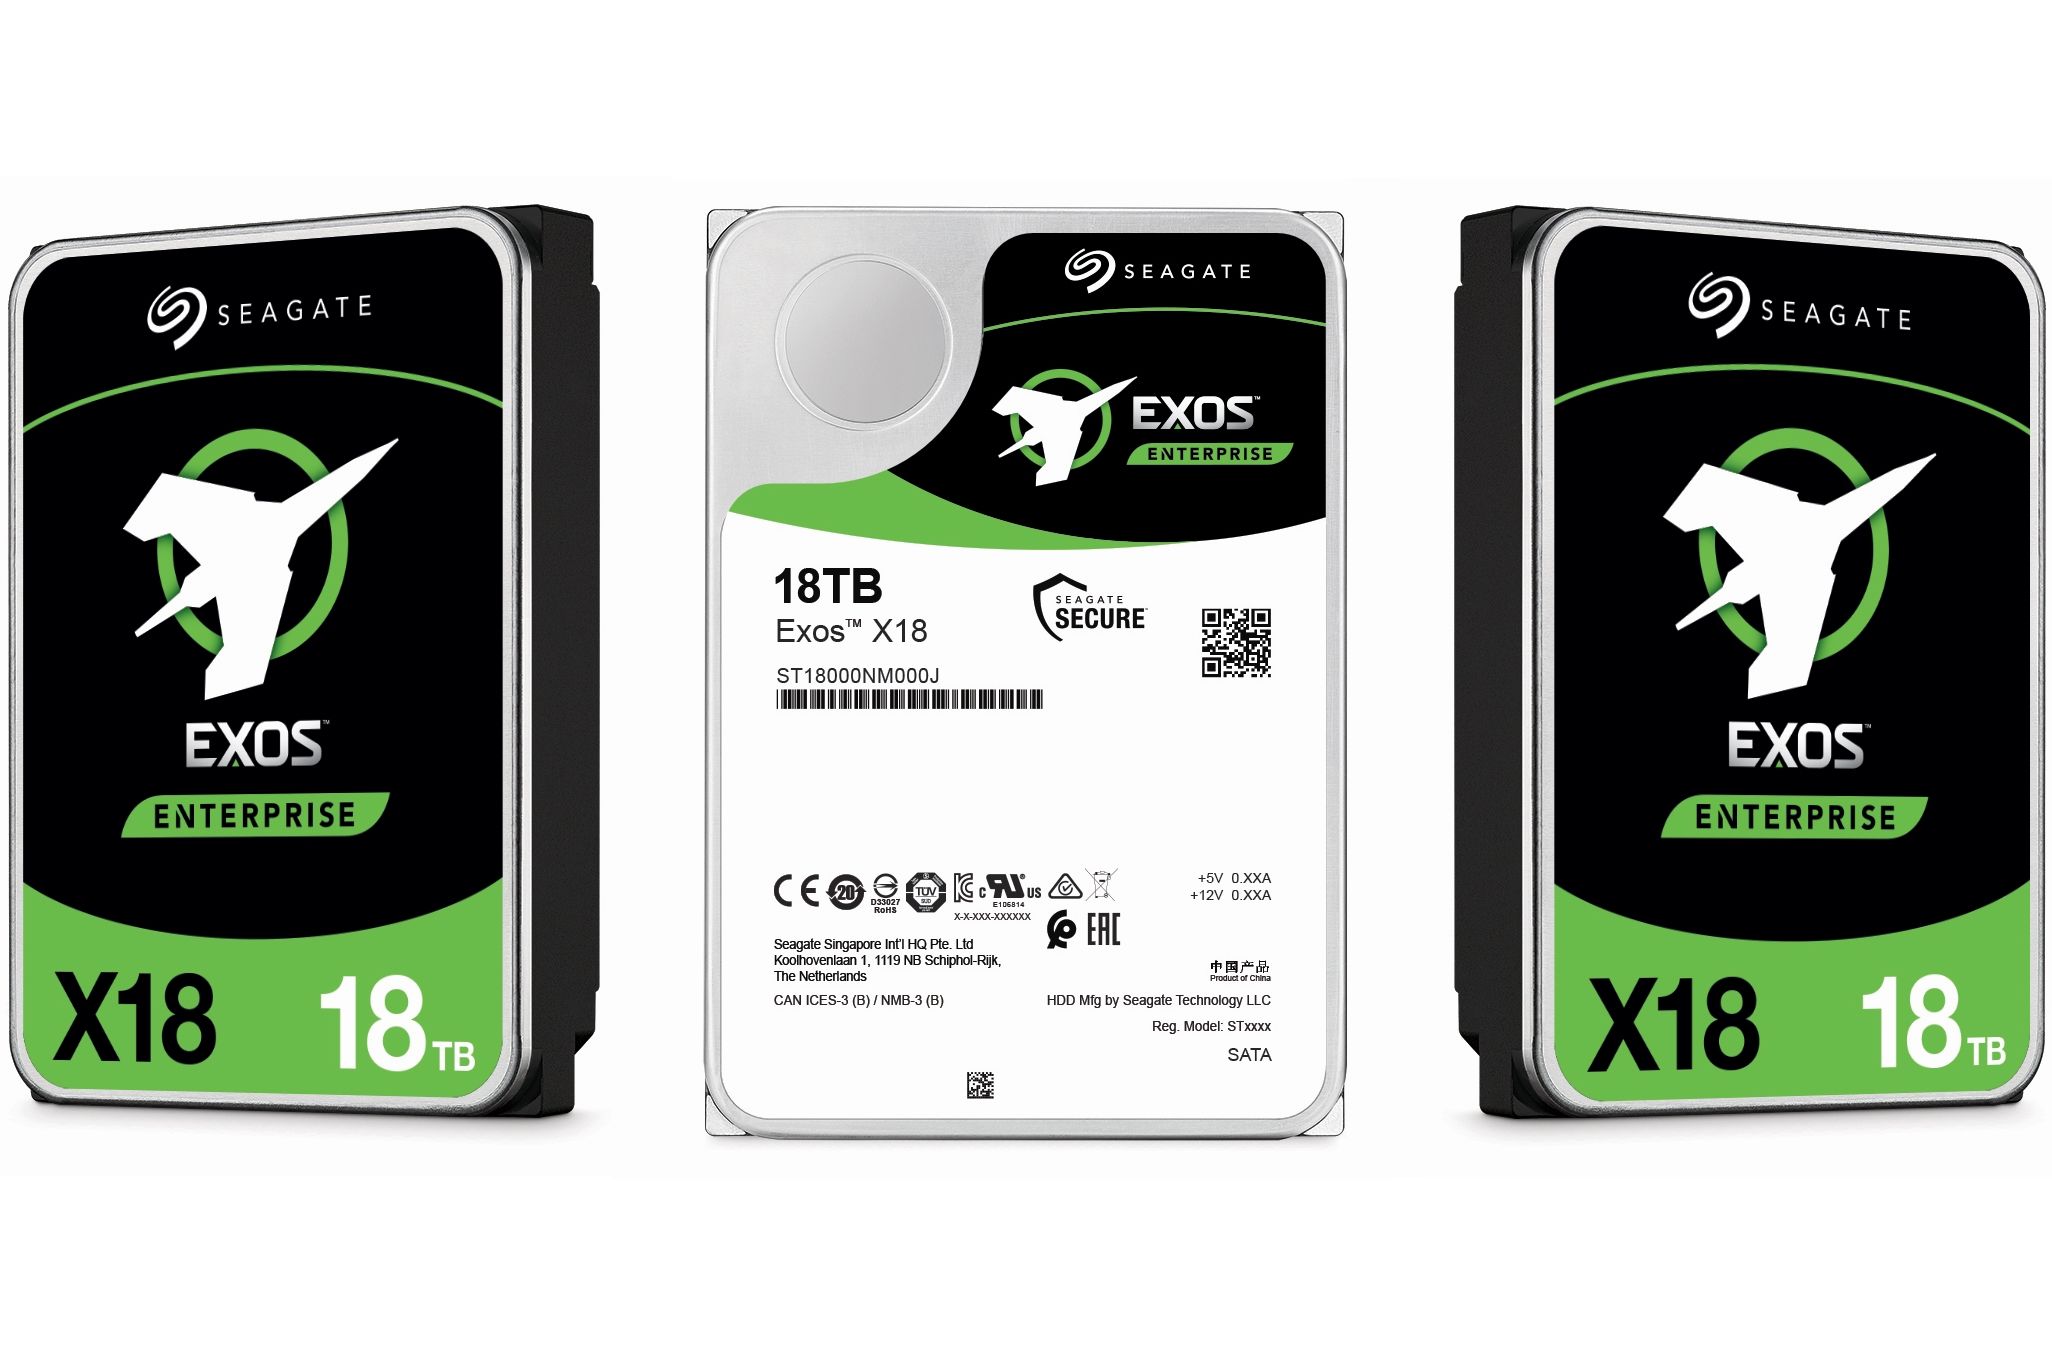
Next, navigate to the Hardware & Power section of the Control Panel. We dislike the idea of the hard disk drives spinning down unless they have to. To be honest, unless the NAS is only going to be used sparing – for example weekly or monthly – the wear and tear on the drives would be greater than letting them spin all the time. Equally important… most drives that last more than a few months (and thus the ‘bad’ drives are weeded out) die on startup. Going from dead stop to 7200rpm is stressful on the motor. Don’t do it more than you have to. Thus, tick ‘none’ for when the drives hibernate. If you only backup to your externally connected ‘back up drive(s)’ daily or weekly do the same. If monthly, you can do 5 hours or the same. Entirely up to you.
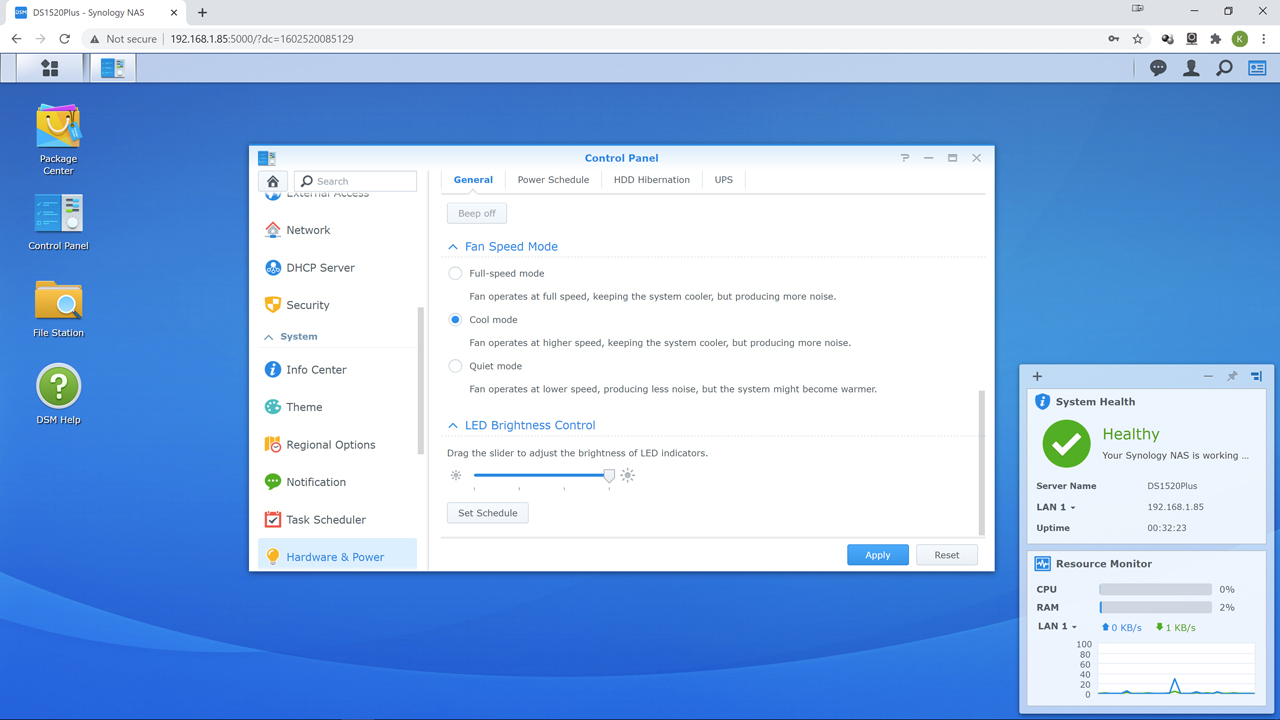
While here, we would also take the time to modify the fan speed. The default ‘Quiet mode’ is decent enough and does a good job of balancing heat vs. noise. We personally think the ‘Cool’ mode is more optimal for most users. The CPU and drives (especially M.2) will run cooler and thus be happier. Happier components typically last longer.
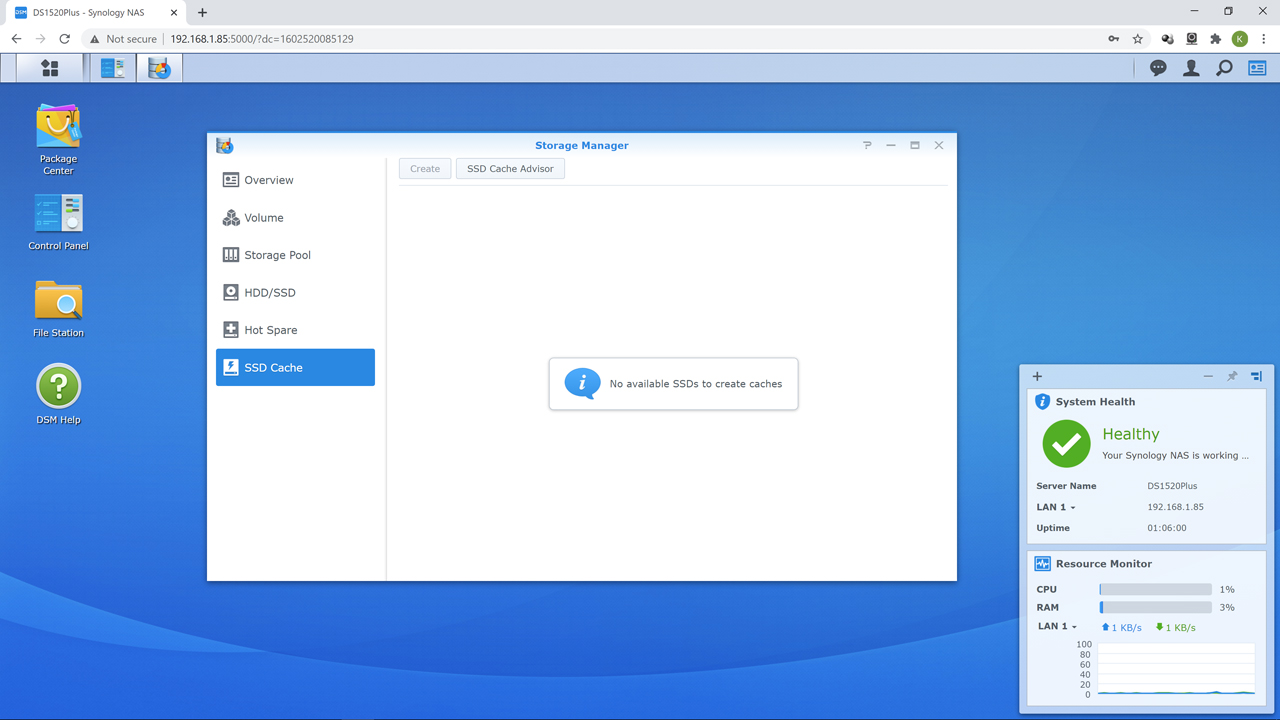
Next, if we are using this feature, we would configure our M.2 drives as cache. We have already gone over the pros and cons in the closer look section so will not rehash the debate. If you want to do it, go to Storage Manager and click SSD Cache. Create the r/w cache and move on knowing full well that it is not a magic bullet and does have down sides.
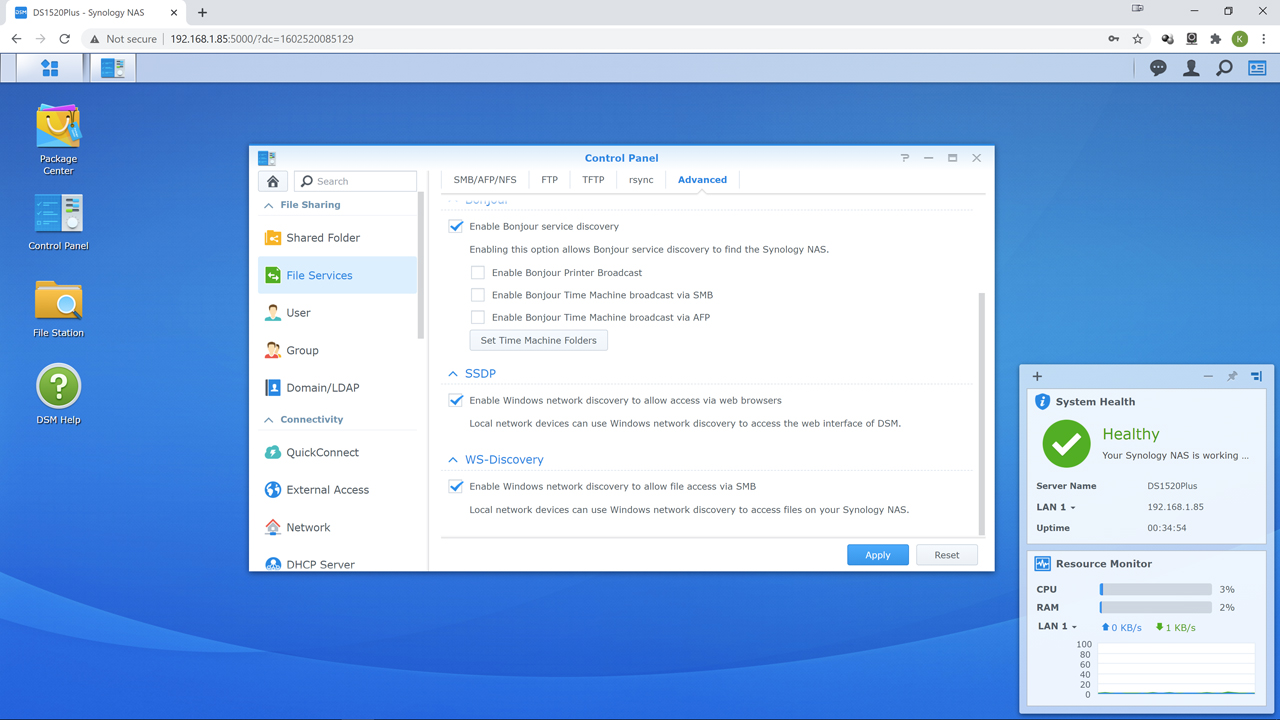
If you need SMB/AFP/NFS or rSync… you already know what to do. If you do not know what any of those acronyms mean… you probably do not need to enable them. Either way, they are located under Control Panel and then ‘File services’.
The Regional Options section of the control panel will let you set the date and time and for OCD people will make them less… twitchy. Some will not care all that much if it displays the right date and time, but best practices include it. Knowing exactly when and how long ago a problem started can be invaluable in tracking down a randomly occurring issue and squashing the bug that is causing it.
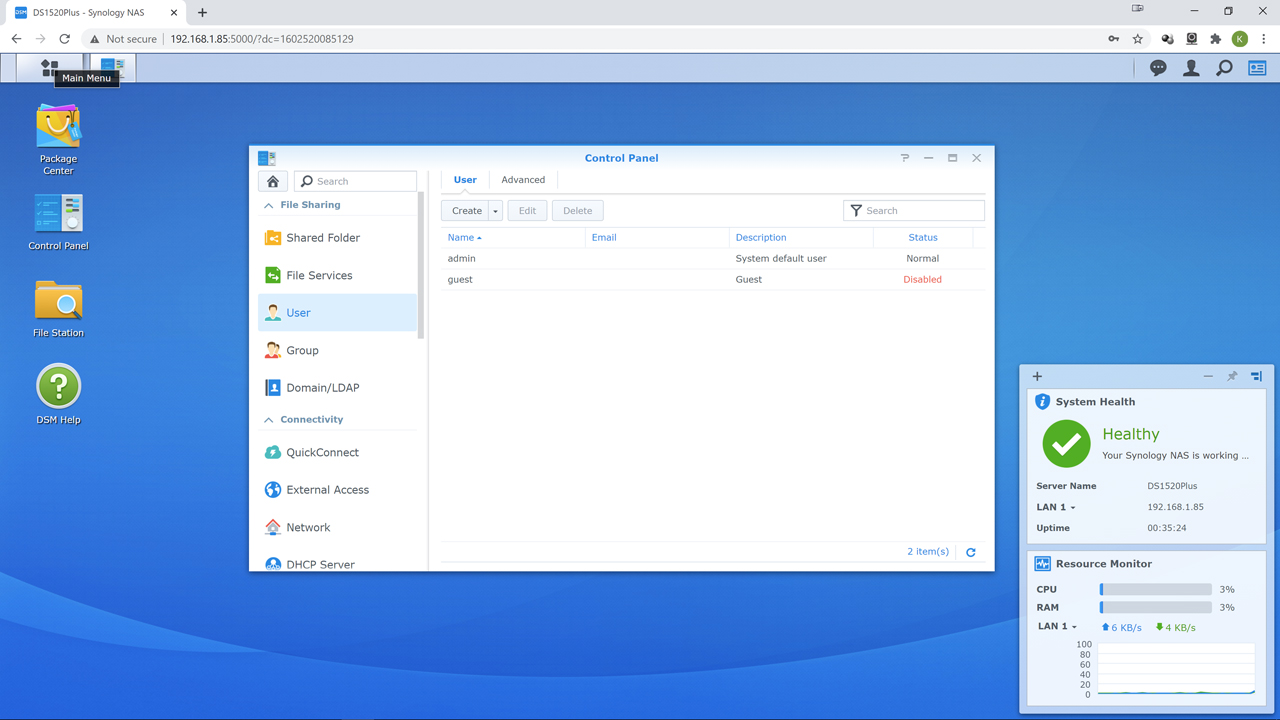
Best practices also include not using the default administrator user account for day to day tasks. Instead go to ‘User’ and make one with fewer permissions… and keep the administrator account for those times you actually need all that power. If you have random people connecting to your network, and this includes ‘friends and family’… we strongly suggest a guest account with limited access at the most. This is why the default for ‘guest’ is disabled as they will have less options. Think long and hard before you give access to your NAS to anyone, even those who you know and know where they live.
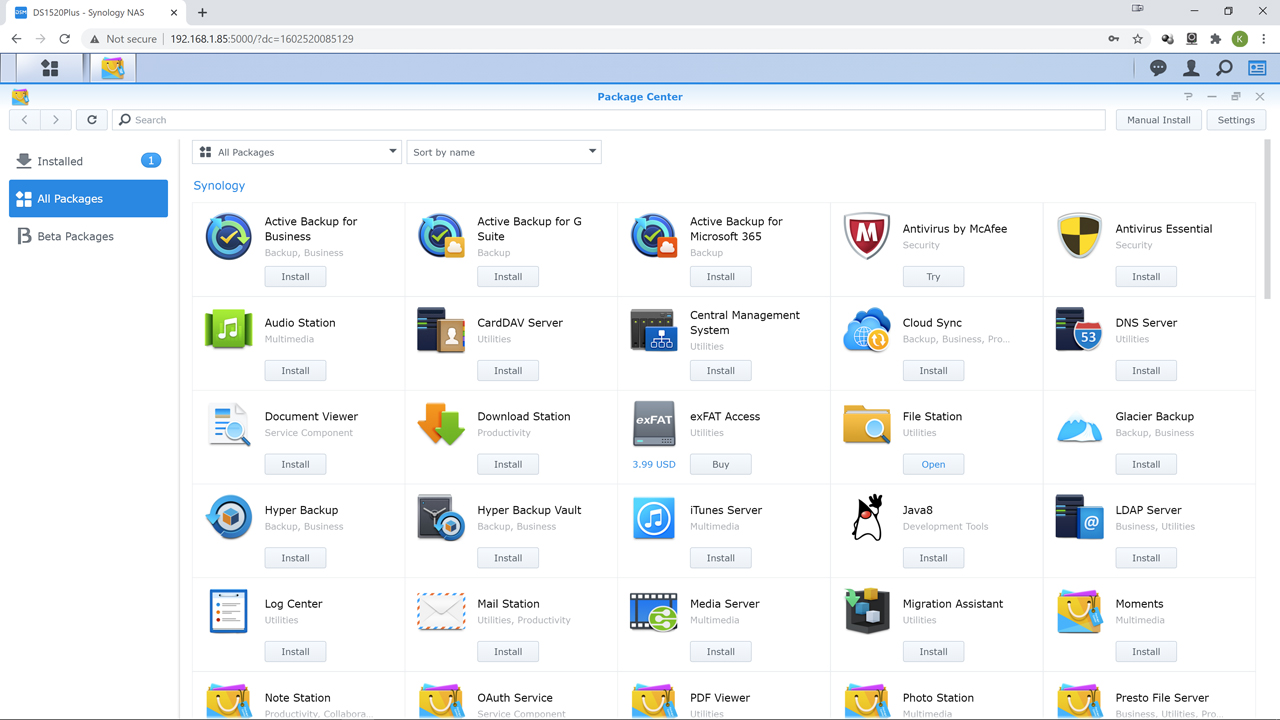
For what software packages to install, well that is a personal decision based on what you want the NAS to do besides being a file server. As time goes by you will figure out what you need and do not need. We personally err on the side of ‘less is more’ and typically any NAS appliance gets maybe a free anti-virus, a decent backup option if using USB, file stations, OAuth Service, Universal Search, and maybe docker installed. Everything else gets run from a PC. Remember, the more optional packages you install the more overhead they take.
DSM 6 includes a decent sync option in the control panel and for most it will provide a fairly hassle-free off device backup without having to worry about the foibles of USB attached storage. Though many may find the Hyper backup package easier to work with. Personally, we would use a combination of snapshot replication and hyper backup. To us restoring from a single file ‘derp moment’ is easier via snap shot, but when the fecal matter hits the rotary impeller and you NAS got dropped in the dunny by Mister Murphy… a full array’s worth of data restoration via hyper backup is easier. Different tools for different scenarios. One is an icepick, the other is a jackhammer. Use them both responsibly. In either case, if you do not feel you are ready for the ‘next step’ and instead just want a simple and easy backup process an inexpensive single or dual bay eSATA device would be our recommendation. USB is always slow on NAS appliances. It just is. So, if you have a NAS appliance with eSATA port(s)… use them. That is why Synology includes this feature in the first place!

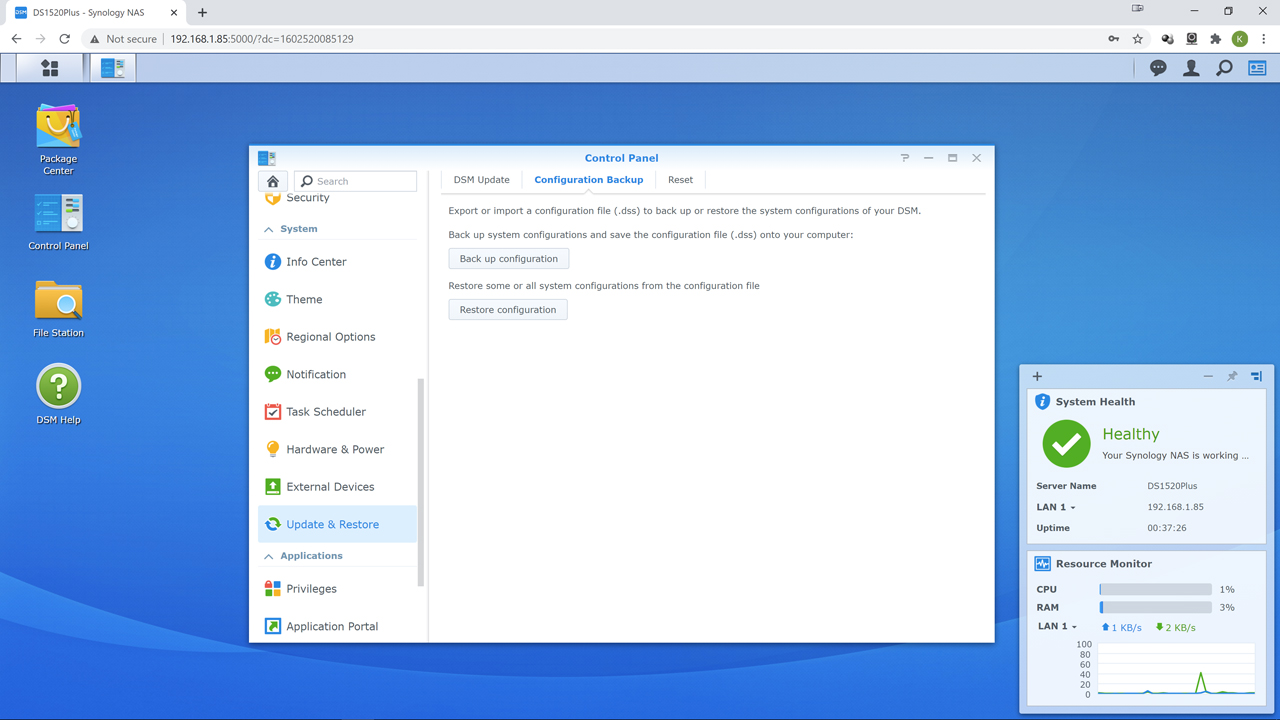
The very last thing we would do is go to Update & Restore section and make a backup of the configuration. That way if a DSM update borks your system… you can unbork it and be back up and running in a jiff. Just make sure to store the created file somewhere safe, and somewhere you will be able to find it in a year or five.
While extensive, do not consider this an exhaustive or all-inclusive run down on DSM. It has a lot of powerful features we did not go over (for example drag and dropping options to the ‘desktop’). It will however get you up and running with a configured NAS in a safe, repeatable and reliable manner. Just remember one thing… have fun. Network Attached Storage is about making your life easier not harder. This is why Synology has spent so much time and effort making their devices as user-friendly as possible. So have fun. Learn a few things, and enjoy your new NAS.
