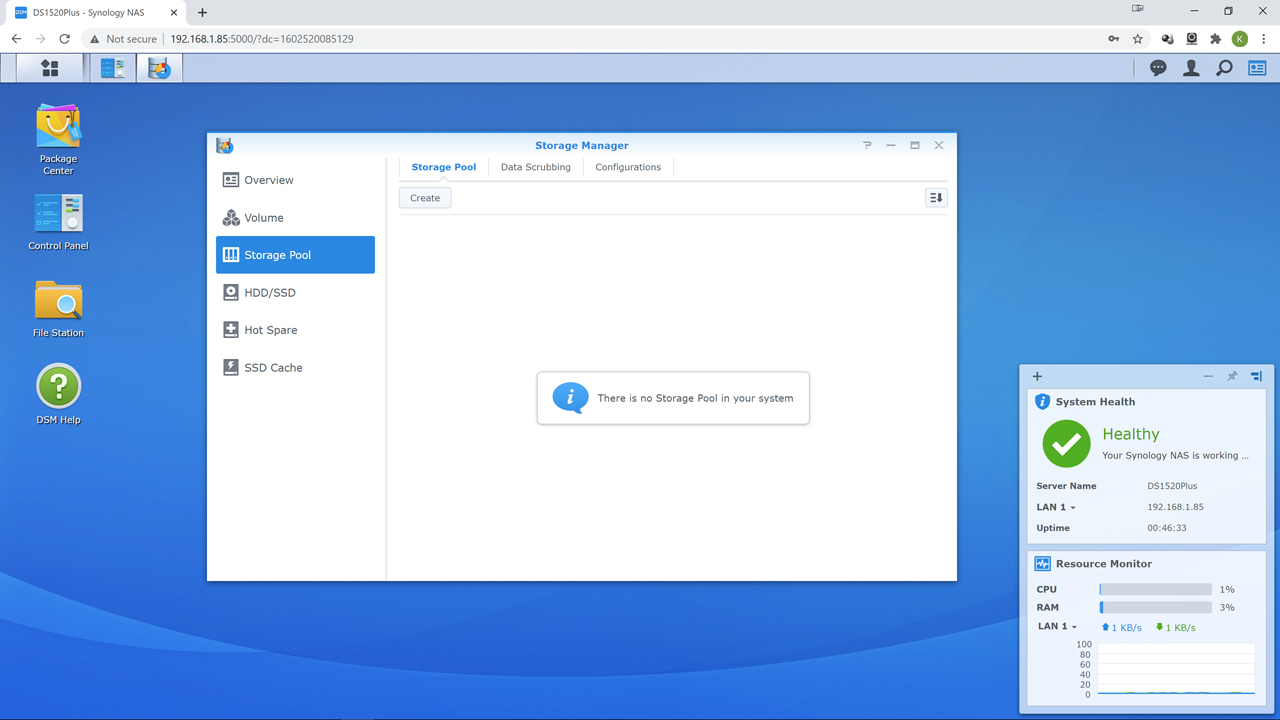
With SMART setup the next step we like to do is hit ‘Storage Pool’ column option and configure our soon to be RAID array. As mentioned on the previous page it is optional… but it is just an ingrained habit to do things in the ‘proper’ order. So hit ‘create’ as the first step.
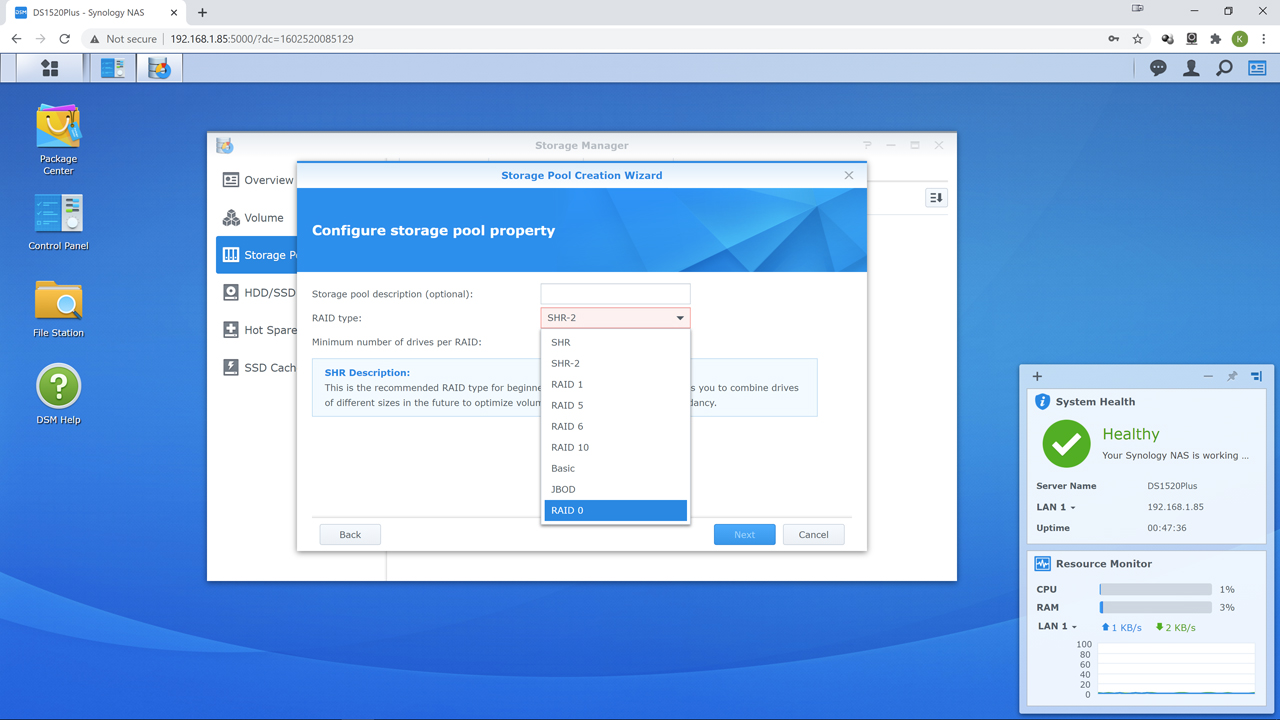
When you get to picking your RAID level first time and/or novice users may get a wee bit lost in the weeds as Synology does cover all the bases – and then some. This is both a strength and a weakness of the DiskStation Manager (DSM) OS. More options are always better than few, but if you have zero background experience… picking the right one can be confusing.
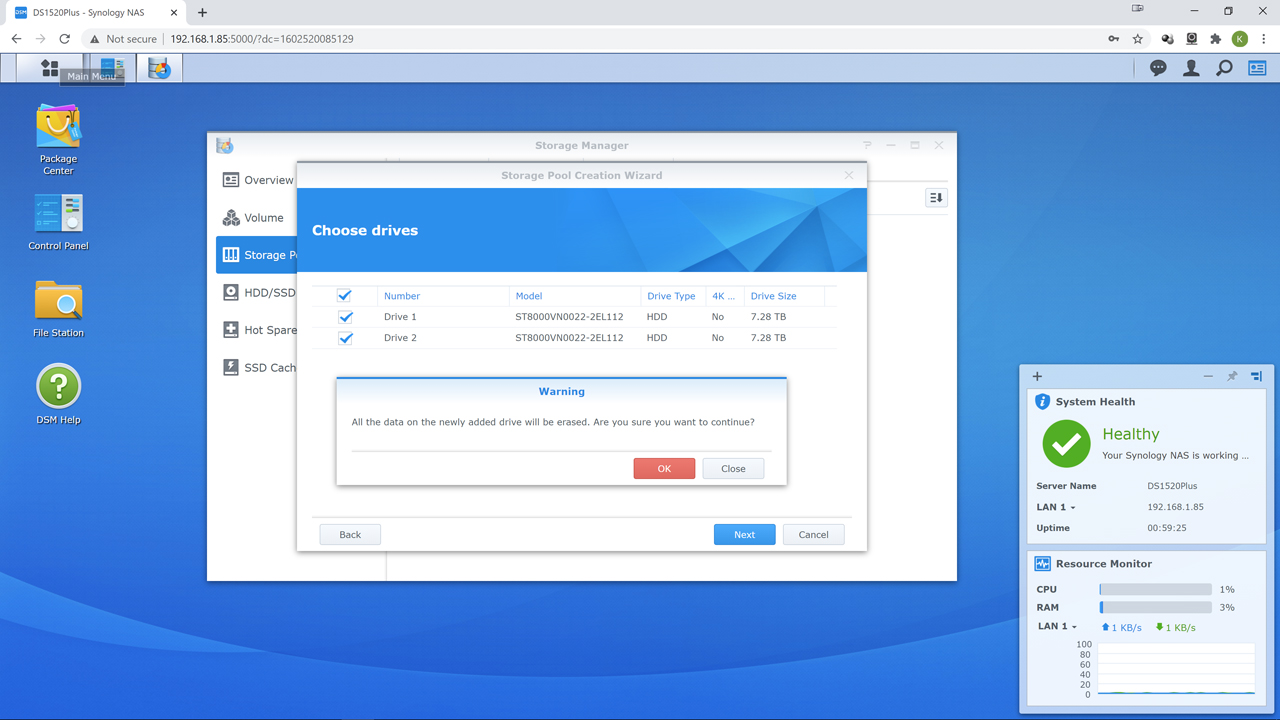
We cannot tell you what would be ‘best’ as it will depend too much on what you want the DiskStation DS1520+ to be and do. For example, you could create two mirrored drives (aka Raid 1) for dual raid array goodness and use the fifth bay as a 2.5-inch SSD r/w cache drive to further boost performance… at the expense of only having two drives worth of storage capacity. You could fill all five bays with same capacity, and preferably model, drives and create a very nice Raid 6 array, and have 3 drives worth of capacity with even more consistent redundancy (but at expense of performance). If you have a traumatic brain injury you could even create a 5 drive RAID 5 array with four bays worth of capacity. You could even create 5 JBODs, or worse still (from a resiliency perspective) create an ultra-fast RAID 0 array with 5 bays worth of capacity and zero redundancy.
Those are (mostly) all viable choices. Just for vastly different scenarios and situations. For most, Synology Hybrid RAID level 1 (SHR-1) or Synology Hybrid RAID level 2 (SHR-2) are probably the best ‘all rounder’ choices. With SHR2 being our recommendation. In simplistic terms SHR-1 is similar to RAID 5 but can work with only two drives in a SHR-1 array. SHR-2 requires four drives and is somewhat similar to RAID 6.
We say similar as SHR1 can survive one drive failure and SHR2 can survive 2 drive failures without data loss as the former uses a single parity stripe and the latter uses two parity stripes. That is where the similarities end as SHR does have some extra things going for it. First if you plan on adding an external expansion unit to the DiskStation DS1520+ SHR is what is what makes it so seamless an upgrade experience. If you do not care about future external expansion opportunities, SHR also allows for a much easier internal expansion upgrade path. With either SHR1 or SHR2 you can use dissimilar capacity drives and not pay nearly as much of a penalty for doing so.
For example, if you have one 8TB and four 12TB drives installed in a RAID 6 array, the array would be setup as if they were all 8TB drives (i.e. the smallest capacity drive is the deciding factor) with 24TB useable space (with 16TB for parity and 16TB ignored/wasted). SHR1/SHR2 would not do that. Instead it would look at what the largest partitions that can fit equally on each drive (in this example 4TB) and then just use more of these partitions on the bigger capacity models… and consider each partition as its own ‘drive’ in the SHR2 array. In this example, that would be 4TB partitions (2 on 8’s and 3 of them on the 12s). The end result is SHR2 would give 50% more useable space (36TB) and 24TB setaside for redundancy… and none ignored. It will not always be this perfect as the calculations get a bit wonky when dealing with drives of radically different capacities. So the end result will not always be perfect, but usually better than classical RAID.
If you are interested in knowing what the precise pros and cons of your drives in SHR1/2 vs RAID are Synology includes a nice GUI RAID calculator that works with basically every model they make:
https://www.synology.com/en-ca/support/RAID_calculator
Equally important is unlike say OpenMediaVault where performance is basically limited to one drive, SHR does not have that limitation. Depending on how many partitions there are per drive in the array (and thus how many parity calculations have to be done) you can get ‘up to’ nearly the same performance as if you used ‘classical’ RAID 5 or 6. Needless to say, most home users will be happy with SHR1/2, but SMB’s and enthusiasts may notice the loss in performance when the NAS is hit hard with deep, and overlapping, IO requests. As such, for home use we would opt for SHR 2 as two drives have to die before your data is at risk, and a third has to die before the rebuild completes for you to lose all your data (i.e. 40% drive loss before data is at risk and 60% catastrophic loss of the drives are required before your data is gone). Conversely, if the NAS appliance was going into a higher demand environment we probably would opt for RAID 6 over SHR-2… especially if there were no future plans for adding expansion units to it.
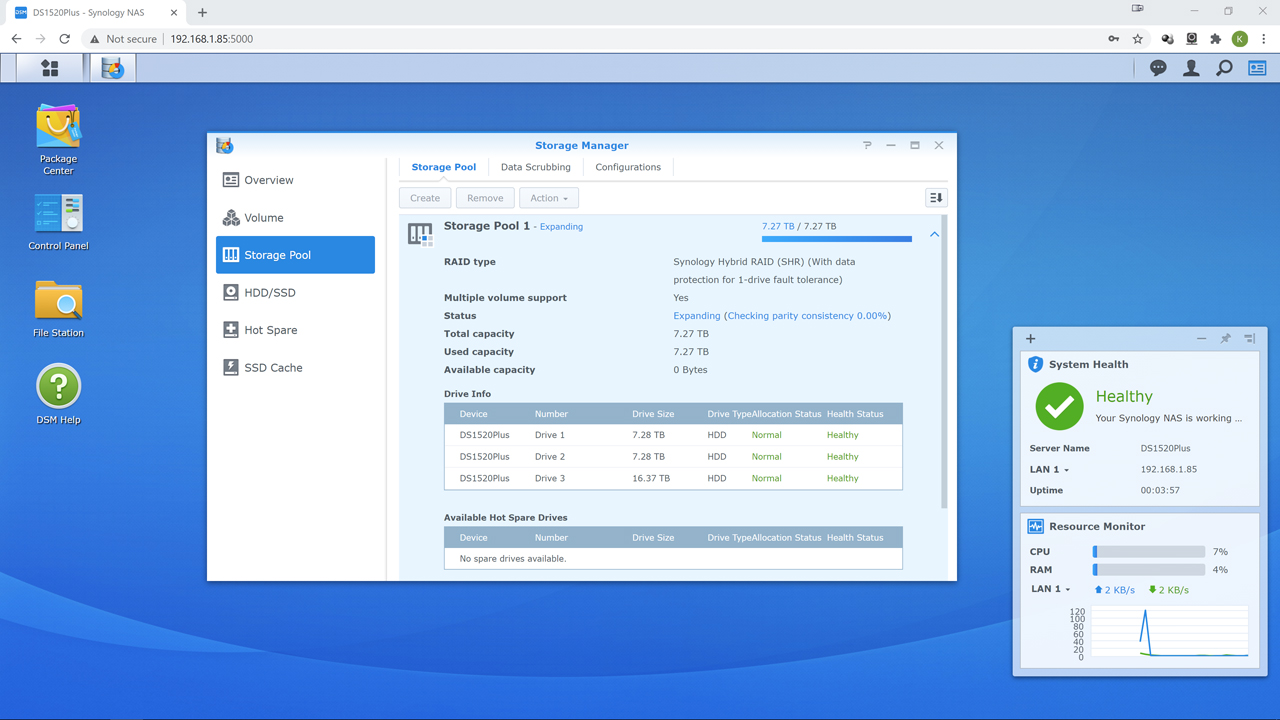
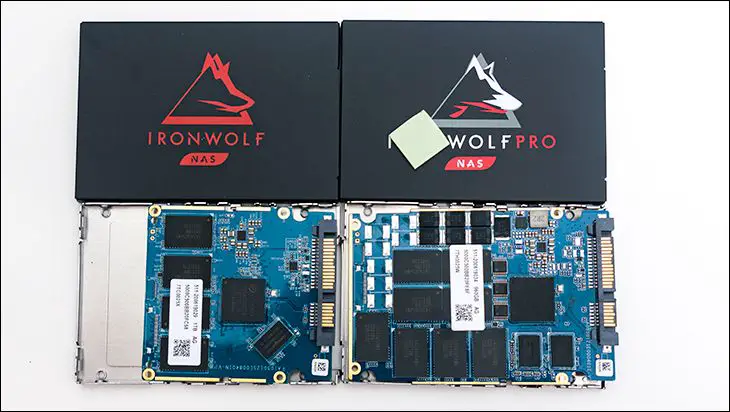
The other downside to any all of these RAID array options… is they all use mdadm as their foundation. Unlike ZFS, mdadm is rather stupid when it comes to expansion and rebuilding. It is not ‘smort’ enough (let alone actually smart) to only try to rebuild the blocks that are actually in use like ZFS. Instead, expect it to take noticeably longer than ZFS to expand the array every time you add a drive… as it will copy and then confirm the parity on each and every block. Used or empty block it does not care. For example, on SHR1 with two 8tb ironwolf pro drives, when we added a third to the pool… an empty pool without bad block checking enabled, it took nearly 34 hours to complete. This was with resync set to ‘high’ (aka 600 max 300min when dealing with 3 drives installed). You can also not stop nor pause this process once it starts. So, plan ahead and create your array ‘properly’ the first time. Then take a hit in lost time later when you need to add/modify your array.
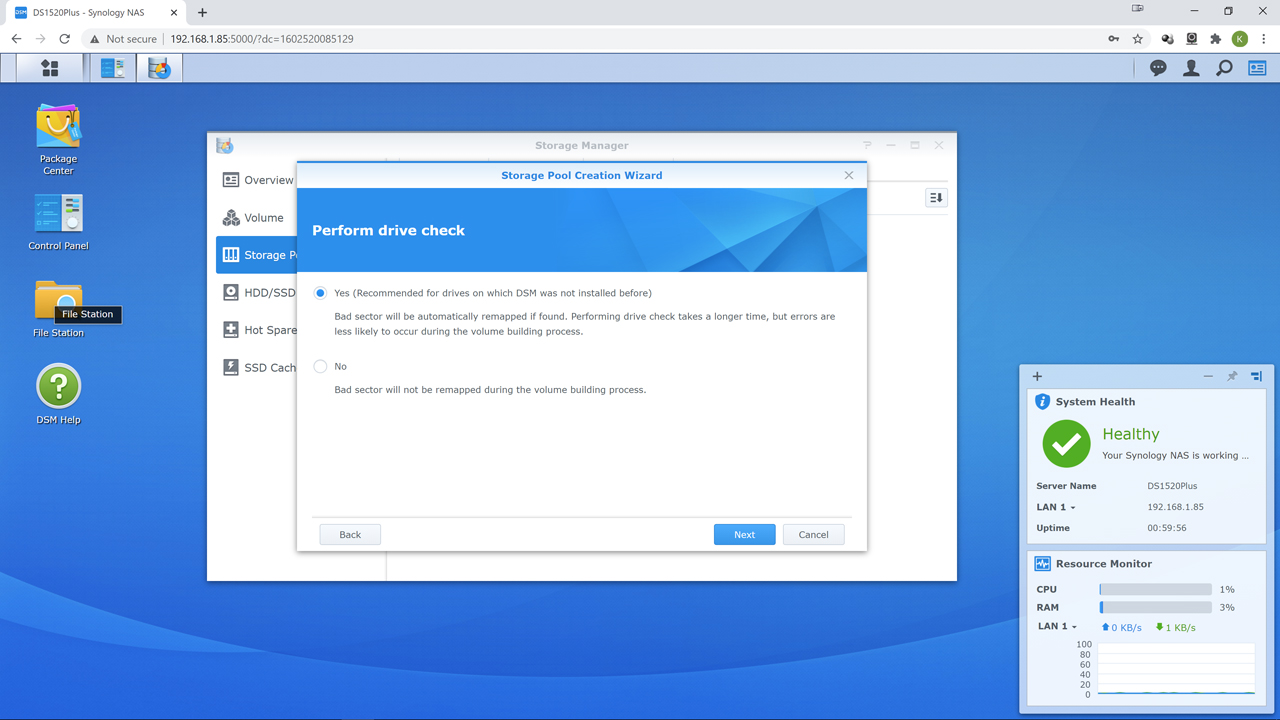
With new hard drives, we always tick the perform drive check option to make sure the new drive does not have a lot of bad blocks. Hard Disk Drives, like all PC components, are a mass-produced item. The occasional bad drive does slip past even the most OCD of quality control. Yes, this will take time. Yes, it is in our opinion time well spent.
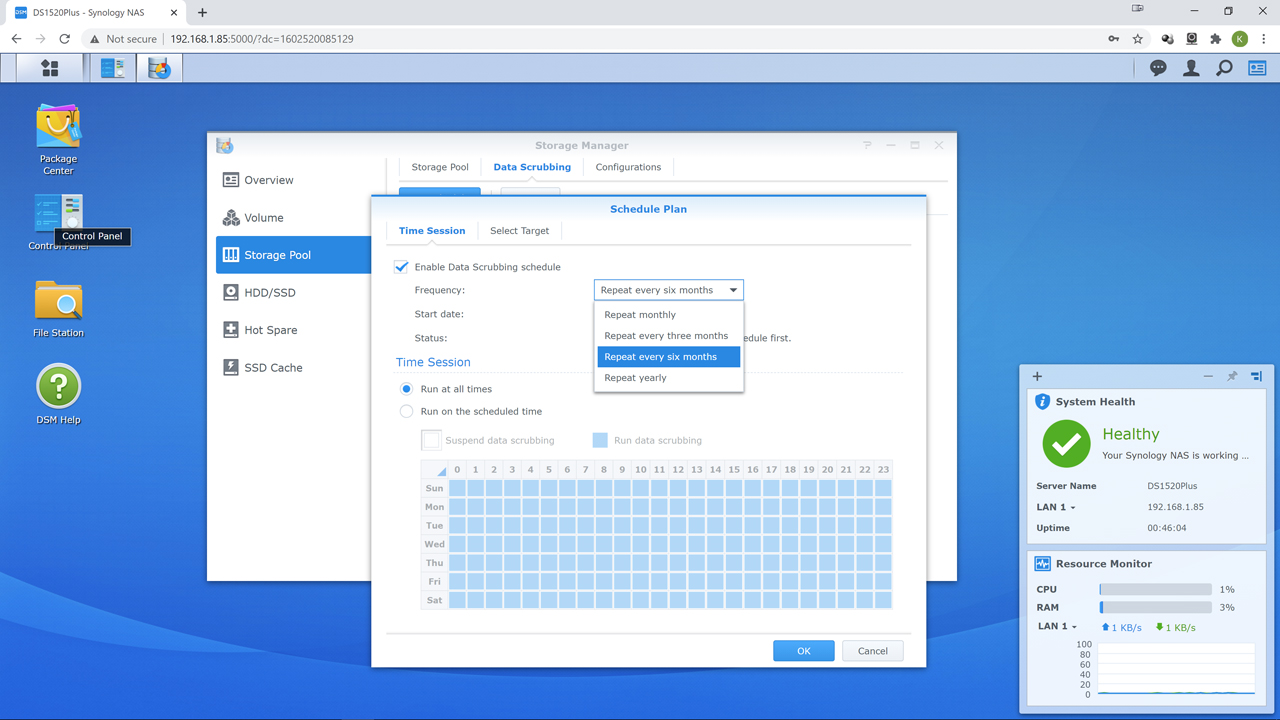
Once it is up and running, and we have checked to make sure all the drives we want are active and part of the array and pool, we then like to skip the Volume creation step and instead go for Data Scrubbing option. Data Scrubbing is a critical step in maintenance. We personally think the default of 6 months is too long between checkups. Instead, we choose either monthly or three months. Data Scrubbing is where the NAS will read every single used block in the array and check the results against its parity data. If corrupt, it fixes it. Thus, finding and then eliminating ‘bit rot’ corruption. It does take time. Time during which the NAS will be less than peppy. So, plan ahead and pick a time of the month that the NAS will not be used. For business that usually means starting it at 1am on Saturday morning. For home users… it could Tuesday or some other day you are not going to be using the NAS for 12 hours or more.
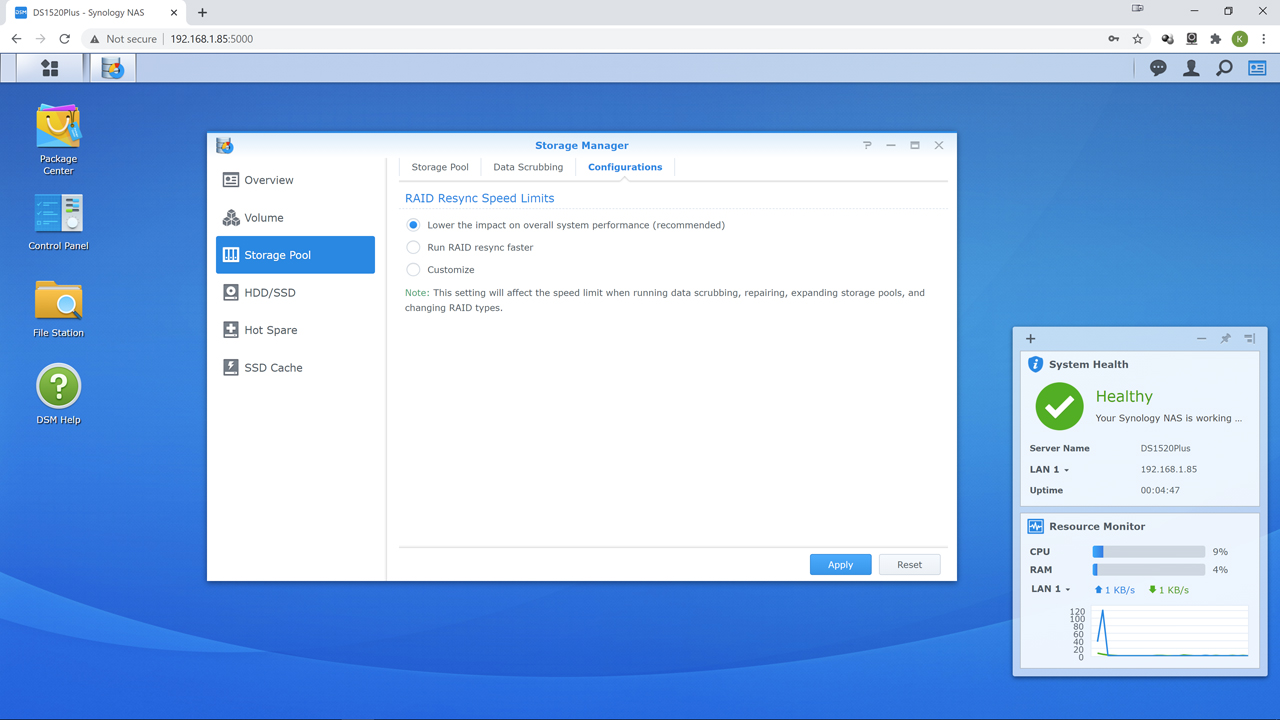
The other tweak we would recommend before moving on to volume creation is changing the resync speed of the RAID array. The default is ‘low impact’. It is just that and it can resync without that big a performance hit. It is however… slow. Resync occurs when a drive ‘falls off’ (aka drive failure) or when a new drive is added to an existing array (aka increasing the capacity by using more drives in the array). During this process your data is at risk if you are dealing with a dead drive. It is as extreme risk if you use RAID 1, RAID 5 or SHR1, or two dead if using SHR2/Raid 6… as in, if another dies your data is gone. This is why ‘RAID IS NOT A BACKUP’. Have a constantly up to date backup. External drives are cheap. Your data is not.
To help minimize the window of time Mr. Murphy can mess with you… change the default to ‘faster’. This basically will increase resync speed (basically sets it to 200MB/s max, 100MB/s min per drive in the array) but will make the system respond slower. We personally feel this is a good trade off. If you want you can figure out what works best for you via the ‘custom’ option. Either way, we strongly recommend not using the default setting.
