When it comes to installing the MAG CoreLiquid series, potential buyers worried over it not being a ‘tired and true’ Asetek based unit should not be concerned in the slightest. Quite honestly the installation process, and its quirks, are so reminiscent of Asetek models that we are astonished that they have not sued Alpatek over it… as Asetek we are pretty sure will sue anyone at any time for any reason. This probably is one of the few instances where China not recognizing other countries patents as binding is a Good Thing™.
In either case, the installation process will be extremely familiar to anyone who has installed nearly any AIO CPU cooling solution in the recent past. The largest difficulty arises in the fact that for Intel users Alpatek does not preinstall any socket mounting hardware to their waterblock… nor do they even apply any TIM for you. Instead, you will have to dig out the proper brackets and install it before you do anything else.
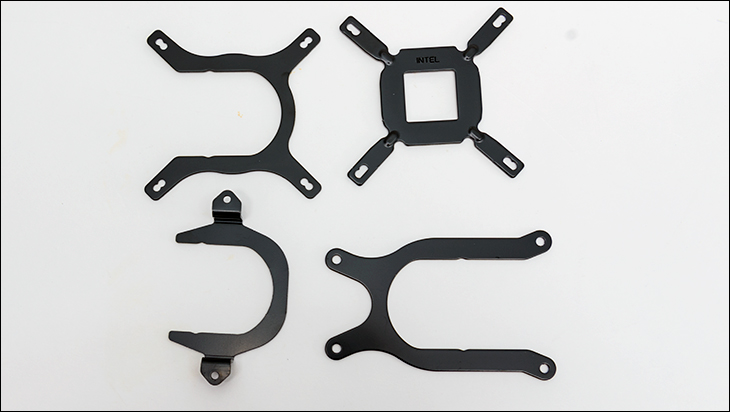
In this MSI and their Coreliquid series is truly above average. With four different brackets included, virtually any system will be covered. Grab the right one and if you look closely at the 360R’s waterblock you will notice a small groove just above the base of the block. This is the groove the metal bracket slides into. Simply orientate the ports away from you and slide the bracket in from the side nearest you and towards to ports. Bam you are done… ish.
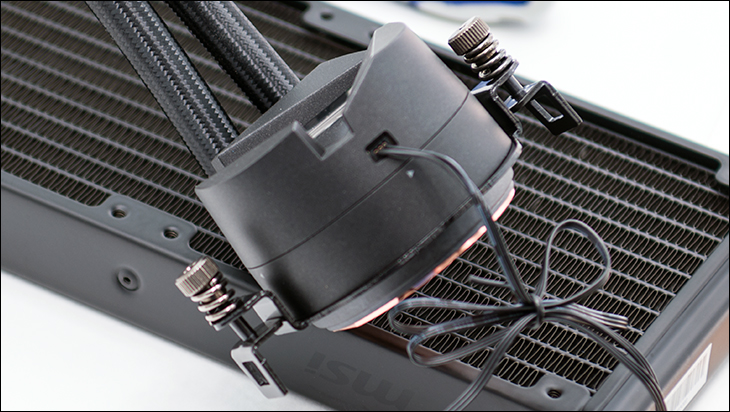
There is one caveat to this setup. That is… you can easily install the bracket ‘upside down’. With AMD AM systems make sure that angle brackets go down towards the base and not up. They really need to be ‘keyed’ so as to make this impossible to do.
If it looks like this, it is wrong:
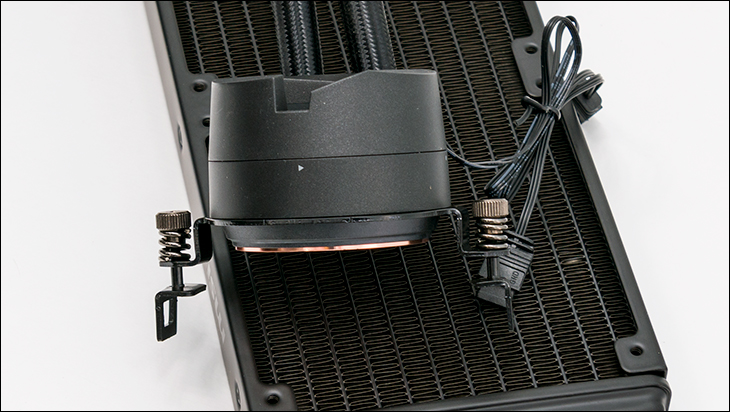
If it looks like this, you are good to go:
Depending on your socket type you may have to remove your motherboard’s included backplate but most will be able to reuse what they already got.

For AMD Ryzen AM4’s you do not need to even remove the two top brackets as they are used later during the mounting stage. Either way, when you are sure the mobo is good to go, we would move on to the radiator and then come back to the actual mounting of the waterblock later.
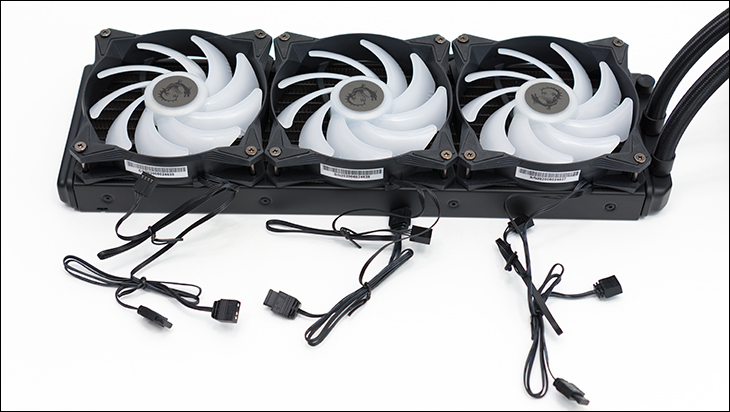
Next grab the three included fans and place them over the proper side of the radiator. For ease of upgradability, and performance, we like to have them on the ‘bottom’ (or the side of the radiator facing away from the case) and have the air blow up, through the radiator, and then out of the case. The easiest way to not mess this up is to have the hub of each fan (and its dragon logo) face you, and place them on the side of the radiator without the cable for the pump.
Grab 12 of the long screws… and screw them all in. When done you will need to daisy chain all three together…. Twice. Once for each fan’s power and another for the RGB LED power. Thankfully, MSI includes a nice three headed 4-pin fan cable for the power, and all three fans do come with dual header RGB cables so both steps are mere second’s worth of work.
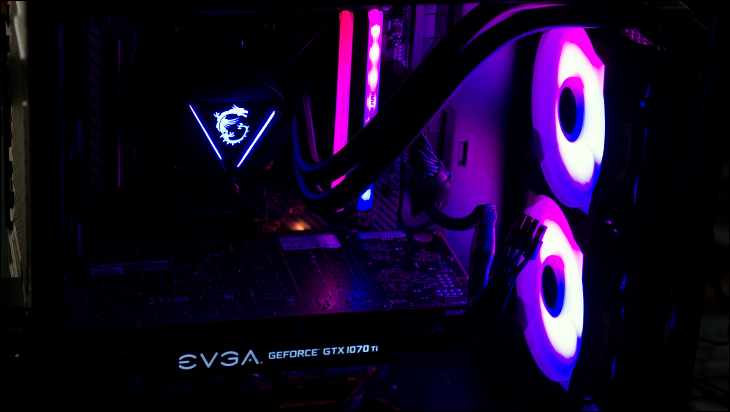
The next step is a bit of six in one / half dozen in the other. We typically like to mount the radiator first and then mount the waterblock but there is really no ‘wrong’ way to do things. Depending on your case this means either a front ‘vertical’ mounting or top ‘horizontal’. We prefer horizontal as it results in less noise… but a good case can be made for vertical in the front. For example, with the MSI Gungnir 110R there is no way, no how to mount it at the top. It will have to be mounted in the front. It will have to be mounted in the front with the last fan removed. So while we like the funky little Gungnir 110R, it is not an optimal choice for this – or any – 360mm radiator based AIO. Your Mileage May Vary… depending on your case.
Whether it is top or front mounted (or possibly even side or bottom mounted) grab the 12 short screws. Gently lay the rad in place and secure it with said screws. Before you screw it in… make sure that the pump and fan cables are orientated on the proper side. Otherwise, you will end up with a much uglier final build. So, if things need to be changed… do it now. This is one of the reasons we like to start with the rad and not waterblock mounting.
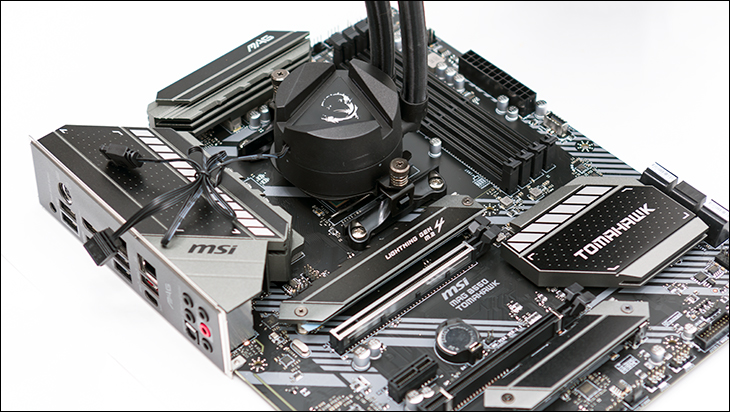
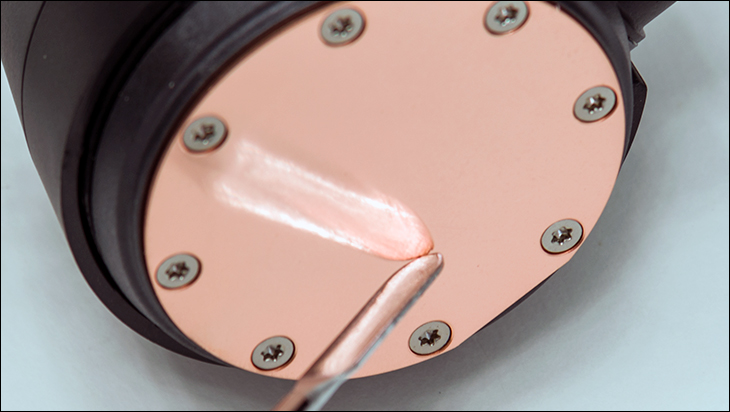
When it comes to mounting the waterblock you basically will be limited to two options. The inlet/outlet ports towards the front of the motherboard/case or these ports towards the back of the motherboard/case. It makes zero difference as this is where the Alpatek installation diverges from Asetek. Diverges in a good way. For most, we prefer the front of the motherboard orientation. So apply a small amount of TIM (the amount will vary depending on size of CPU, and so too will the style. We prefer the grain of rice for smaller CPUs and multiple non-overlapping lines for larger … remember the thinner the better. Too much TIM is just as bad as too little. So ‘less is more’ when it comes to how much TIM).
When the TIM is applied, mount the waterblock and secure it. If you only have two screws… one turn then one turn on the other is best. With four screws use one turn then diagonal one turn, then rinse and repeat for the other two. Do not crank one screw all the way down before moving on. That is a Bad Thing™.
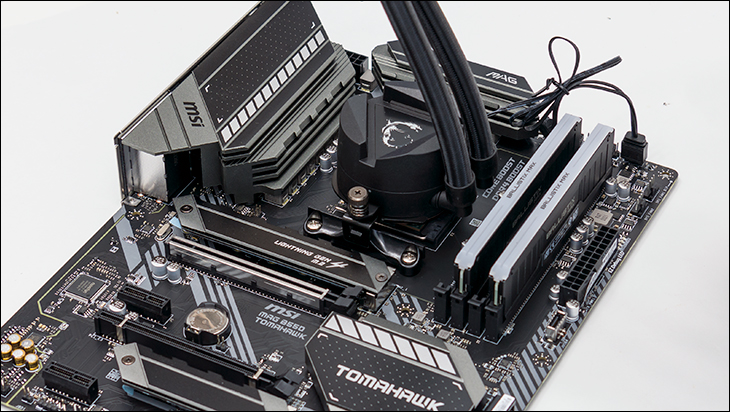
If the waterblock’s sole cable is not where you want it… turn that bad boy until it is pointing where you want it. That one little tweak to the typical installation process is brilliant engineering and really makes things so much more user-friendly.
At this point you are good to go. Fire up the rig (after reinstalling the case doors) and then, if you want, install the MSI software or use your motherboard’s RGB controller software… or leave it ‘as is’. In ‘as is’ configuration the four RGB headers will ‘breathe’ as they cycle in color and intensity. Some will like this, some will not. Either way, once you got things looking the way you want them to, you are good to go forth and enjoy your new upgrade.


