When consumers purchase this unit they must understand that it is not a full system and rather is the foundation upon which a high performance NUC system can be created. The downside to this is that you do need to purchase certain parts separately, namely the RAM and the Storage. The CPU, wireless, audio, and basically all the rest is taken care of for you. On the positive side by not including these necessary parts Gigabyte has been able to not only lower the overall cost, but allow you the luxury of choosing exactly what kind of system you want – something that laptops and prebuilt systems do not offer. In our case we opted for Crucial Ballistix Sport DDR3 Low Profile DDR3-1866 ram. These two modules are each 8GB in size giving a nice 16GB of fast ram. Better still is this ram is extremely reasonably priced at only $105 and comes with a lifetime warranty.
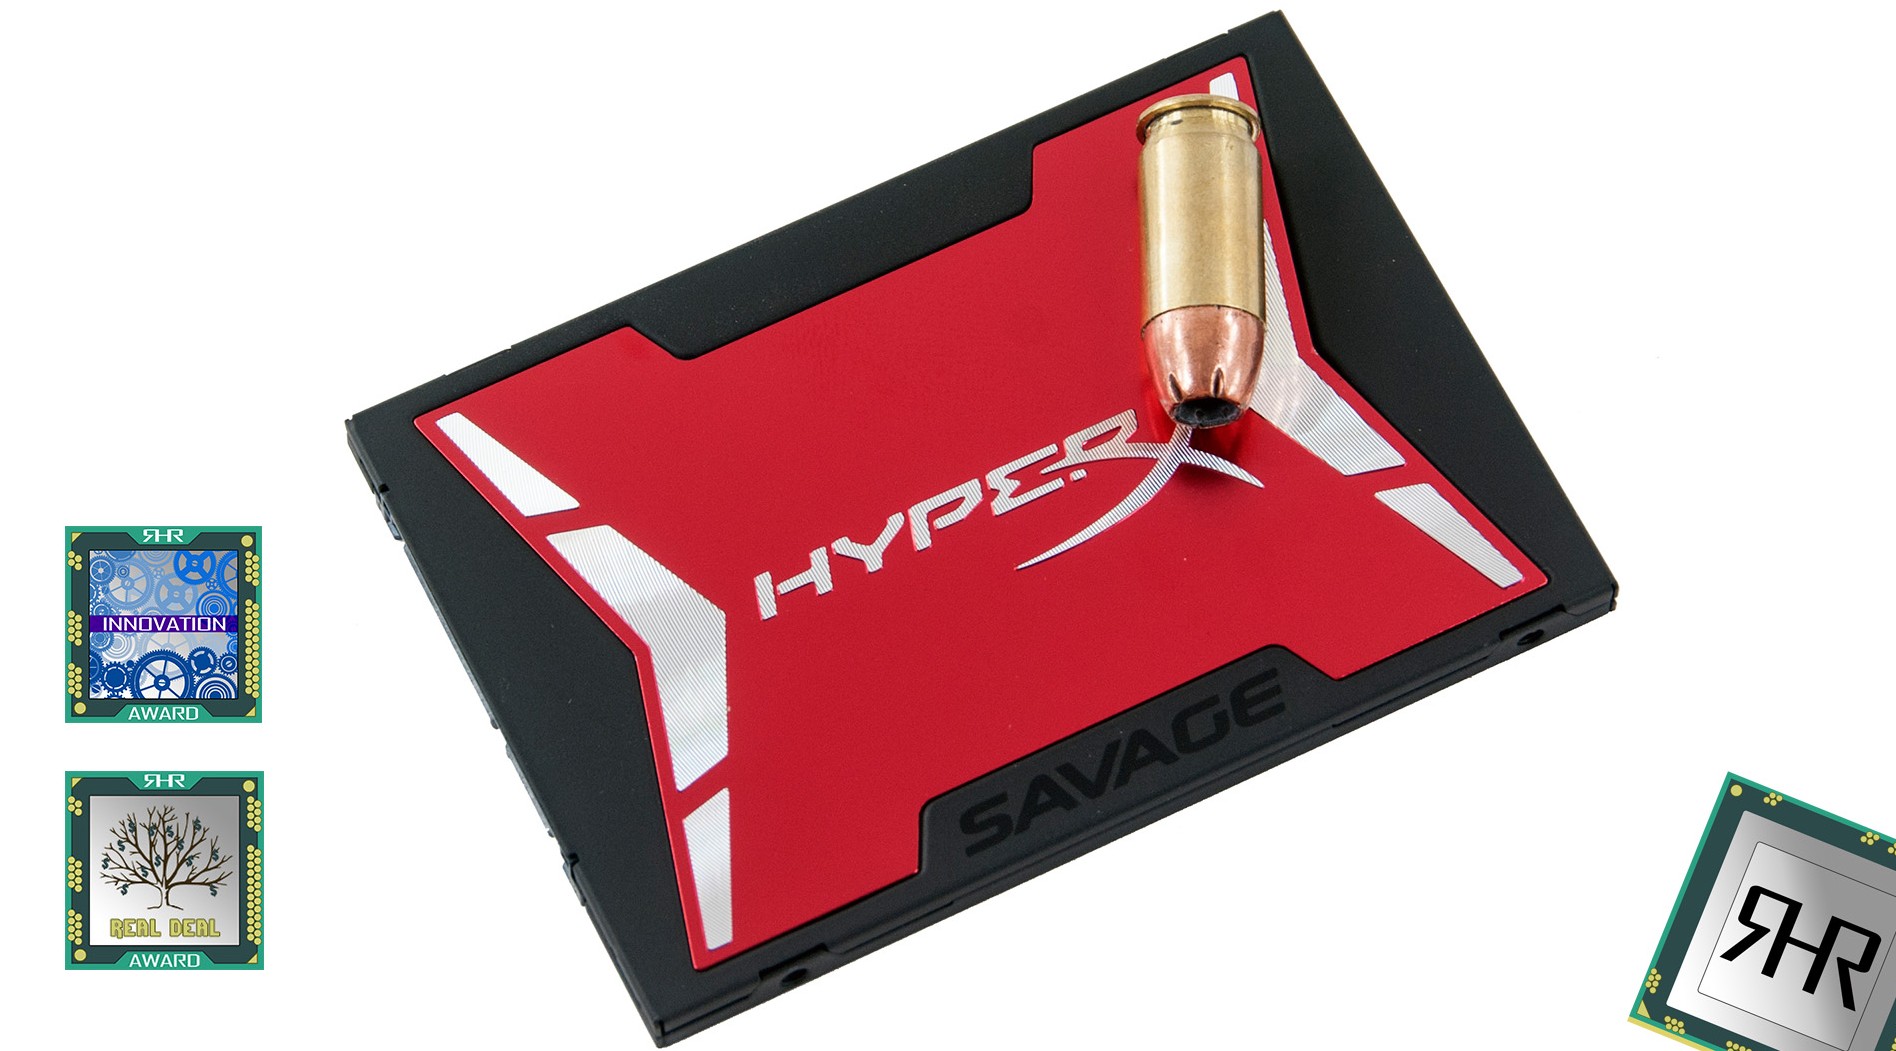
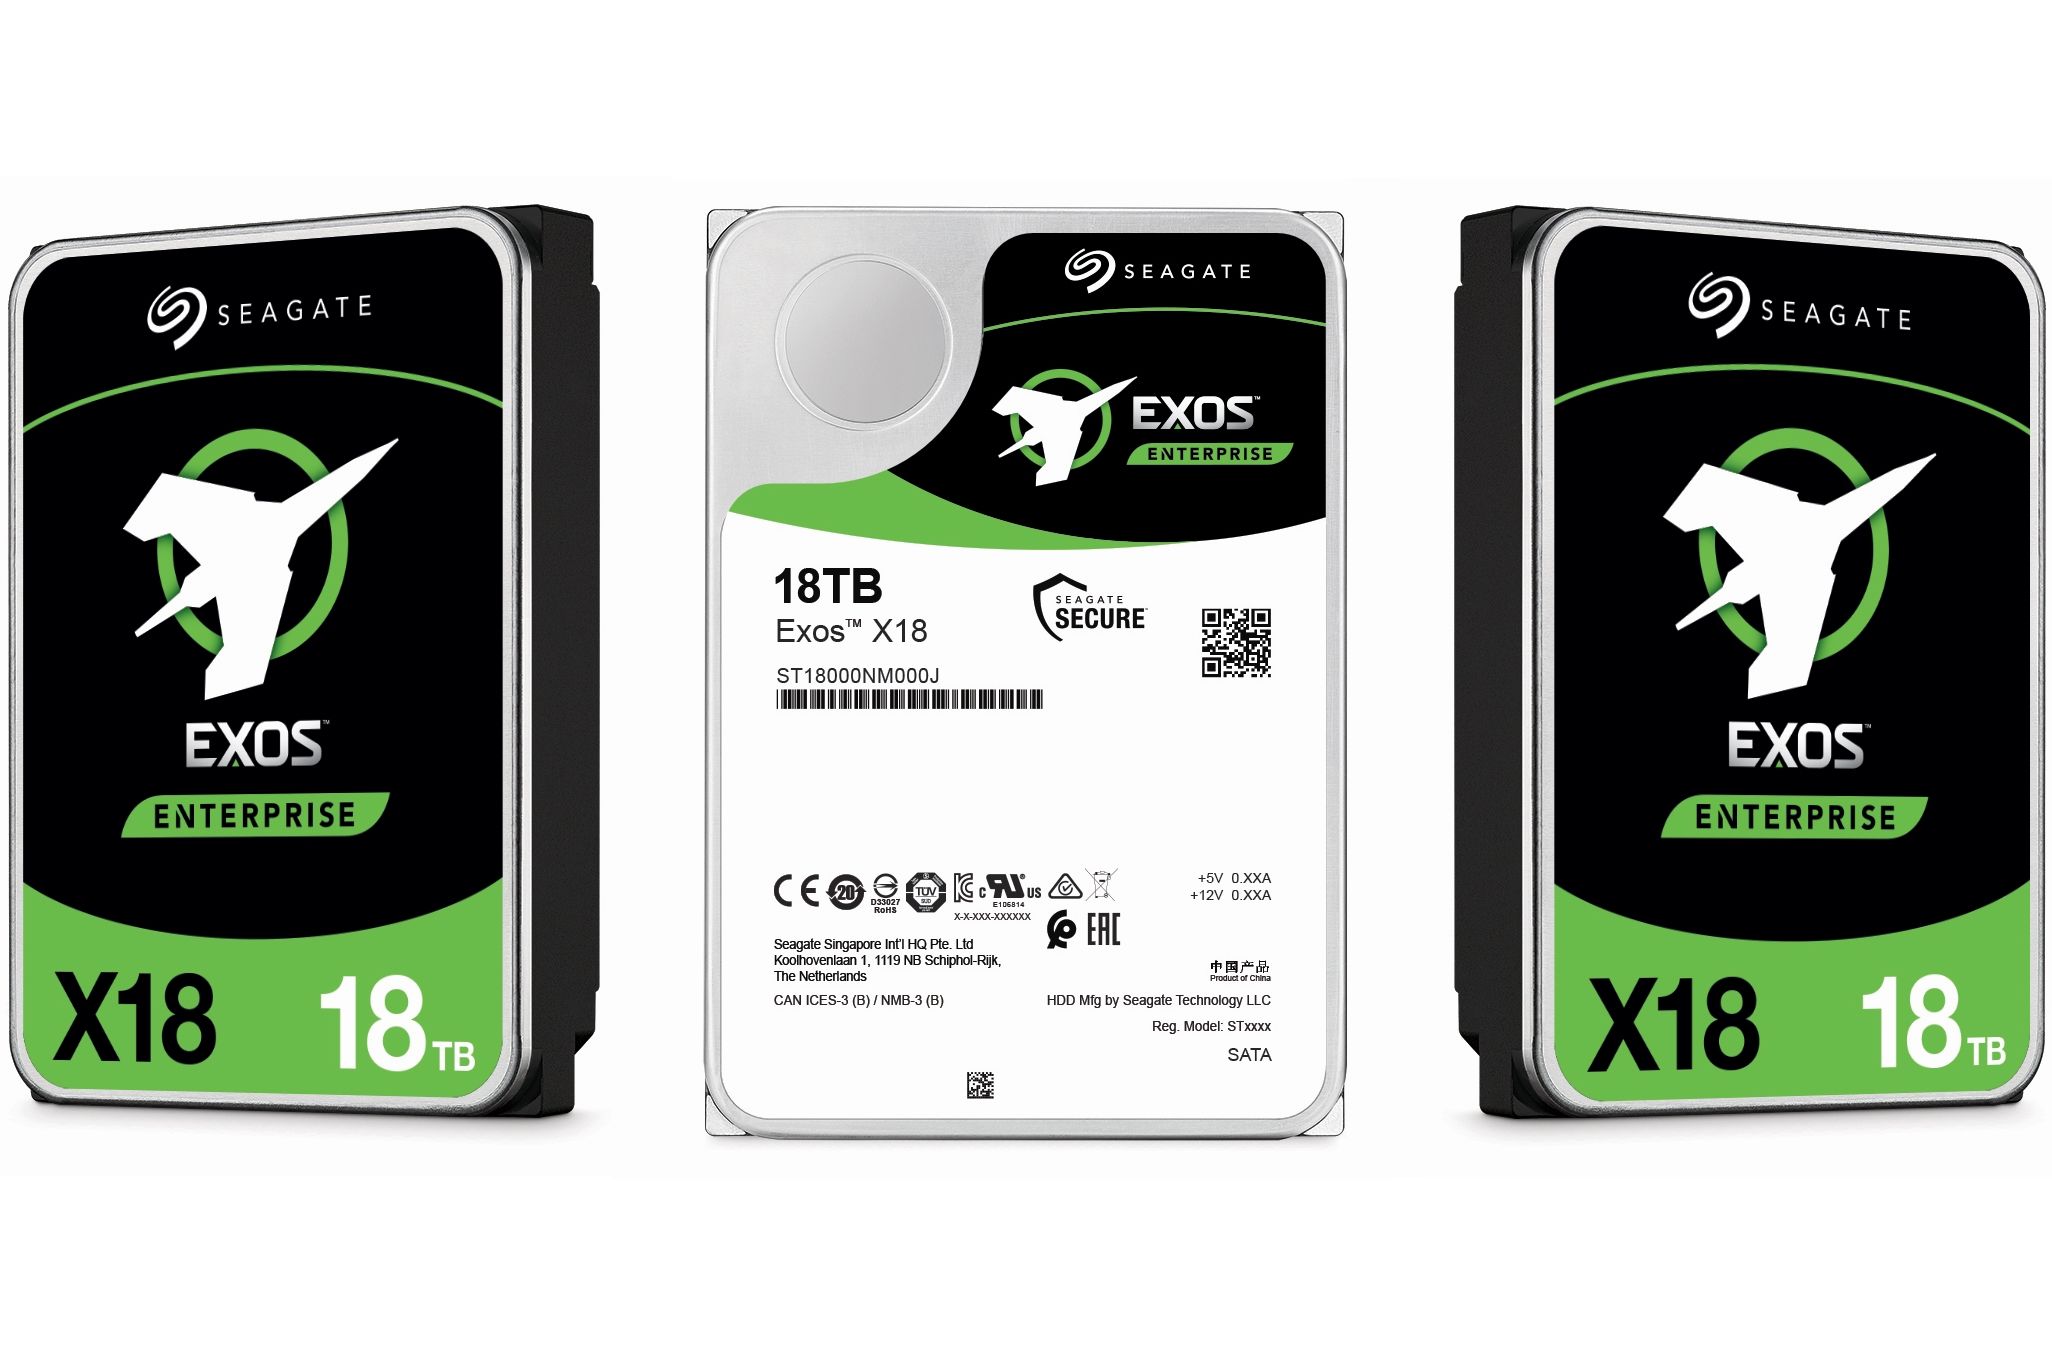
 For the storage subsystem we opted for what is easily one of – and arguably the – best mainstream solid state drives available to today: the Crucial MX200 1TB. This drive is both fast and spacious enough that many consumers will not even need to use one of the USB 3.0 ports for an external storage device. However if you really need more than 1 Terabyte of space a SSHD for Seagate would also make a very reasonable choice. These two items bring the grand total of this NUC system build up to $640 – which is still bloody reasonable.
 To being remove the lid, as described in the previous page, and install the two DIMMS. These RAM modules are installed just as if this was a laptop – horizontally not vertically. Only after this is done should you then install the Solid State Drive. Doing this in the opposite order is not as easy as the SATA cable may block the RAM from being installed. On the positive side, this is all you need do to create a working Broadwell system – bedsides reinstalling the lid.
 Then all you need to do is plug in your monitor, keyboard, and mouse. Then using any USB flash drive you have install your OS via USB. This too is a very painless way of doing things, and is our preferred method. Of course you can use an external DVD drive to load the OS via an optical disc but that really is slow no matter what system you use. The OS will install as it usually will and is basically hands off with no need of custom installing and hardware drivers.
After this is completed and you are so inclined you can enter the BIOS during POST as you normally would and change the amount of memory dedicated to the iGPU. The default is a paltry 128MB, but since we had plenty of free RAM we boosted it to the maximum allowed 2GB limit. The BIOS itself is a bit on the dated side and reminds us of older generation ATX Gigabyte Motherboard’s ‘Classic Mode’ BIOS, but is still more than serviceable. Just be aware you will not be greeted by a GUI BIOS and rather old fashioned BIOS.
On the positive side, we did not need to modify the speed of the RAM as it self-configured itself to take full advantage of the slight boost in performance our LP-DDR3-1866 sticks offer. This was a nice little bonus and made entering the BIOS even less important. In any event this is an extremely straightforward, and user-friendly, installation as anyone could hope for. Color us impressed.


