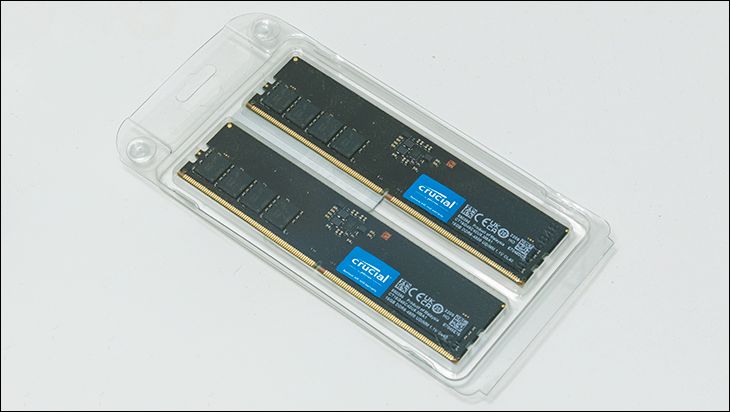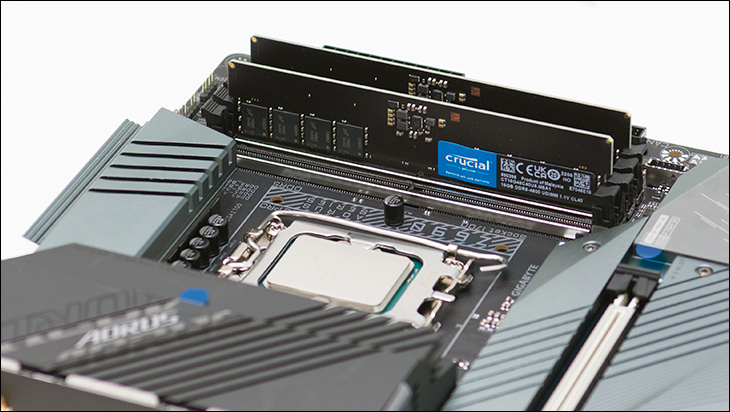
Another important change is lower voltage requirements of DDR5 when compared to DDR4. While yes a ‘mere’ 0.1 volt reduction does not sound like much it does have a noticeable real world impact, as it is a 8.7 percent reduction in electricity and thus 8.7 percent reduction in heat. Sure, this reduction will mostly be noticed by mobile computer owners rocking DDR5 systems and enterprise owners rocking an untold number of RAM in a server farm… but it is why the Crucial DDR5-4800 CL40 kit and its nekkid DIMMS are not overly concerning. DDR4 arguably did not need heat spreaders and at stock voltage DDR5 certainly does not if your internal air flow is even halfway decent. For example, the DDR5 ICs used in this kit are rated for 0 to a massive 95 degree Celsius. So yes, even the gentlest of gentle breezes can keep them within their generous operating temperature range.
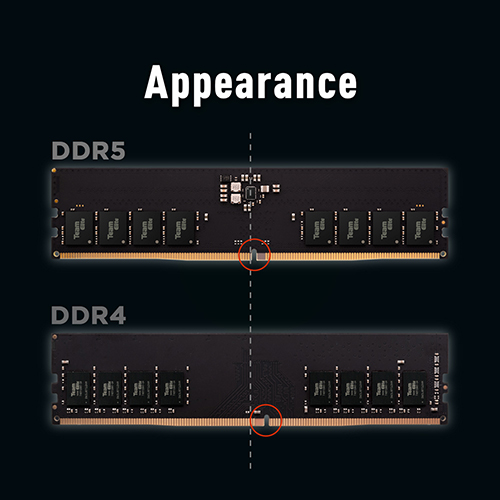
Going hand in hand with this decrease in heat output is on-board temperature sensors are now part of the JEDEC standard. Yes, many a kit of Crucial DDR4 RAM came with temperature sensors onboard, but now you can rest assured that no matter what DDR5 kit you buy it will have the ability to thermally limit itself in the event of system builder idiocy (and/or cooling fan failure).
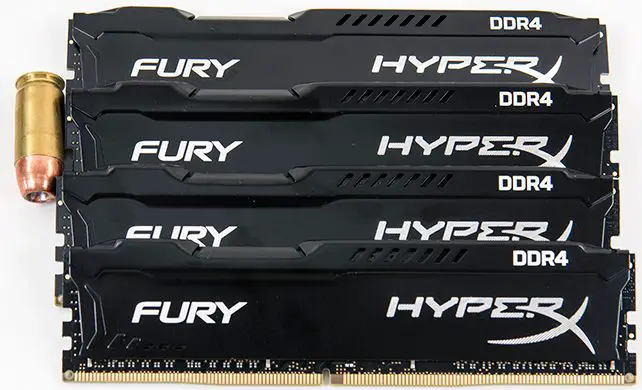
If for whatever reason you do feel you need heat spreaders for DDR5-4800 1.1v DIMMS. Fear not. You do not need to spend extra for a factory equipped set. First and foremost is DDR4 and DDR5 DIMMS have the exact same dimensions and layout of the RAM ICs on said board. So if you have an older set of DDR4 laying around you can shuck them and reuse the heat spreaders. If you do not, or for whatever reason don’t feel like shucking your existing kit of RAM… head on over to everyone’s favorite slowboat from China distributor AliExpress. For as little as $3 (USD) a stick you too can own ‘furious’, ‘savage’, ‘blade’, ‘ballistic’, ‘Neptune’s Trident’… too many RGBs types to count…. ‘elite’… even copper heat spreaders. Just be warned. They will almost invariably come with either terrible thermal pads (typically sub 8w/mk even if they are labeled as “12m/wk” or higher), or double-sided tape (~0.6w/mk). Ugh. Thankfully, Gelid, Alphacool, Arctic, and many others, all make legit and reliably rated thermal pads. They just cost more than the heat spreaders they will be used with… but, even if you exclude the fact you can get more than a single kit of RAM out each thermal pad package, it is worth the upgrade lest you do all that moding just to get worse temperatures.
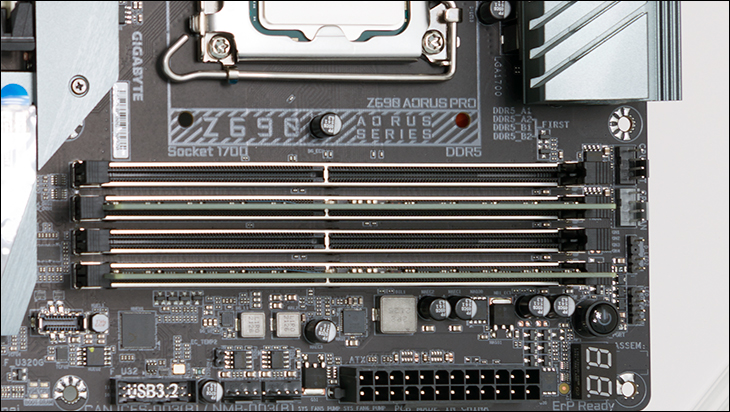
Before moving on. This however does raise an interesting question on what thickness of thermal pads one should use if one so chooses to cover their new Crucial DDR5-4800 CL40 kit of ram. While it is indeed true that thermal pads do squish to a certain extent, and you do want a bit of squish to ensure proper contact, thinner pads are better at transferring heat than thicker. So, if you want to do it right a bit of measuring and math is (pardon the pun)… crucial. If you are buying new heat spreaders (we actually are tempted by $8 Freezemod which look suspiciously like simplified Elite heat spreaders) simply put the two halves together, measure the gap. Then measure the complete thickness of the DDR5 RAM stick. In this case (from top of RAM IC to back of the PCB) they are ~2.14mm thick. Subtract one from the other. Then if using double side RAM sticks divide by two. If single sided… divide by 3 (as you will use two layers of thermal tape on the blank side to account for lack of IC thickness. Since thermal pads come in standardized thicknesses of 0.5,1.0,1.5mm,etc… round up if needed to account for any minor variances. Not down. You will want a bit more squish of the thermal pads rather than no contact between the IC-pad-spreaders!
If you are cheap and/or impatient, and have a set of heat spreader clad DDR4 sticks kicking around in your parts bin the process is a bit different. First make sure that the two sides of the heat spreaders are held in place with more than just tape. Instead confirm they use either clips, clamps, screws or some other method to firmly squeeze and secure both sides to the stick of RAM. If they do not use such methods… they are using double-sided heat tape to hold the heat spreaders in place. That type of heat spreader is mainly for aesthetics only and will be sub-optimal… as heat tape is great for securing things together but not so great when it comes to transferring heat from the ICs to the heat spreaders. This goes double for the PMIC which is going to be putting out heat. Possibly/probably more than any DDR5 IC at this side of insane voltages. So pay close attention before you shuck an existing DDR4 kit for its heat spreaders.
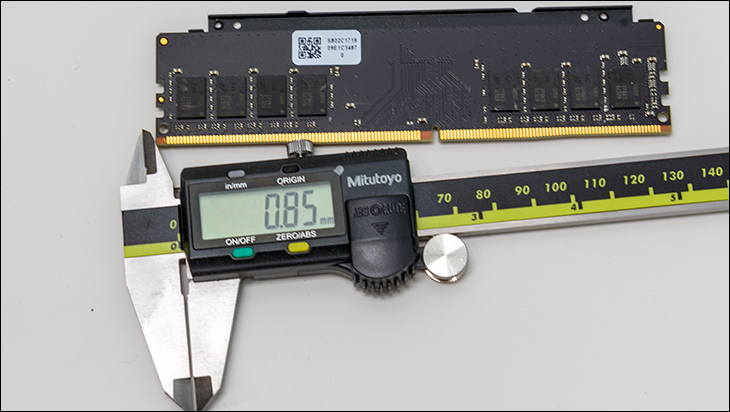
With that caveat out of the way, the next step is to carefully shuck your old RAM’s heat spreaders. Try not and bend them as they are going to be attached fairly well to the ICs and while you don’t really care about the RAM ICs, straightening a bent heat-spreader is a royal PITA. You then want to measure the height of the RAM ICs used on your old DDR4 sticks. In this instance it was 0.85mm according to our calipers. Write down that number (or whatever your calipers give you). Then measure the height of the thermal pads used on the heat spreaders.

In this case it was a mere 0.34mm. Add those two numbers together – giving us (in this example) 1.19 total height between the PCB and the heat spreader that needs to be filled up. Per side.
Now measure your new DDR5 RAM ICs. In this case that is 0.72mm. Now subtract 0.72 from 1.19 to solve for Y. With Y being the height of heat pads needed. Since thermal pads come in standardized thicknesses… round up if needed to account for any minor variances. In our case we would need one layer of 0.5mm thermal pads on the IC side, two layers (plus a strip of ~0.2mm thermal tape) on the other side to make sure pressure was even and gave a bit of squish.
Then measure and cut new heat pads from the big square thermal pad you bought. You want them to fully cover all the ICs but they do not need to cover the entire height of the PCB. So make sure the ICs and the PMIC will be covered before you cut… but don’t waste any of it either. Then install them and reinstall the heat spreaders. Rinse and repeat for the other DIMM and presto your DDR5 kit now has an upgraded look and increased cooling abilities.
