BIOS TL;DR
If there was one area that Biostar was not known for excelling at in the past it was their BIOS. That is not to say previous generations had bad BIOS or a poor interface per say, but they were certainly behind the curve when compared to ASUS, GIGABYTE, or MSI. Thankfully, the ultra-conservative BIOS team managers at Biostar have taken all the constructive criticism to heart and polished and refined the Biostar Racing Z170GT7 BIOS to a razor edge. Put simply this new BIOS layout and design is just as good as what can be found from the more well-known companies…. and in many cases it is better. Simply marvelous!
Basically for those who have used Biostar motherboards in the past and ‘know’ what to expect from them in the BIOS department you will be in for one heck of surprise. Gone is the outmoded and outdated configuration and instead is a GUI based BIOS that is as easy to navigate as it is pretty to look at. Obviously Biostar have spent a lot of time and effort on this BIOS and have learned a thing or two from MSI, ASUS, and others.
Instead of having two separate interface options – simple and advanced – Biostar has rolled them all into one and the end result is a unique interface that has flavors or MSI and ASUS but is entirely unique. Basically instead of entering one and then having to exit it and manually entre the other Biostar has taken the best of both melded into one.
From the simple or ‘easy’ interface options that others use Biostar has taken the idea of large easy to see and use icons and yet instead of having them be very shallow in their options taken the usual ‘advanced’ interface options and layered them in underneath these icons. This however only touches on the surface of the UI.
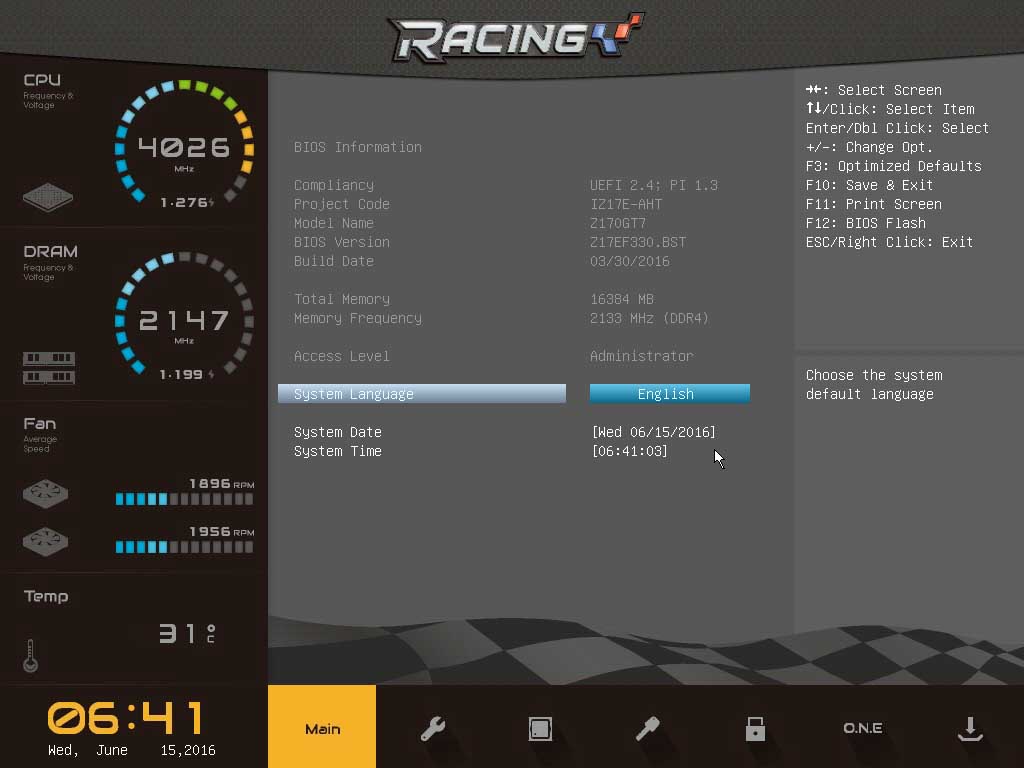
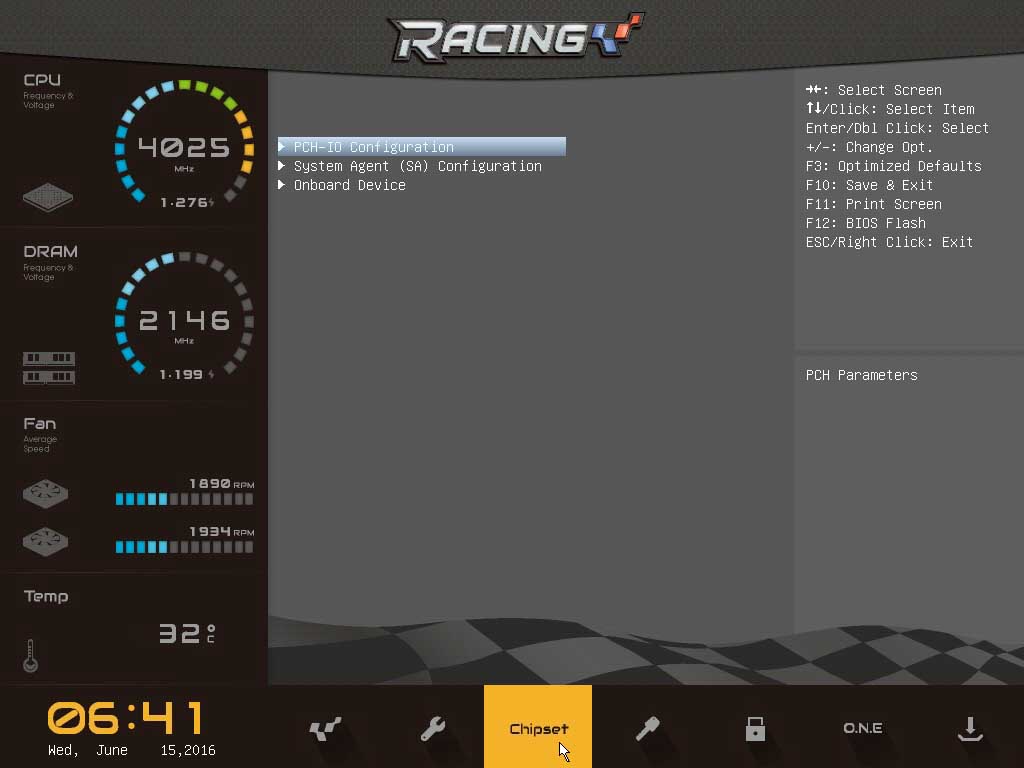
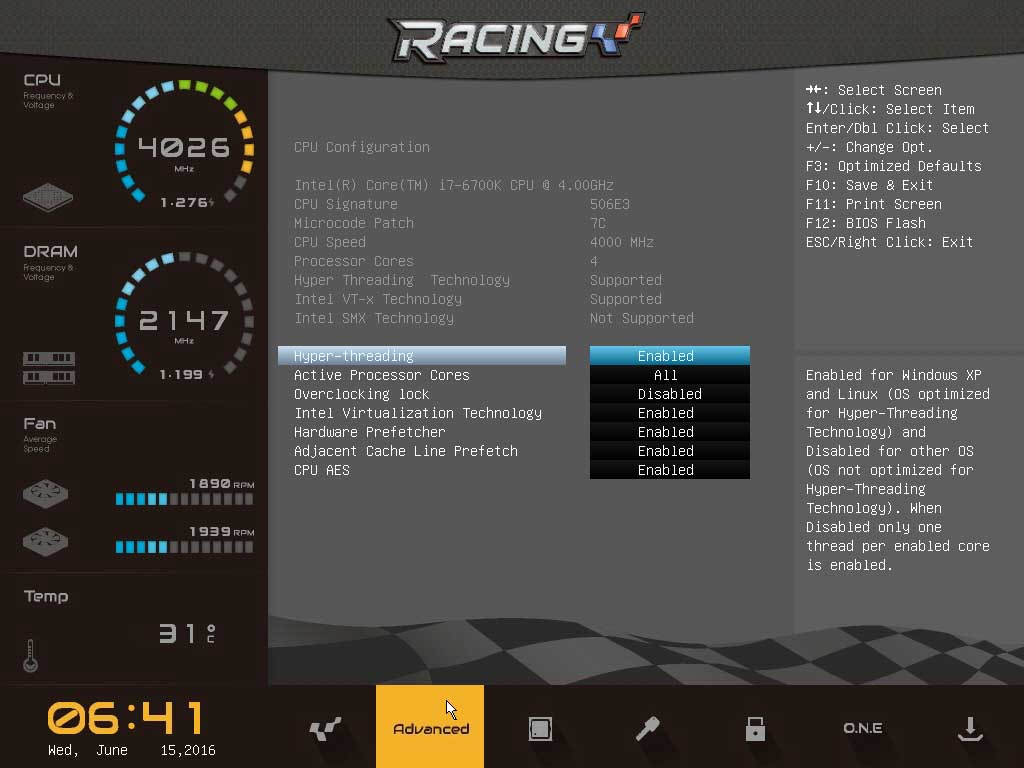
The easiest way to think of this UI is, much like with a MSI motherboard, this User-Interface is a web portal. Much like an old-school webpage you have a menu bar, and three columns. Unlike MSI however the layout makes much better use of the screen’s limited real-estate. Running along the left side of the screen is a static column, in this approximately 25% of the screen you will be able to easily see what speed your CPU and RAM are running at, the voltage being applied to these two critical components, your fan’s speed, the temperature of your CPU, and what the date and time has been set to. This is basic data that covers a lot of ground albeit it still takes up more room than we would have liked it to.
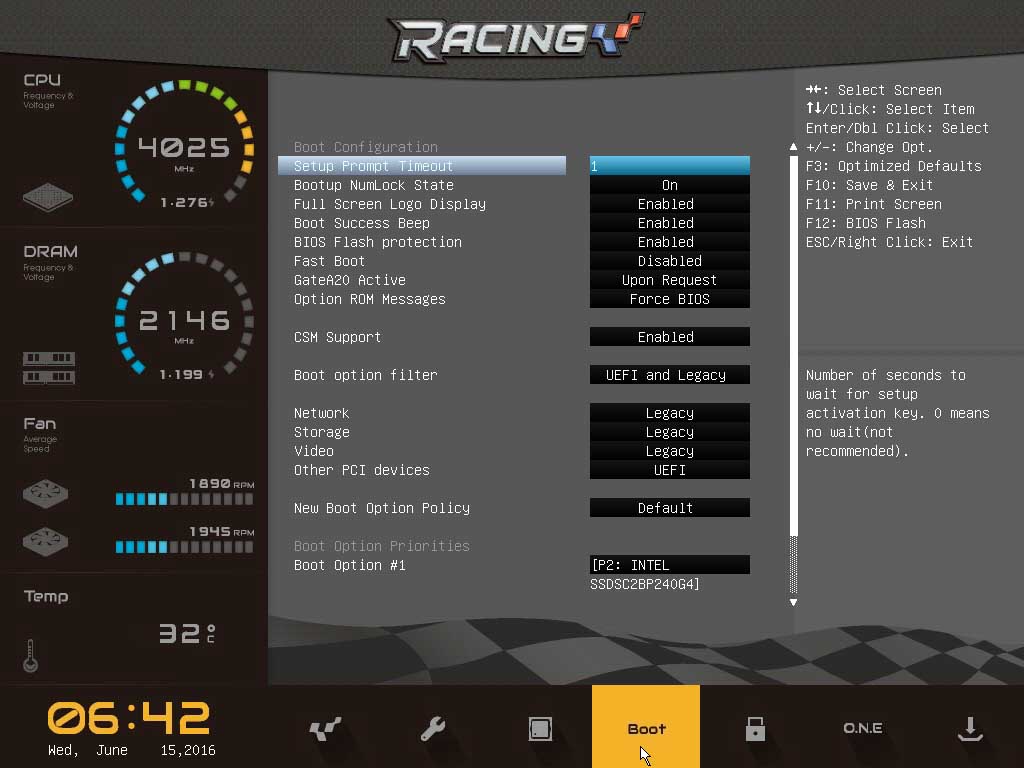
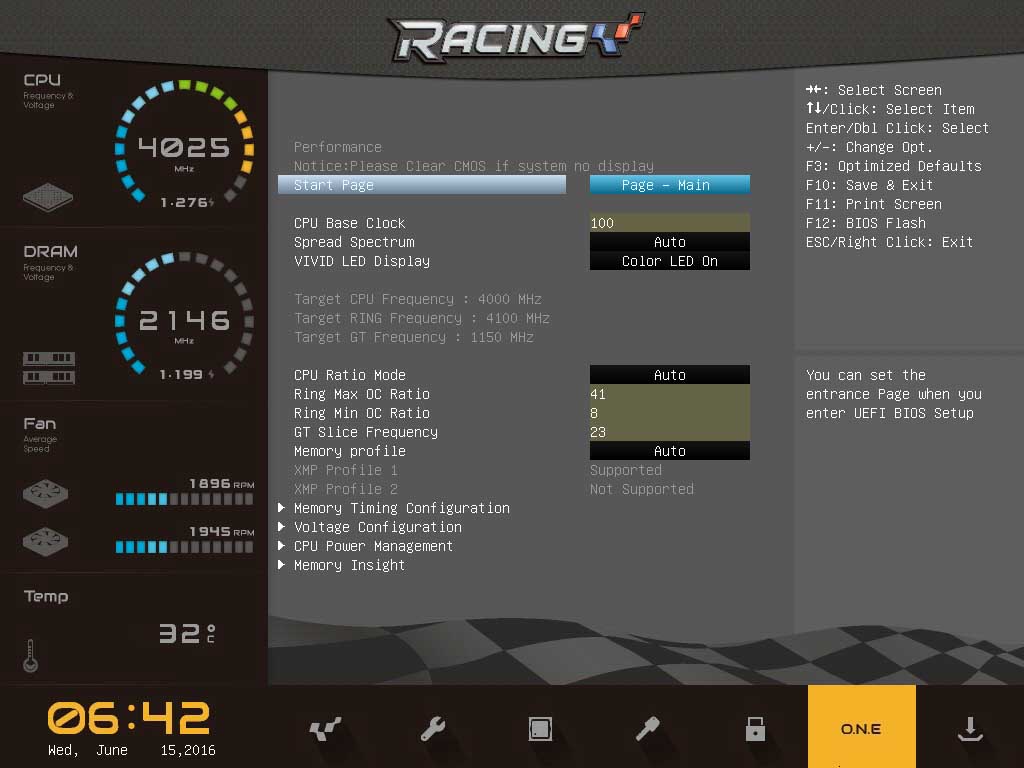
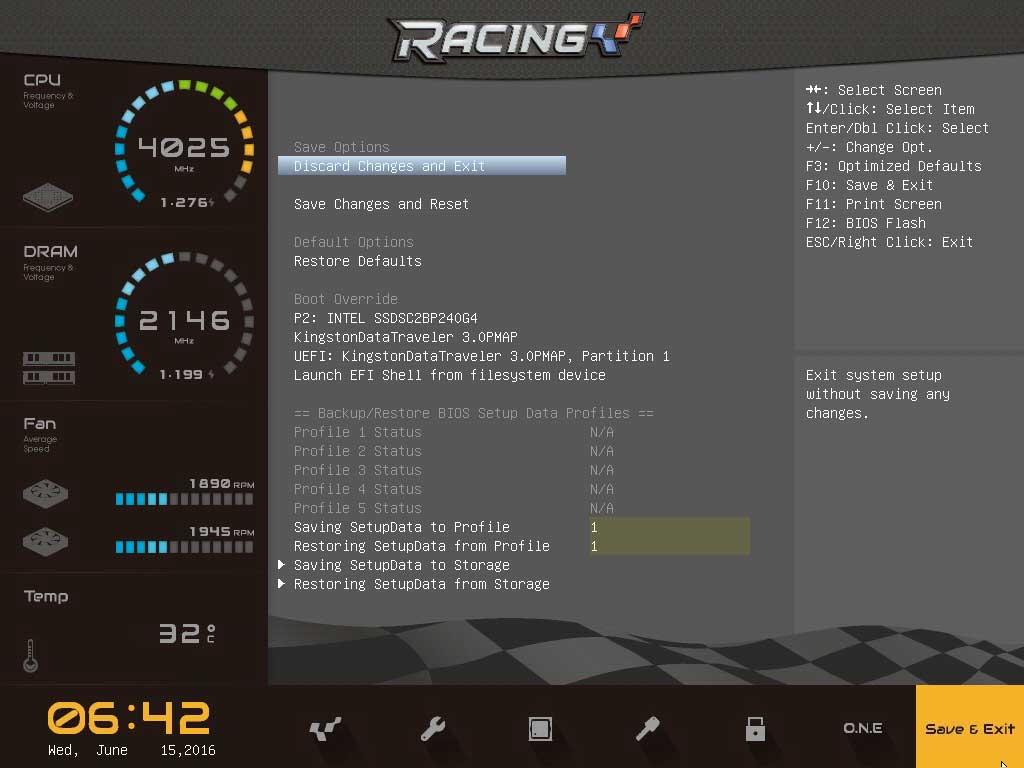
Along the bottom of the screen is a short row that is best described as this BIOS’s menu. While it may be odd to have the menu at the bottom (a ‘footer’ so to speak) instead of at the top (aka ‘header’) this minor quirk does not interfere in the overall ease of use. It is just different – and neither good nor bad… just different. In this area you will find the main sections of the BIOS – just as you would in another manufactures ‘advanced’ BIOS mode. These sections are Main, Advanced, Chipset, Boot, Security, ‘ONE’, and Save & Exit. The Main section offers a brief over-view of the system and allows for basic configuration such as changing the date, time, and the language used.
The Chipset section allows modifying basic chipset features such as the PCIe configuration, enabling/disabling the Intel NIC and audio controllers, and other basic features.
The Advanced section is more accurately described as the advanced chipset section as it goes into more fine grain control of things such as SATA port configuration, USB configuration and the like.
The Boot section allows you to change the Boot priority order, fast boot options, full screen logo, and some nifty advanced features like how long the Prompt Timeout will be set to.
The ‘ONE’ section need a bit of explaining. This is the overclocking page and if you plan on overclocking your system this is where you will spend most of your time. Everything to CPU base clock, uncore ratio, memory speeds, voltages, all will be found here. This section is filled with sub-sections and each is detailed and should provide enough options to satisfy most average consumers.
Save & Exit, and Security are fairly self-evident. One goes over setting up an admin password and modifying the secure boot menu, while the other allows you to… save and exit the BIOS.
