A Look At The Interface
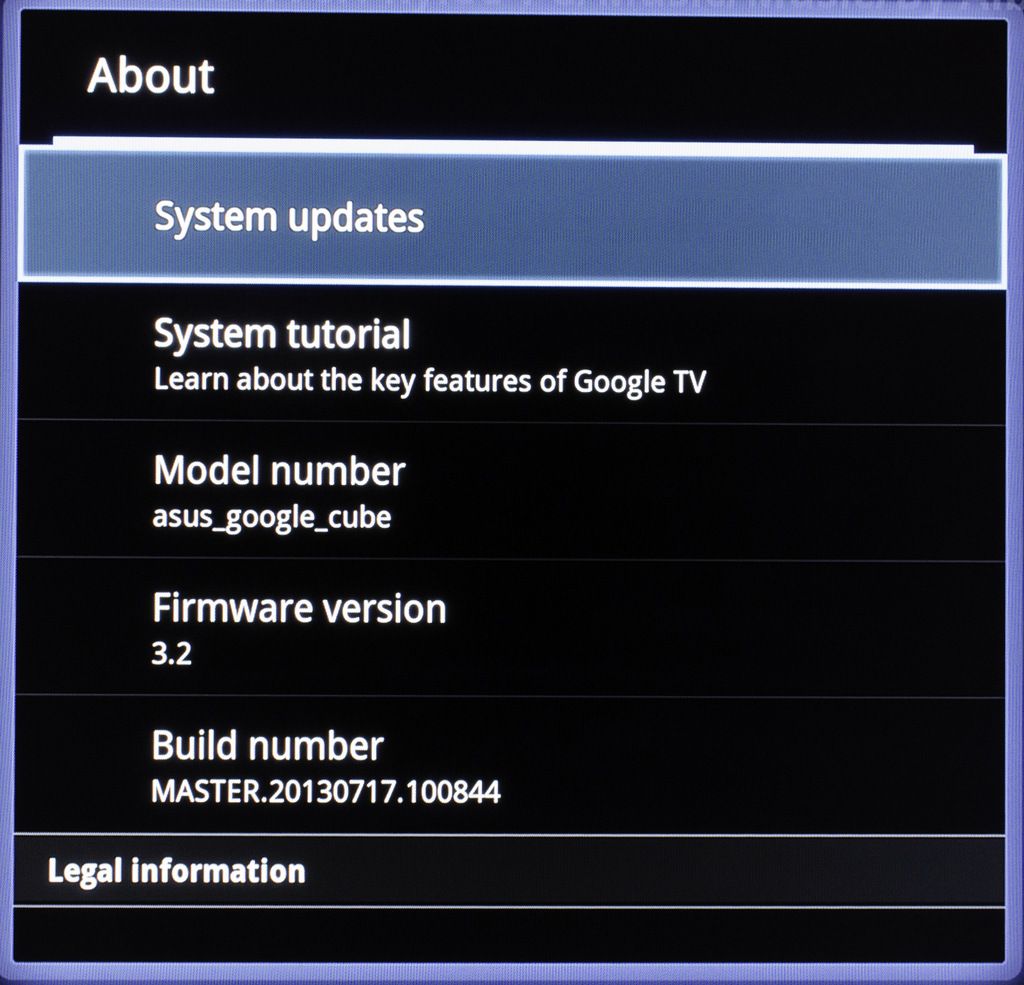
 Setup for the Asus Cube was a relatively straightforward process. If you have ever set up an Android device before you will be right at home with this, as it is running a modified version of Honeycomb.
If you wish to, the IR blaster can be configured during the initial setup. The IR blaster is something that I was sceptical of at first, but found to be very simple to set up. If you have one of the TVs from a staggering list of manufacturers and models the setup is even easier. Otherwise, you just need to choose your manufacturer and go through a bit of trial and error until one of the codes works. You can easily toss your TV’s controller aside once it’s all setup.
Once you finish the initial setup you are greeted with the Asus Cube user interface. Everything here is sorted by category on the left side of the cube, with up to six of the programs of that type filling up the right. The categories are: Favourites, TV and Movies, Games, Social and Life, Sports, Music, News, Education, and Photo. You can customize what you want to show up under each category, moving them around in any which order you please. You can also add widgets, although choices are sparse.
The interface can take a bit of time to load up after switching between apps but I would not call it unbearable. Once the interface is loaded the navigation between categories is smooth. As you can see in the picture above, whichever app you have open when you decide to hit the home button will get put into the background until you go back to it or another app.


