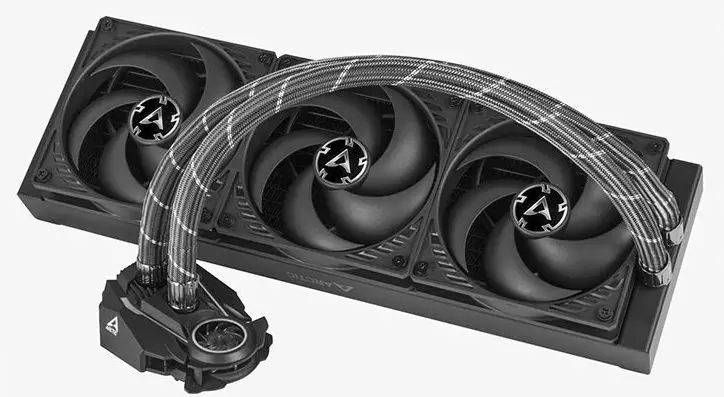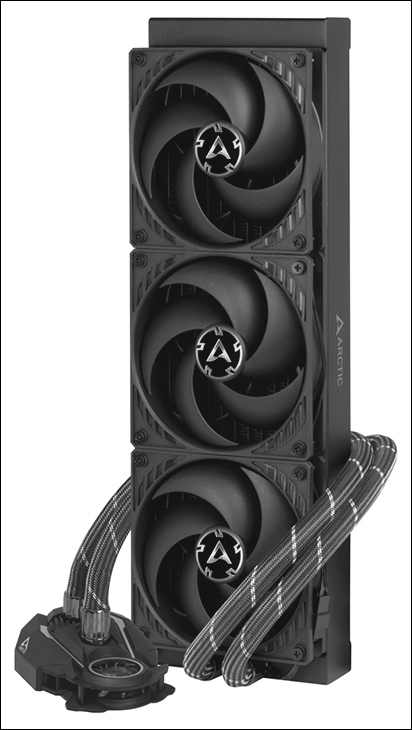
Before we begin let us state the obvious. When you buy a 360mm class water cooling solution you have to expect more installation issues than the typical AIO. Even compared to 280mm class All In One devices… expect case installation issues. You will have to pay careful attention to how much room you actually have to work with. Even with cases that claim 360mm support… not all truly support them. Instead many simply allow you to mount a 360mm rad and two fans to it – leaving the forward most fan slot empty. That is a sub-optimal configuration to say the least.
In this regards the Arctic Liquid Freezer II 360 also comes with above average issues. A thick as a bowl of oatmeal 38mm radiator with 25mm fans means you need at the absolute minimum 65mm of clearance… and even that only leaves a ~2mm gap for air flow. So, if you think this cooler meant for enthusiast grade systems is going to work in some plebe case… think again.
Expect to pay a premium for a case that actually can handle a 360mm AIO optimally. Thankfully there are plenty of good cases to choose from. Even ones where the AIO is mounted vertically at the front of the case and not horizontally at the top. Choose wisely or you are going to have a very bad day.
Much like previous Arctic CPU cooling solutions we have looked at in the past, the Arctic Liquid Freezer II 360 comes with extremely good hardware. Installation hardware that is well thought out, well-engineered, and does get the job done… or at least will get the job done as long as your motherboard’s socket type is on the list of compatible options and the CPU manufacture’s name begins with an ‘I’. Basically, if you have a really old Intel (775 or 1366) based system, or anything older than AM4 (or have ThreadRipper) based system the included hardware will simply not work, and AMD AM4 users will have a harder time than Intel users.
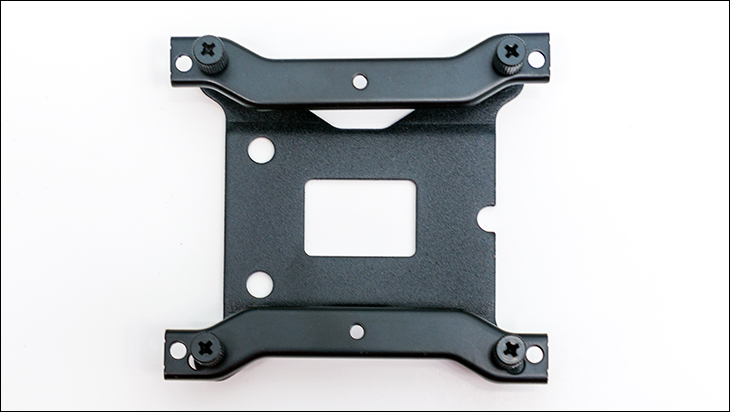
On the positive side, and unlike some of Arctic’s own air based cooling solutions, you will not be dealing with typical Asetek plastic backplate and thin metal mounts – which can strip easily. Instead the metal in the included hardware is good enough that if by some quirk of Mr. Murphy you do strip one out… you can thread and tap in a new screw thread pitch with little worries. The quality is just that good.
While bigger than most, if you have any experience with installing AIOs in the past the Arctic Liquid Freezer II 360 will pose no real issues for Intel users. Arctic has not tried to reinvent the wheel here. They simply use better equipment to do the same things than most. Like all, you are best to start by mounting the waterblock to the motherboard before moving on to the radiator installation. Depending on the case this may mean removing the motherboard first. Either way this is how you would start installing any AIO and is how we would start with the Arctic Liquid Freezer II 360.
Also like the vast majority of AIO’s the hardware you use will vary depending on what socket type you are using. For AMD AM4 and Intel HEDT based systems you will be re-using the motherboard’s stock backplate. This is an unfortunate as the Intel 115x backplate really puts to shame any motherboard manufacture’s ‘stock’ backplate. So if you are using 115x the process is simple. Place the backplate in place, push the four posts up and through the motherboard and secure it in place with the proper included double-ended threaded bolts. For Intel HEDT… simply thread in the smaller Intel HEDT double ended threaded bolts in the bag and move on to the next step. For AMD AM4 remove the plastic top bracket(s), reuse the stock backplate and then temporally secure it in place with some tape… tape that is not included. This is because there are no securing bolts for AMD. Instead AMD users will have to jump through a lot more hoops than Intel users.
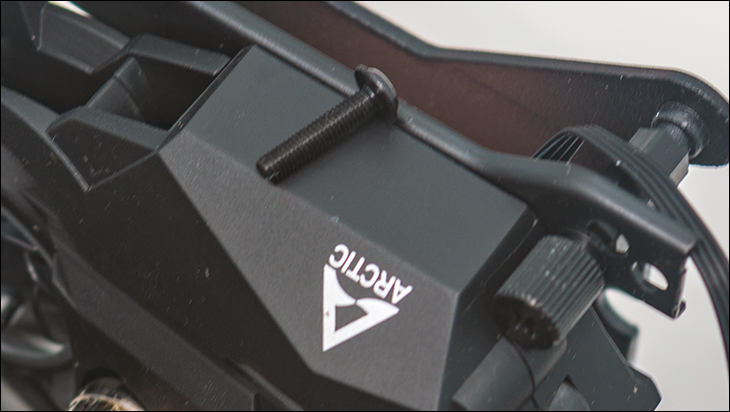
With that complete grab the two long metal arms and the waterblock itself. In the bag o’ parts you will see two long but fully threaded small diameter screws. These are used to secure the metal ‘arms’ to the water block. Line them up, one by one, so that most of the length of each arm is covered by the block’s top fascia and with the ends of each either sticking out or in. For Intel systems (both 115x and the two HEDT socket types) the two ends point out and away from the waterblock.
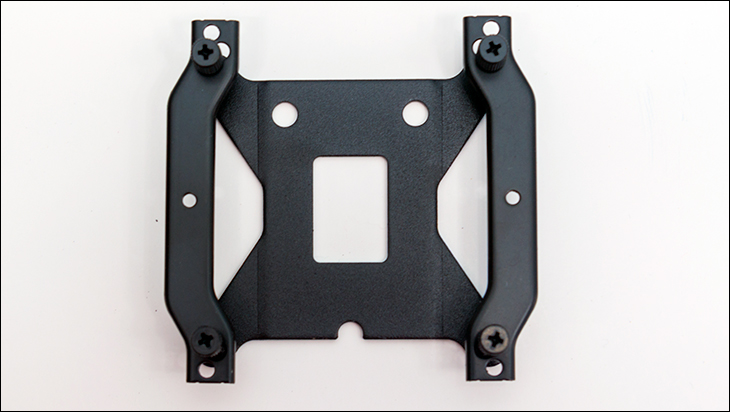
For AMD AM4 they point inwards towards the block. Just be careful you do not pinch the 4 pin power connector while doing this.
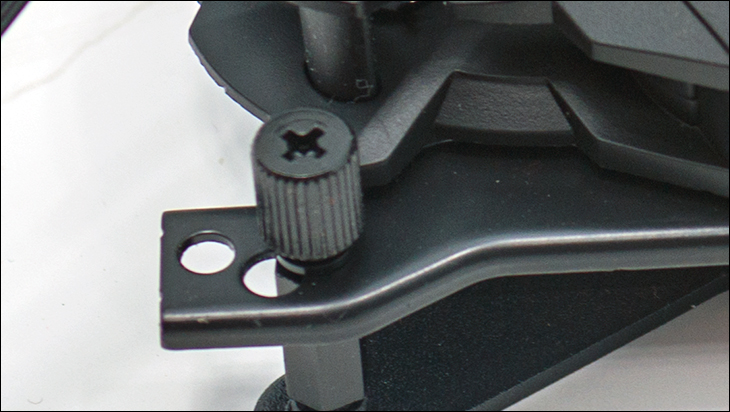
Then apply the included TIM to your CPU, peel of the sticker… and place the waterblock in place. You really will only get two directions to ‘choose’ from. Pick the direction where the integrated fan actually blows air over (or at least towards) the motherboard’s VRM heatsink(s). Secure it in place with the four thumb screws in a diagonal pattern using one turn/move to next/one turn process.
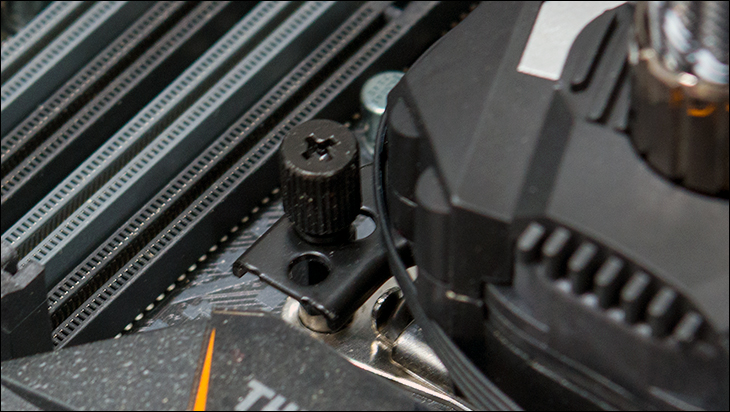
This only applies to Intel based system. For AMD users you will have thread the four long AMD bolts through the proper holes in the top bracket arms and then gently screw each one in… one at a time. This is a finicky procedure as the gap between the block and the metal arms is not much on the ‘back’ two screws. Take your time. Thread one bolt in one full turn. Move on to the diagonal bolt. Rinse and repeat until all four are tightened down. For less headaches, a second set of hands really will come in handy for AMD users.
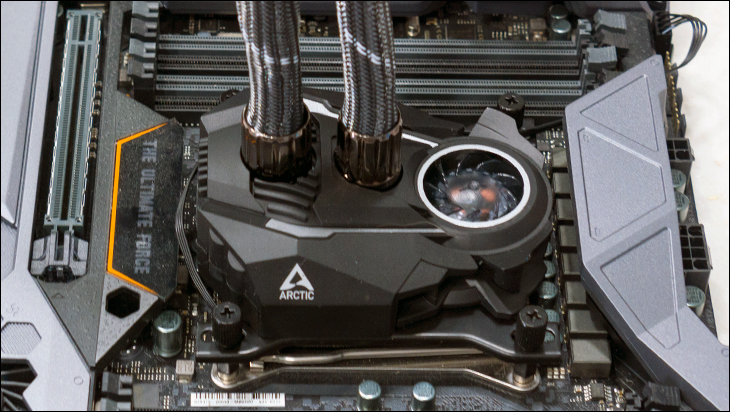
Next, we would remove any fascia from the case that is covering the exhaust ports you are planning on using. With that done, we would tip the PC case on its side so that you can still access the motherboard area. If you did remove the motherboard from your case this is when we would reinstall it. If you did not… having a second person holding the rad while you gently tip your case over is a very, very good idea.
When installing the radiator we would highly recommend orientating the tubing inlet and outlet ports on the rad towards the back of your case. That way the tubes do not block any 5.25 bays… and it makes for a neater installation. This is not what Arctic recommends, but that is because doing it ‘our way’ may block the rear exhaust port of your case. We would rather lose a 120/140 exhaust fan that a 5.25 bay. You may disagree with our priorities. In which case… do it the ‘official’ way. There really is no right or wrong method to top mounting this cooler. It just comes down to your priorities and your pArcticular case you are using. So don’t stress over it.
If you do opt for a front mounted orientation you are going to have to go with the inlet and outlet ports on the rad mounted at the top of the rad. The tubing is not long enough to do it any other way (in most cases)… and quite honestly an air bubble stuck in the top of the rad will not only reduce the efficiency of the loop but the hard to track down and variable noise will drive you nuts. To be honest, we dislike front mounting AIOs as you can’t not add in a water reservoir and ‘burp’ them.
In either case, we would strongly recommend not reversing the direction of the three fans. Doing so will mean pumping hot air into your case. Instead leave them as they are… and go with a ‘back to front’ or ‘reverse’ air flow configuration for your case. It is just too much heat for the typical video card to handle… and even storage devices will not like living in a heat box. The couple degrees in the difference from using ‘hot’ vs ‘cold’ air to cool the rad is not worth the trade-offs. So just don’t do it.
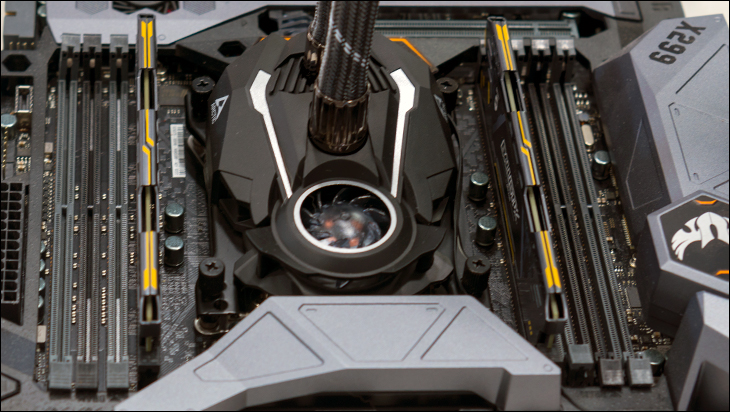
With this step completed all that is left to do is plug in the lone power header to your motherboard’s ‘CPU’ header… and if you are an AMD user remove the tape that was temporarily securing the backplate in place. In either case, there is no need to mess with extra cables. No need to mess with extra software installation. Nothing else. Simply run your mobo’s built in to the BIOS CPU fan controller app and figure out what levels of noise vs performance you are willing to live with. In this regards, this extra step is really not needed. Yes, you just added three fans to your system… but they are not that loud even when running flat out. You will most likely end up running the BIOS fan configuration simply to quiet down the 40mm fan that is cooling your VRMs rather than toning down the Arctic Liquid Freezer II 360’s 120mm fans. Now that is impressive. We just wish as much time and effort was put into securing this to AMD systems as it was Intel systems.
