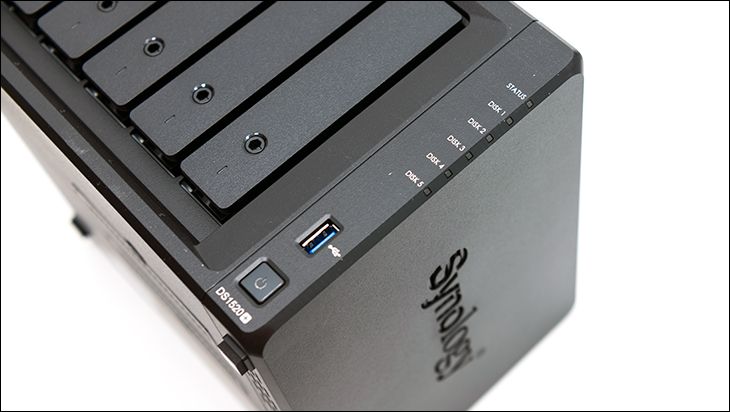
No matter if you have built and managed ten, hundreds… or zero Network Attached Storage devices. One thing will be the same: Synology has taken great pains and gone that extra mile to make your life easier. We say this as the setup and configuration process of the Synology DS1520Plus is extremely easy. So easy that you need zero experience with Network Attached Storage, it will hold your hand and do all the heavy lifting for you. With that said, and like any manufacturer, ‘The Synology Way’ has a few quirks that are unique to their process and expected workflow. That is getting a bit ahead of ourselves.

The very first step is to either log into your router and find the IP address and then open up your web-browser of choice, enter it and then add “:5000” to the end. That is the old school way of doing things. For novices… all you really need do is type in “http://find.synology.com” and let it do all the work for you. Of course, if you have a secured network with good opsec… you will have to do it old school as the DS150Plus’ broadcasting will/should be blocked.
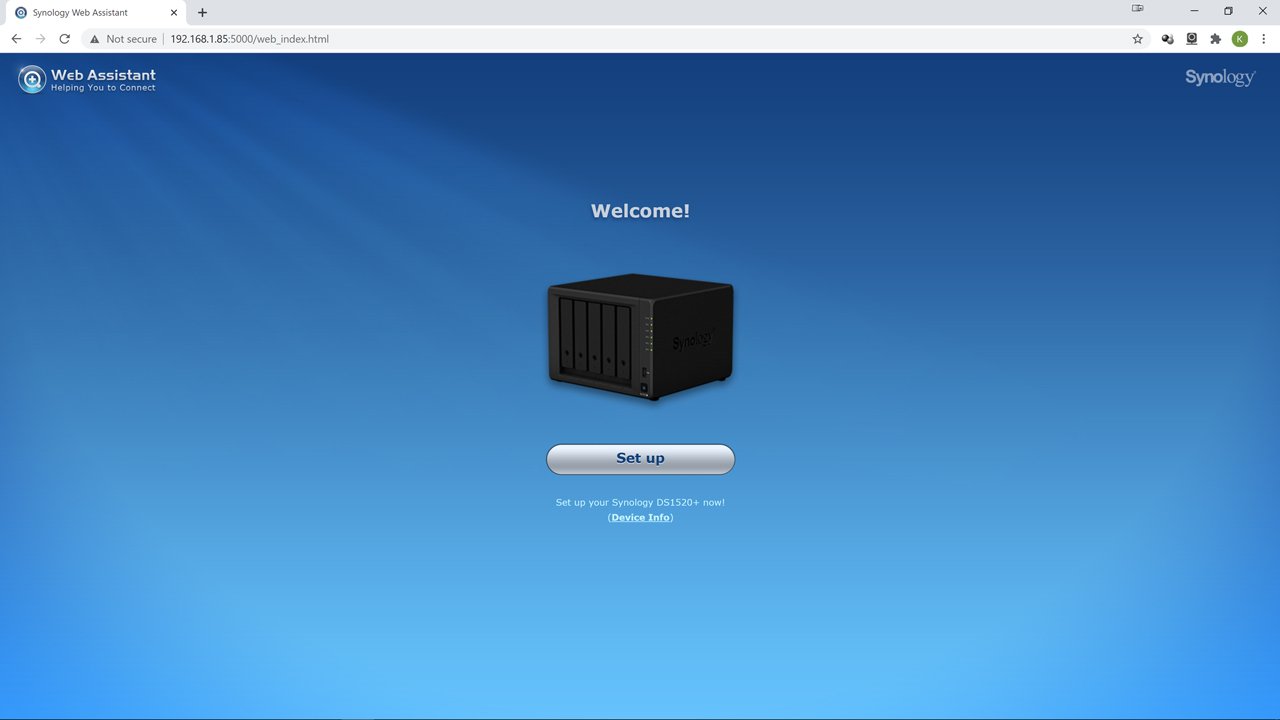
Either way will work and bring you to a nice, calming blue themed startup screen once it finds (and loads) the NAS gateway’s built in setup wizard. Hit the big blue ‘connect’ button and dig in. Don’t panic. It is one of the easiest, pain-free processes we have seen.
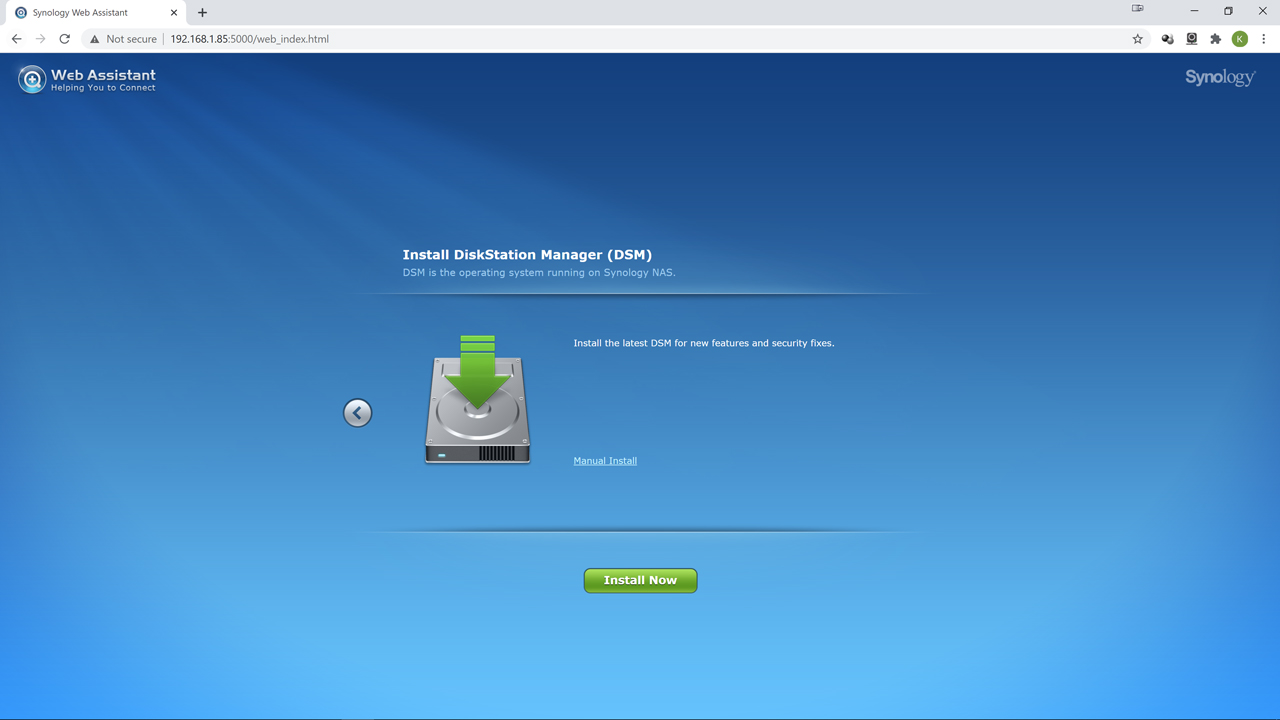
First step is once you hit the ‘Install Now’ green button is it will auto-connect and download the latest version of DiskStation Manger (DSM) for you. Depending on your internet connection that is about a ten-minute wait.
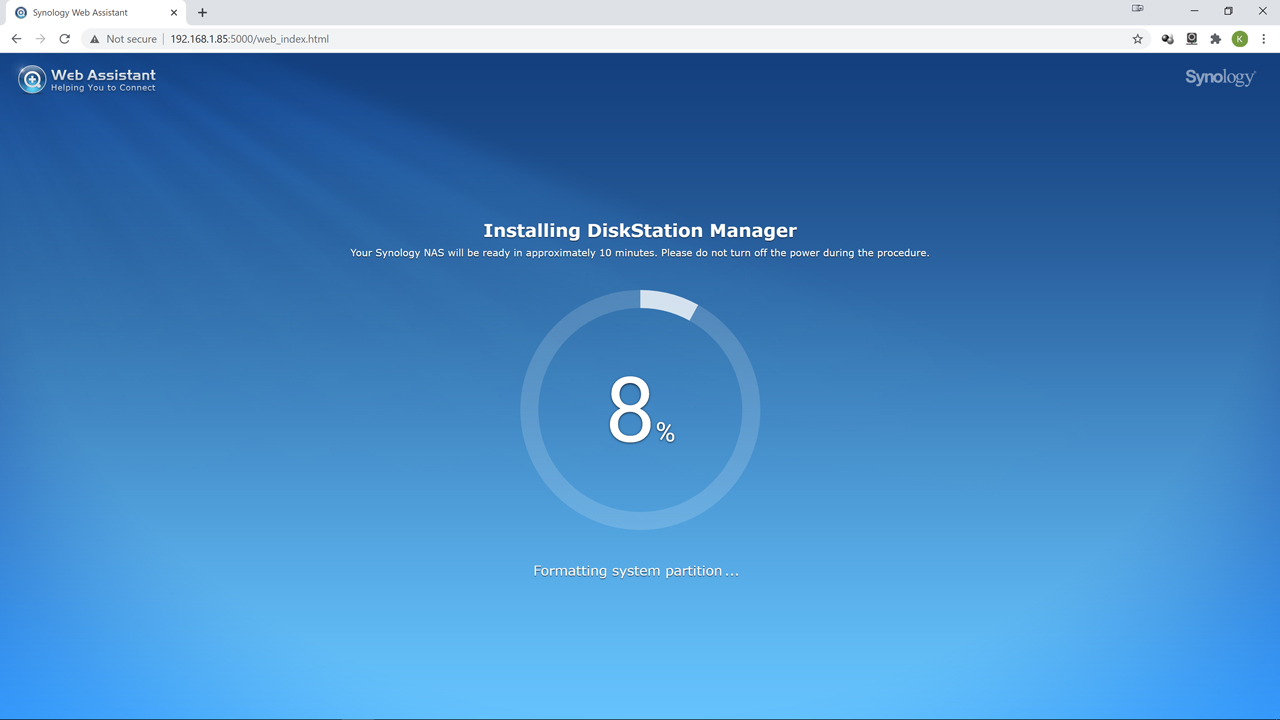
It will give you an ETA on the download and auto-installation. Don’t worry. If you walk away and forget about it… all you need do is log back in and it will remember where you left off.
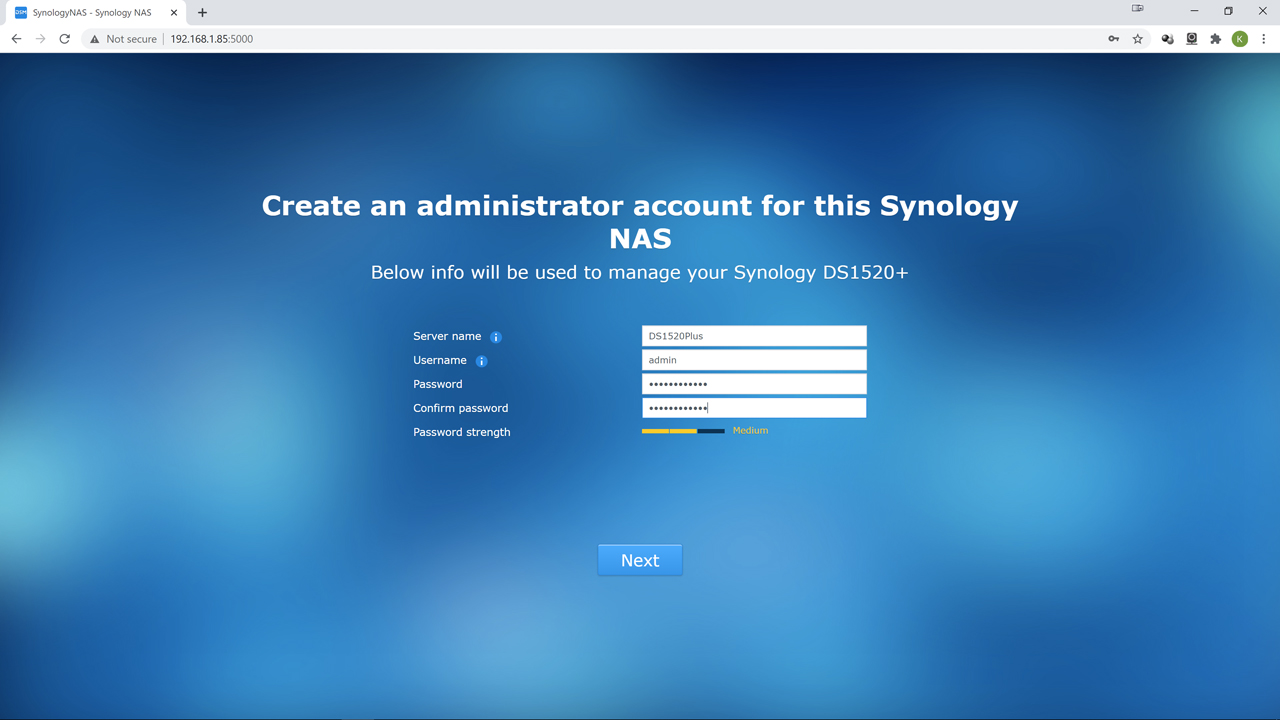
Next give the system a unique name, a unique administrator name and a secure password. Please do not use some variant of ‘admin’ and easy to guess password. Instead, combine three names into one, with the occasional number. For example, we have used things such 2Days1Night0Patience. It will tell you how good your password is via the strength meter below the password text boxes. Use it. It will help make your system more secure.
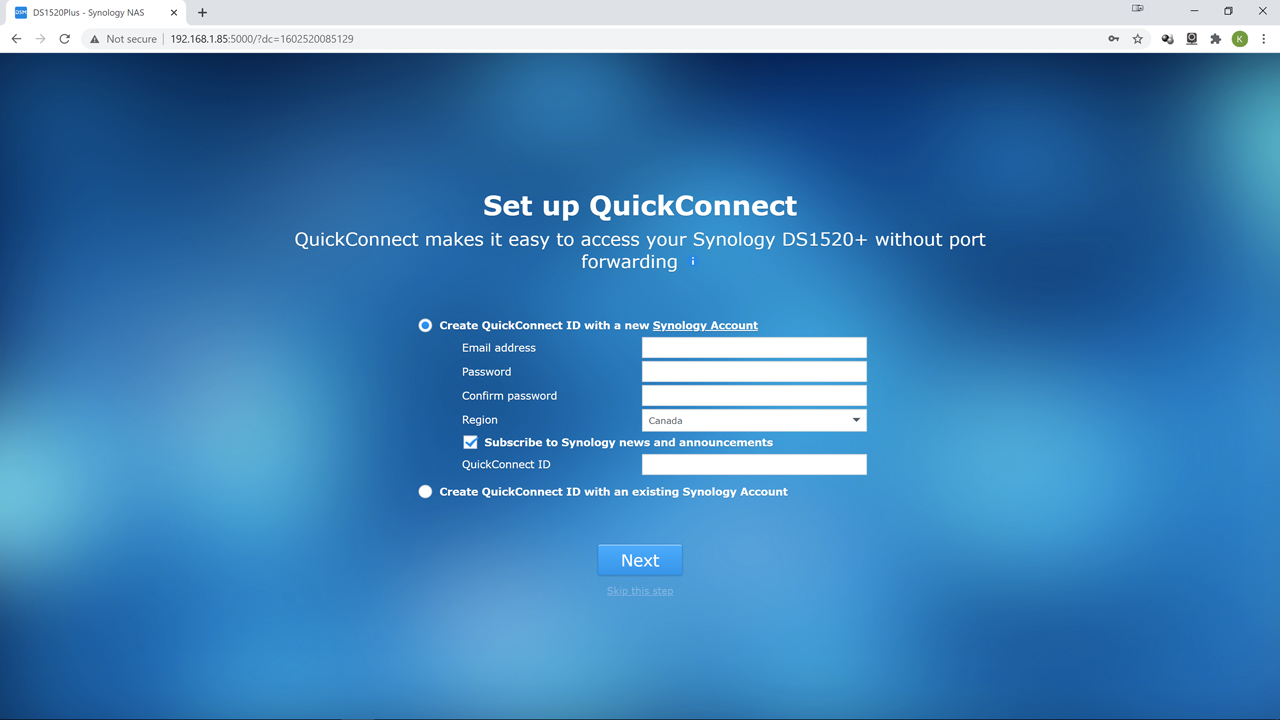
At the next step, we personally hit the little bitty, pale blue, ‘skip this step’ text option below the ‘Next’ button… as we don’t want to create another account with ‘quick’ anything holes in our security. You may feel differently.
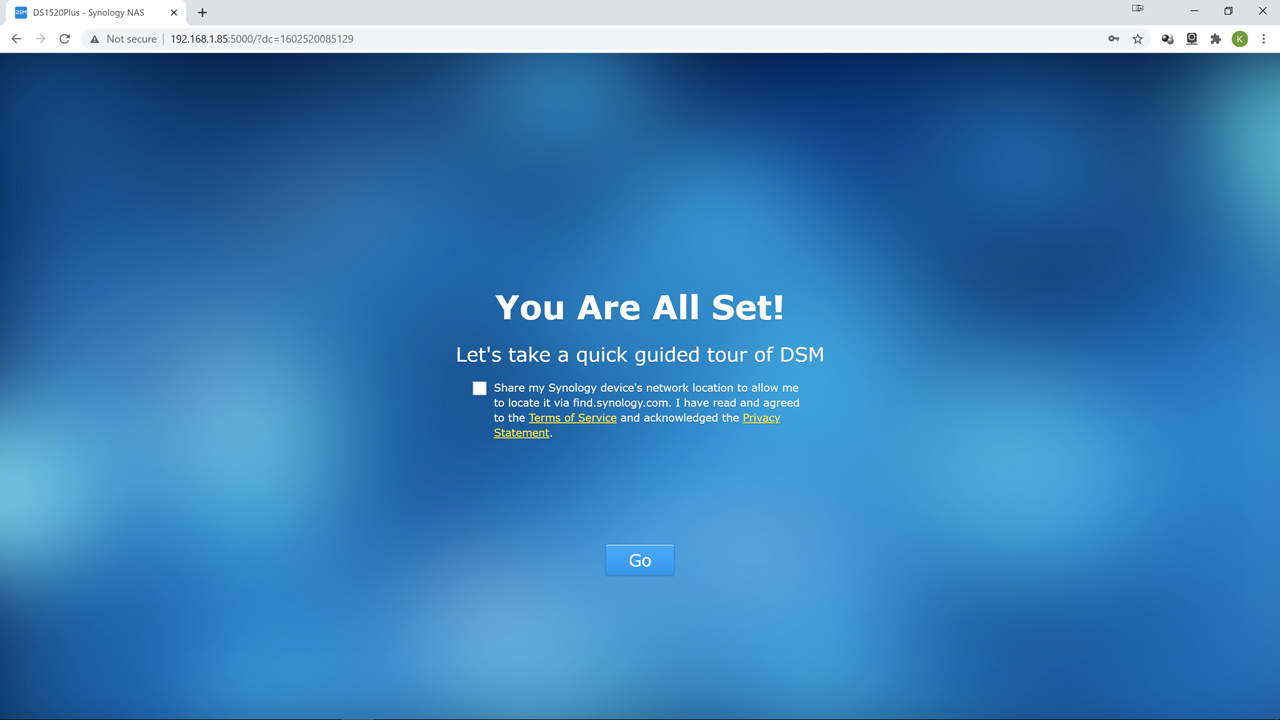
Bam. The DSM software is up and running. Now you can hit the go button and start making the NAS work for you.
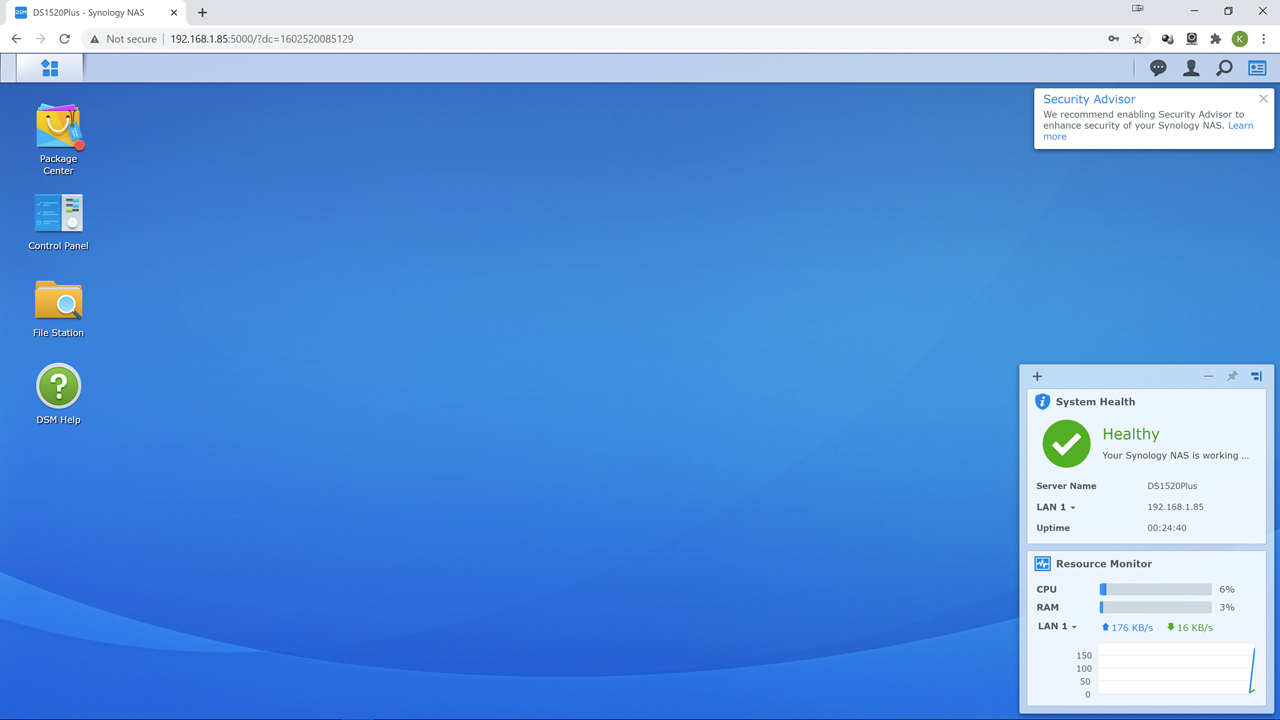
On even just a quick glance one can tell that Synology’s DiskStation Manager is based on Linux… as its ‘desktop’ GUI makes that pretty clear. It is clear, it is clean, but it is a bit quirky. This is probably where the majority of problems with first time users will come from… as ‘what do I do now?!’. Honestly, there is really no single ‘right answer’. There multiple ways of doing some of the necessary steps. For example, some will want to configure the various options such as email alerts, SSH, and the like. Others will want to configure their Raid array and pool first. We usually start with the latter and use this critical step as our starting point.
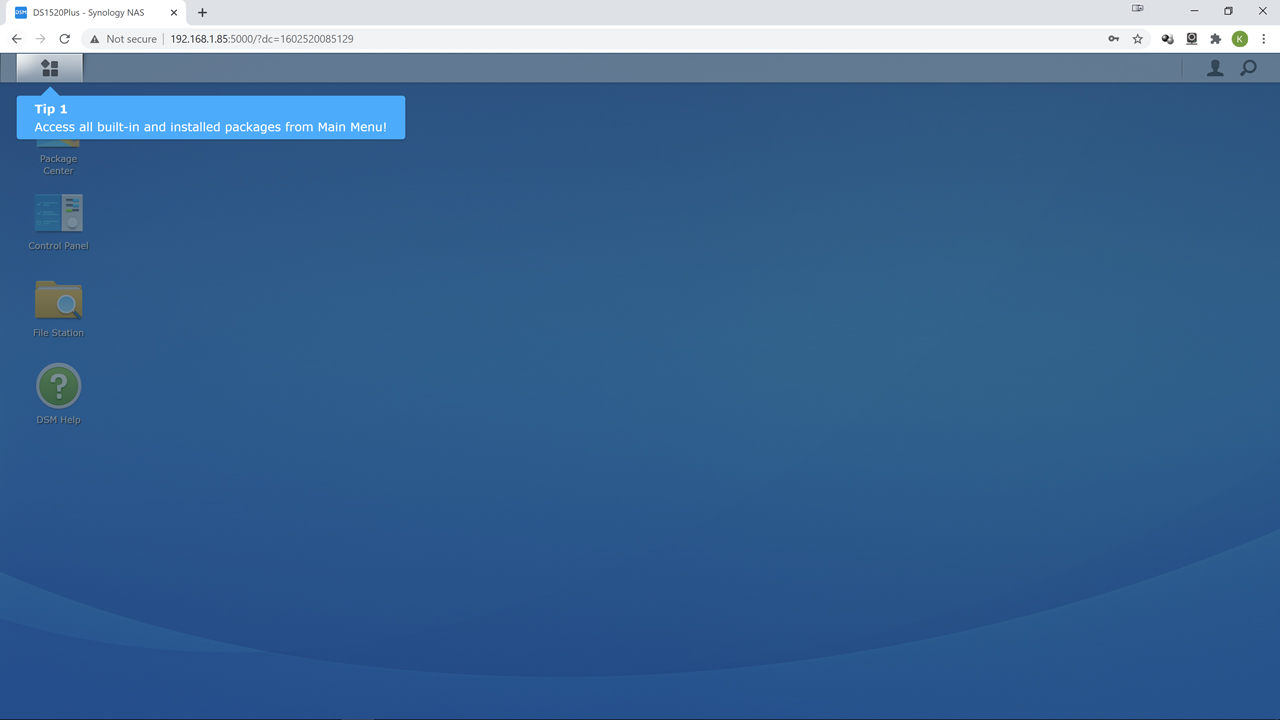
To start this step, you click on the funky ‘four stacked boxes’ icon in the left-hand corner.
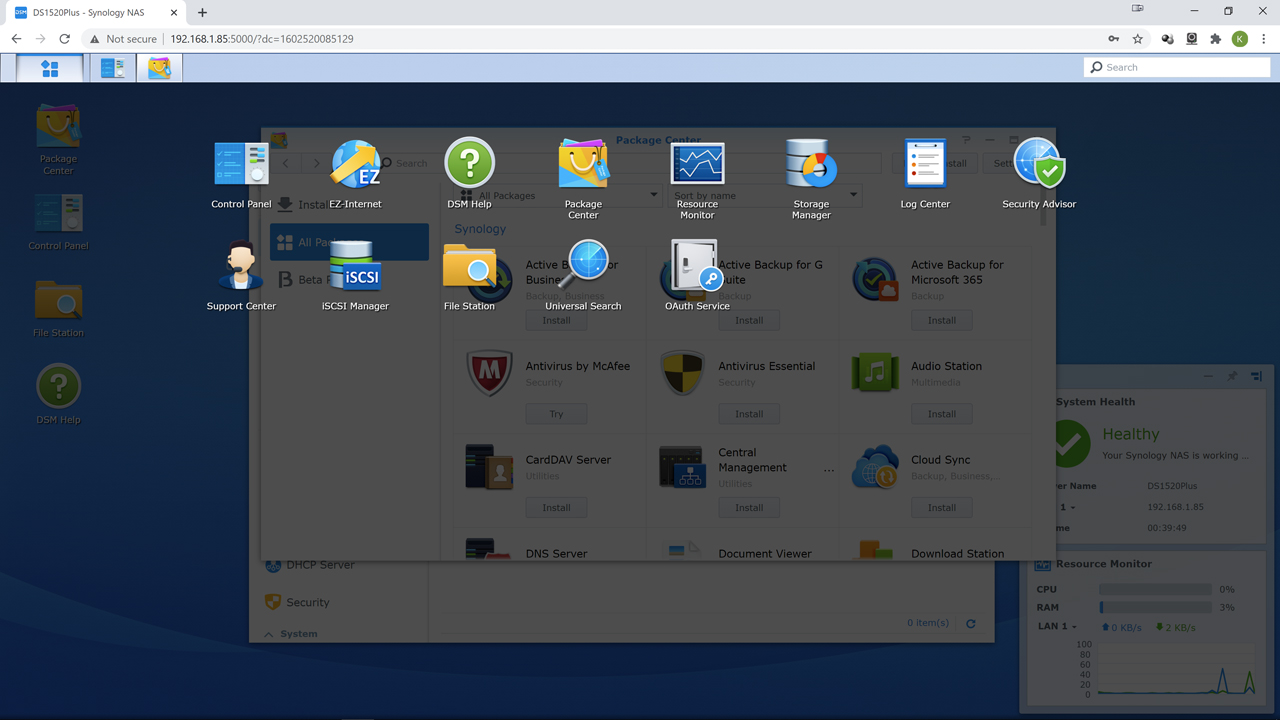
Then within the semi-opaque overlay popup hit ‘Storage Manger’… as that is the header for everything storage related.
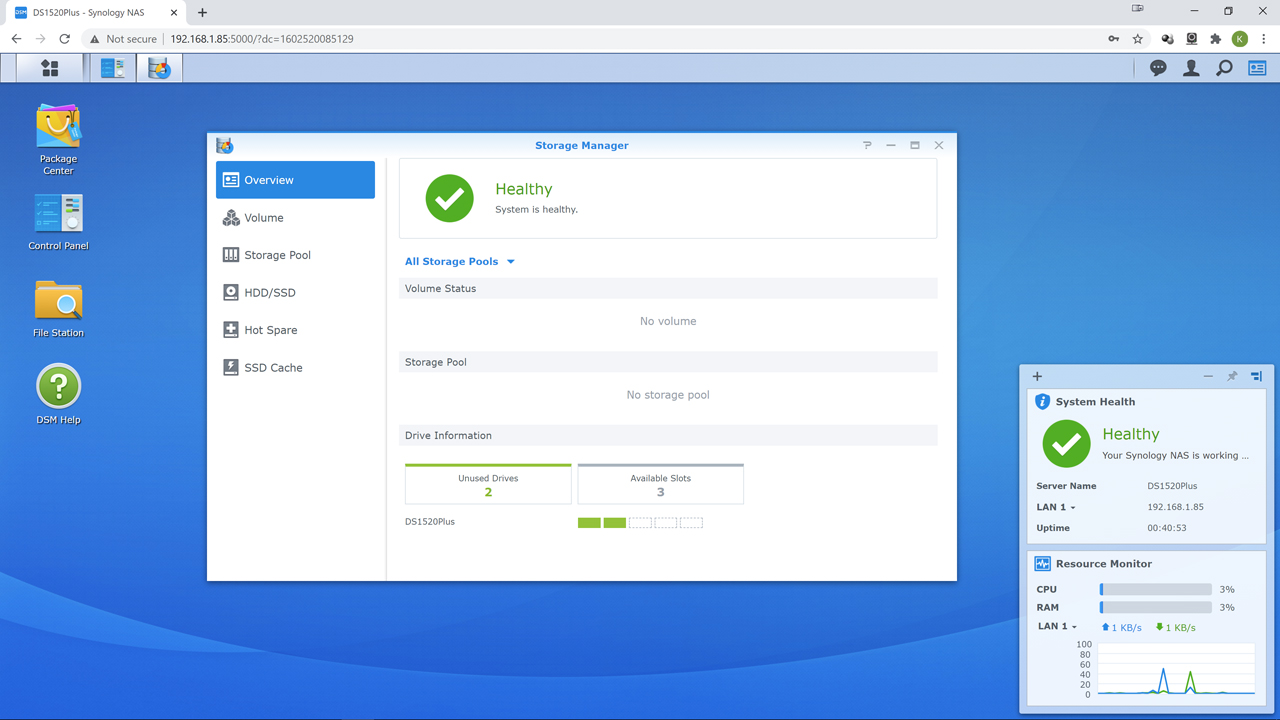
This new page will have a column of options: Overview, Volume, Storage Pool, HDD/SSD, Hot Spare, and SSD Cheche. All are pretty self-evident in what they do and what they offer. For example, HDD/SSD gives you a detailed break down on the drives attached. Hot spare allows you to add a hot spare drive that is online but idle, just waiting for a drive to die in an array so that it can be instantly take over and start the rebuild process with zero delay.
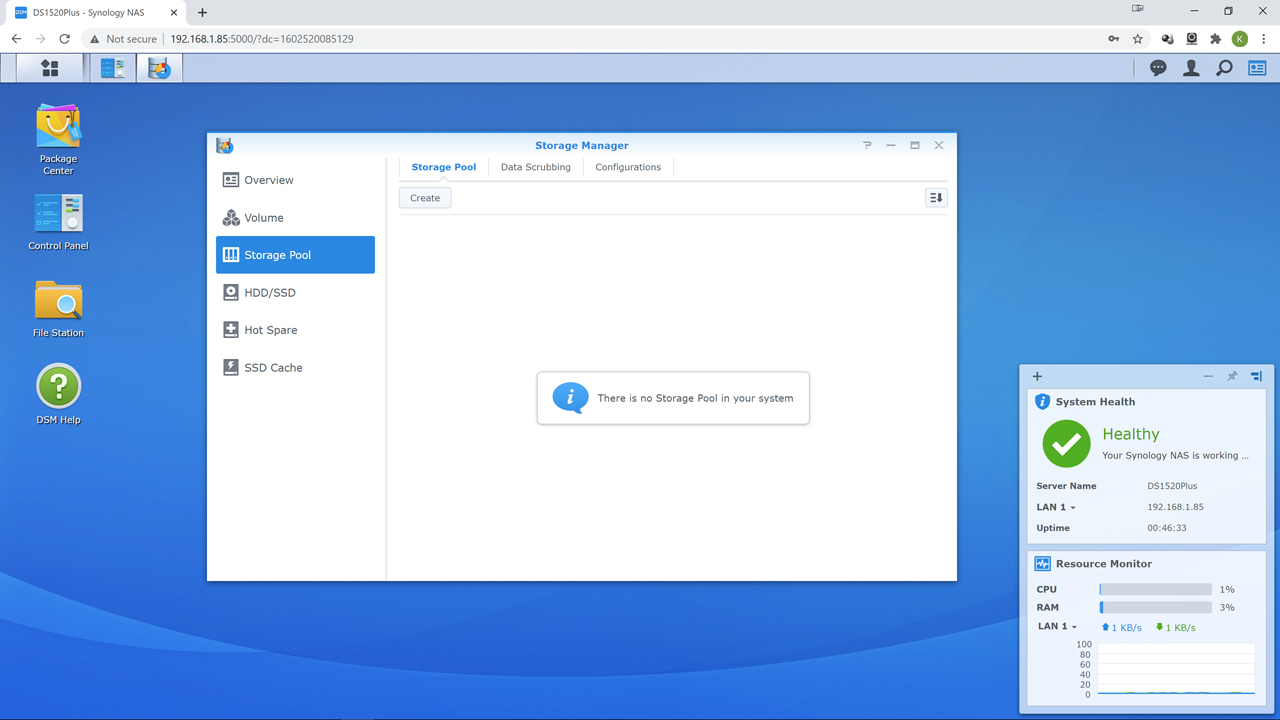
With all that said, for novices a bit of an explanation in the ‘proper flow’ is in order. With Network Attached Storage (or any storage array for that matter) your drives need to be placed into at least one RAID array, and this/these RAID array(s) are then configured into a pool. Then that pool is used to create a ‘volume’ or your actual ‘Z drive’ that users access across the network. Advanced users will create multiple smaller RAID arrays and place them all in the pool… as that improves performance and redundancy at the expense of capacity. Others will make two pools so that pool 1 can backup to pool 2 and have complete redundancy in case an array dies. Most home users will only do a ‘one array to one pool’ configuration. That is why you actually do not need to go to the storage pool option first. Instead you can just click “Volume” and then ‘create’. DSM is smart enough to know that you do not have a pool ready to go so it will step you through the entire process first.
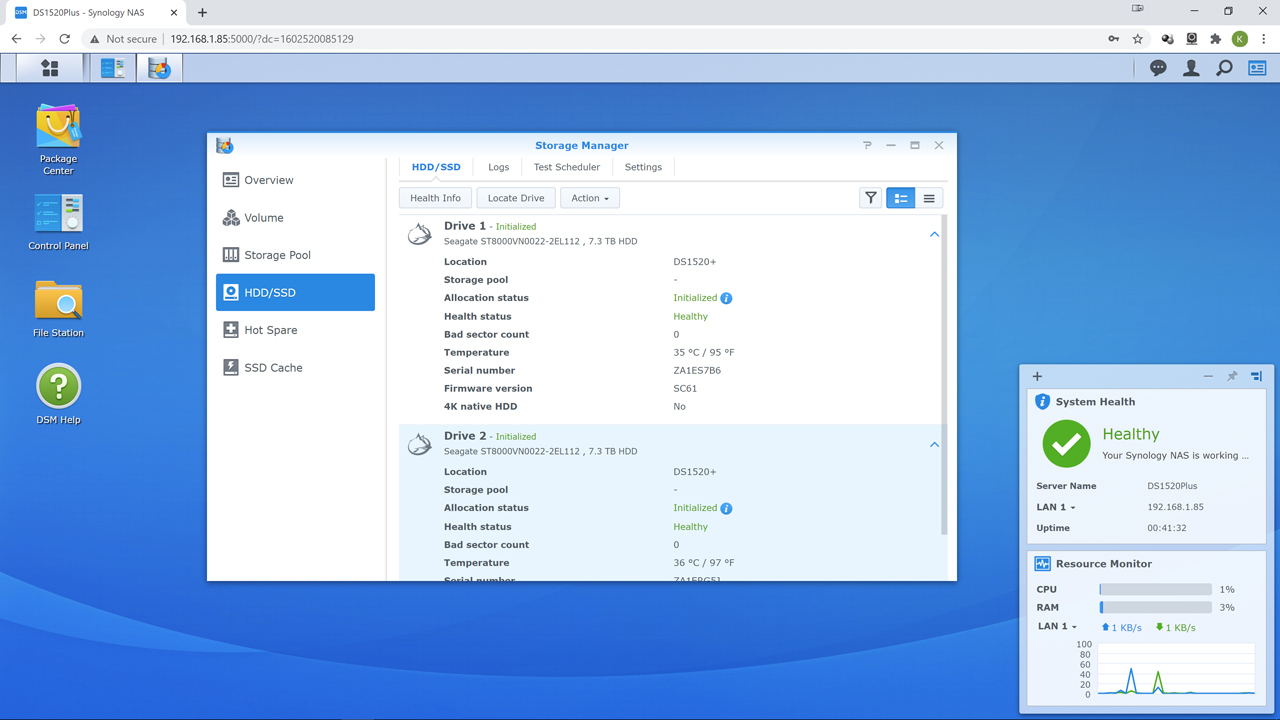
Personally, before doing either the pool or volume we like to make sure all our drives are actually being seen by DSM and then their options are configured to our liking. Thus, we start with ‘HDD/SSD’ subsection. Here you will see a list of your drives. During testing we did try out the shiny new Seagate IronWolf Pro 18TB and it worked perfectly, on the compatible list or not. In other words, the compatible list is not necessarily up to date and if it is a NAS drive it should work with DSM.
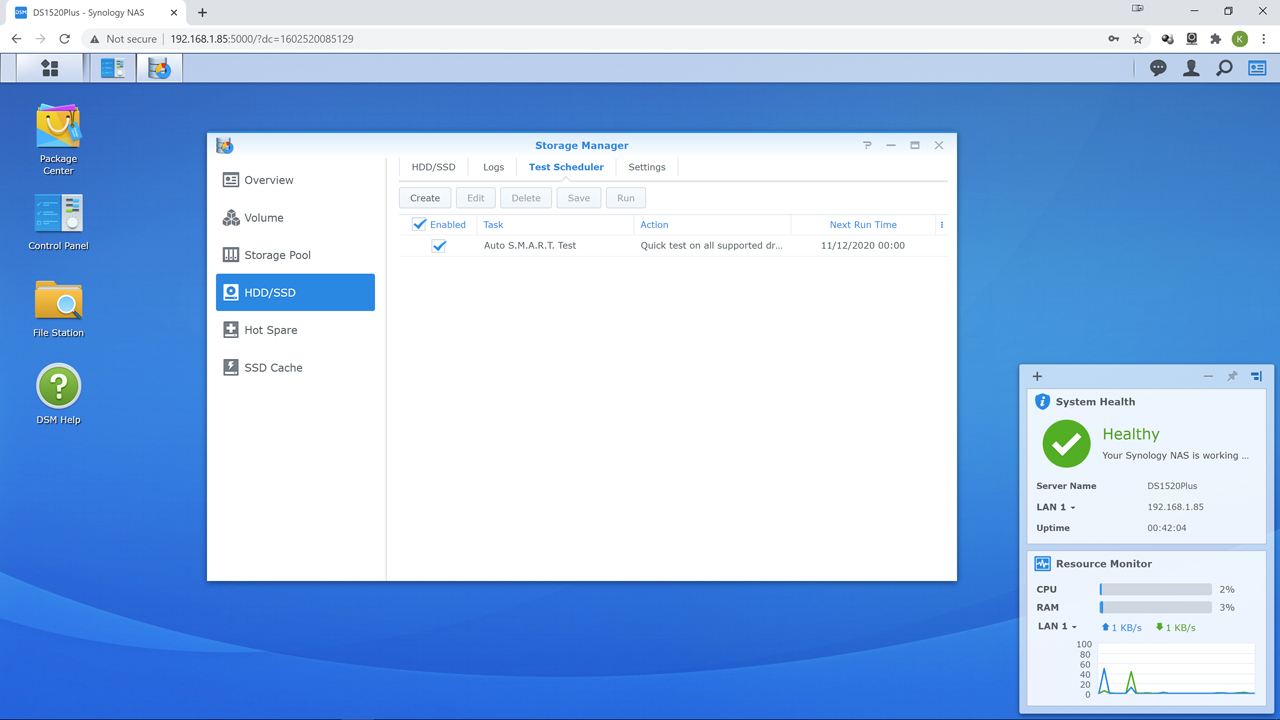
In either case we then hit “Test Scheduler” in the row of options and make sure Auto SMART test is setup to run on a schedule. We typically have it run the SMART test once a week on all the drives.
