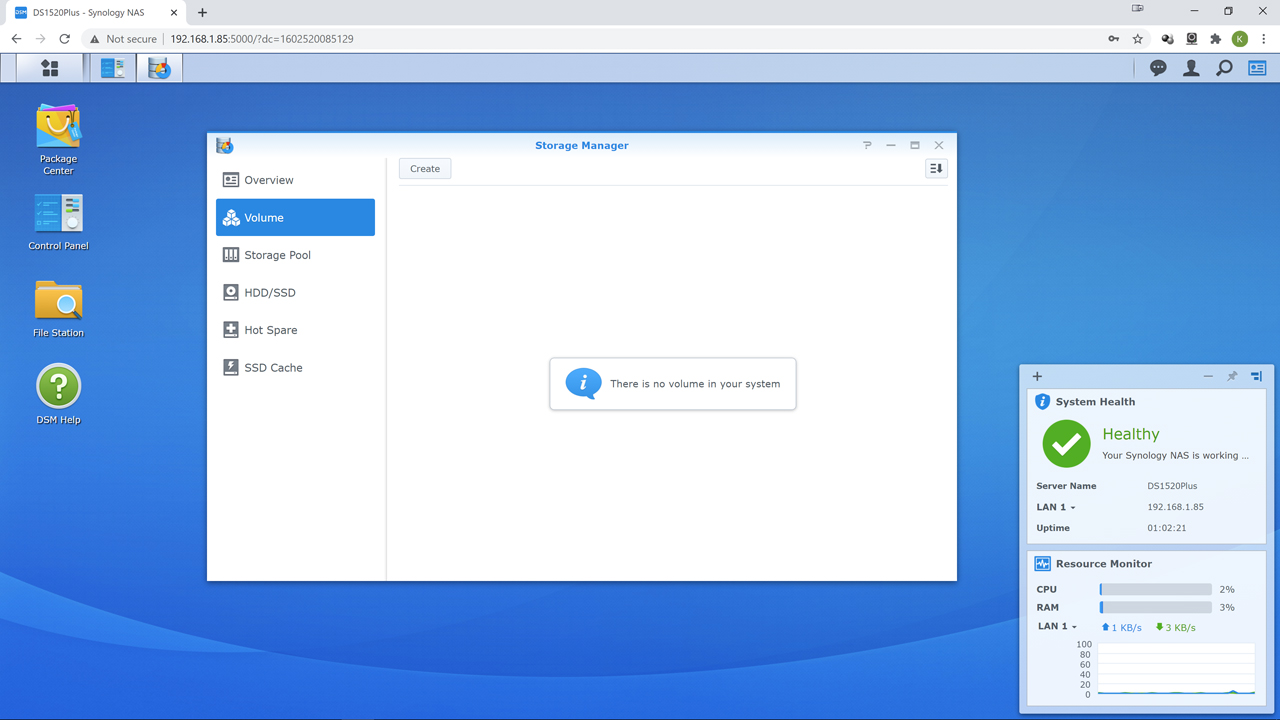
With the RAID array and storage pool taken care of the next step is to configure the volume. As made mention previously, the volume is the final ‘drive’ that the end user sees. In other words, it is the high-level setup of your pool(s) and the raid array(s). Without it… you will never see your ‘Z drive’ as it does not yet exist. If you have skipped the previous Storage Pool creation step when you click ‘create’ it will walk you through it. If you have done it the way we do things… do not panic when you see a different first screen. DiskStation Manager (DSM) is smart enough to not needlessly bug you. So, hit ‘choose an existing pool’ (if you have all your drives in the pool the other option will be grayed out).
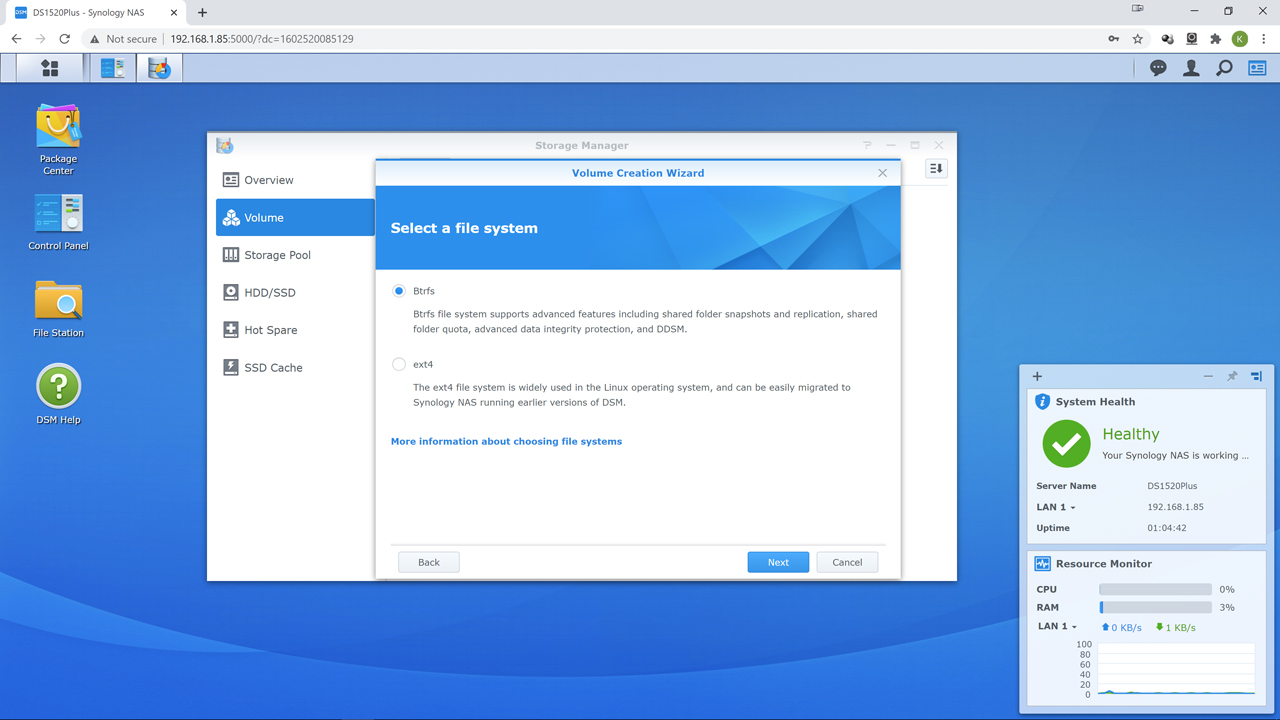
This brings us to the other main decision you will have to make: Btrfs vs ext4. Typically, if those are only two options… we would tick ext4. First time, every time. That is because ext4 allows you to take the drives out of a dead NAS (and all eventually die), place them in basically any Linux box and ‘recover’ the data… as they will be seen and read as a Linux RAID array… as they are a Linux RAID array.
Btrfs on the other hand, well… we typically are not a fan of sticking “Btrfs” and “RAID” in the same sentence let alone the same NAS appliance. It is much like sticking ‘data’ and ‘random loss of’ in the same sentence and is a great example of the phrase “Giant Scary Laser. Do Not Look Into It’s Beam With Remaining Eye”. The standard Btrfs’ raid 5 and raid 6 implementation is broken and has been for years, with no solution even on the horizon. Put simply, the whole ‘write-hole issue’ makes it a non-starter for us. With that said as a file system it does have a lot going for it. It offers a lot of features that almost make it the equivalent of ZFS. Synology is aware of all this and has created a solution. A solution where you get essentially all the important advanced features of Btrfs without the ‘sorry but your data is gone’ problems that typically tag along for the ride.
Basically, Synology has not gone ‘all in’ on Btrfs. Instead, it is just used as the upper layer in the configuration stack… as the file system, and only file system. Right now, Synology is being a wee bit vague on the exact methodology and customization they have done, but from the way this NAS acts and what they say they are doing is not complicated. Elegant but not complicated. In a nutshell, instead of Btrfs at the lowest levels you have Linux’s LVM (logical volume manager) to present multiple RAID arrays as a unified storage space, and good old mdadm for the ‘RAID’ portion. Mdamd with LVM is a tried-and-true solution. One that has been used by countless enthusiasts, companies, and manufactures over the years as it ‘just works’ (usually). We have zero issue with that combination. Then, and only then is Btrfs added in on top. Since it does not have access to the lower levels its problems are not your problems… as the poorly implemented portions are not used.
So why choose this “Btrfs Bodge” over tried and true ext4? Especially when you will be giving up a bit of performance (for those interested in testing, and depending on configuration, it varies from nearly nothing to single digit to low double-digit difference)? Simple. You get more advanced features such as self-healing (e.g. file checksum) and basically a more advanced file system that may not equal ZFS in the proven reliability department but is more than ‘good enough’ for the average home or even small business. It also now has a proven track record as Synology has been using their customized version for years now. That is why we say go for the Btrfs option. Synology’s implementation is one of the few exceptions that prove the rule.
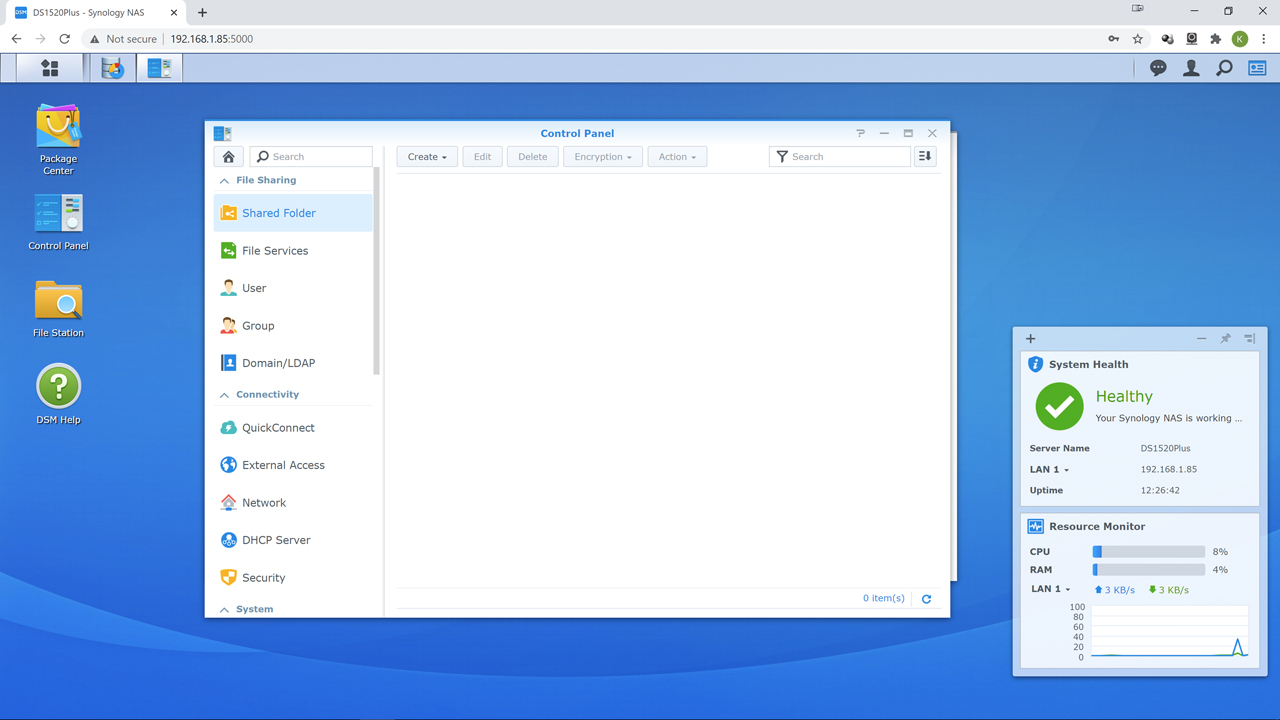
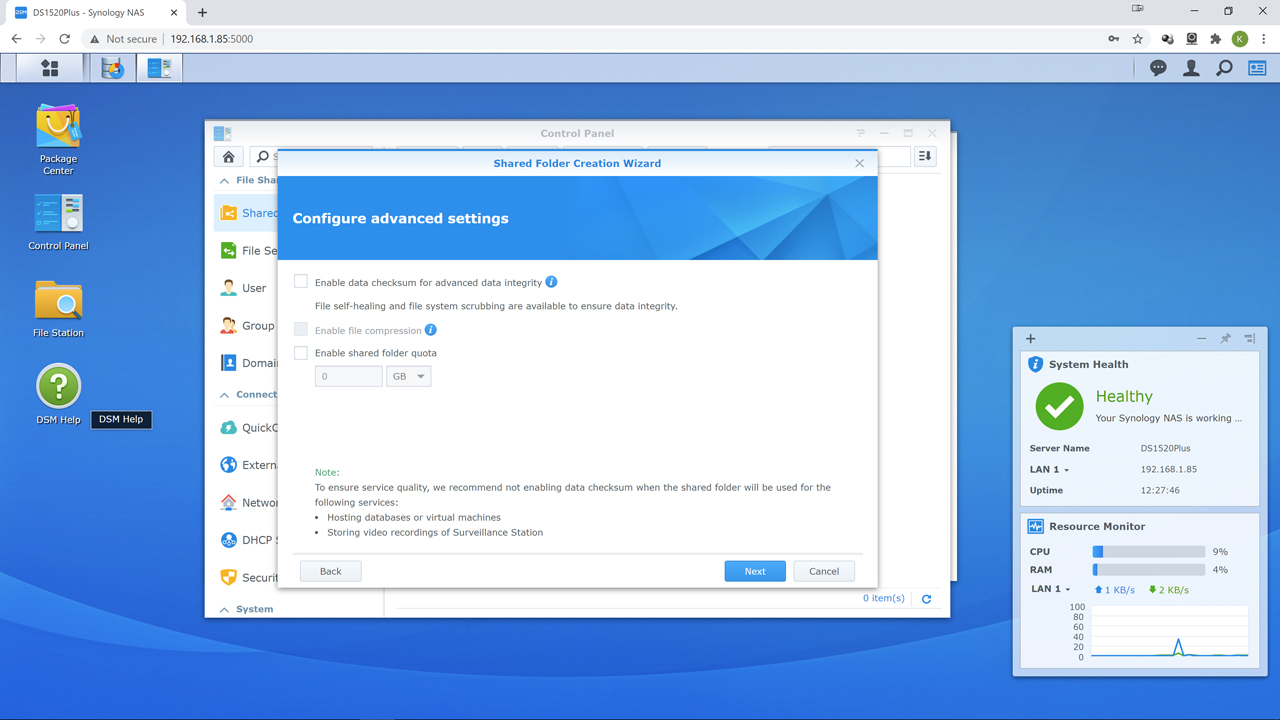
Once the status changes to ‘active’ from ‘creating’ you can then create your shared folder… your ‘Z drive’ that everyone will see. On the DSM ‘desktop’ click “Control Panel” and then scroll down to ‘Shared Folder’. This will start the wizard and get you up and running in no time flat. Just be aware that if you did choose Btrfs you really… really should tick ‘enable data checksum for advanced data integrity’. This is part of the whole ‘self-healing’ that Btrfs offers and not using it removes a lot of the reasons for picking it in the first place. If you opted for ext4 you donna get this option. So, use it if you got it.
Once you have done the wizard boogie… congratulations! You now have a NAS that can actually be used. Not optimally, but useable. To help in mapping your shiny new ‘Z drive’ in your client computer’s OS Synology has a handy dandy app called “Setup Assistant” which you can download from Synology’s website under ‘Desktop Utilities’ here: https://www.synology.com/en-us/support/download/DS1821+#utilities
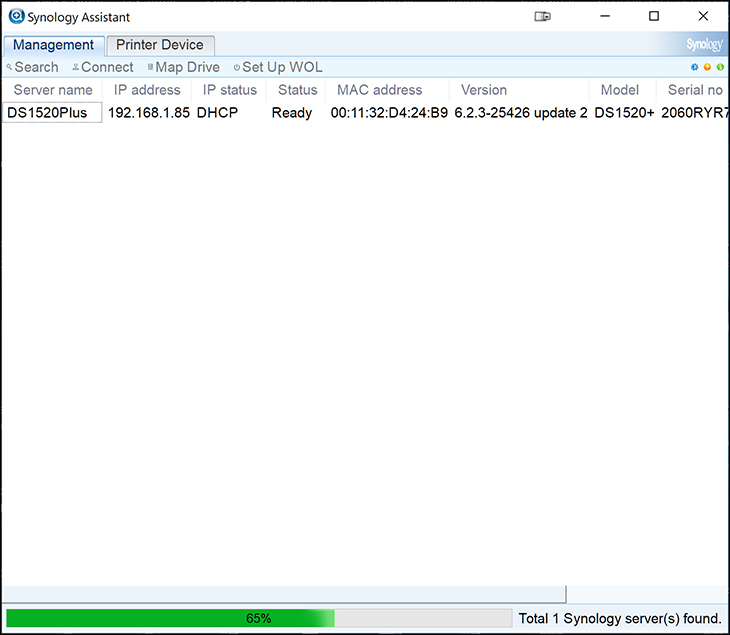
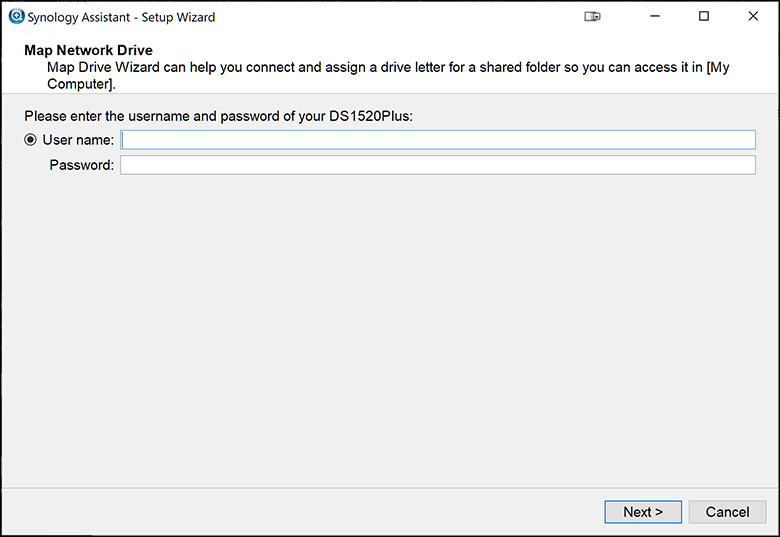
It is only a couple Megabytes in size and, as long as you pick the right OS version, works and works well. When you run it, it will scan your network, find your NAS and by clicking ‘Map Drive’ step you through a simple wizard that will automagically let your OS see the ‘Z drive’ even after you reboot.
At this point you are pretty much good to go. Anything beyond this step is optional and such you can ignore the next page if you so choose. We would not, but if you are impatient to get it over and done with you can.
