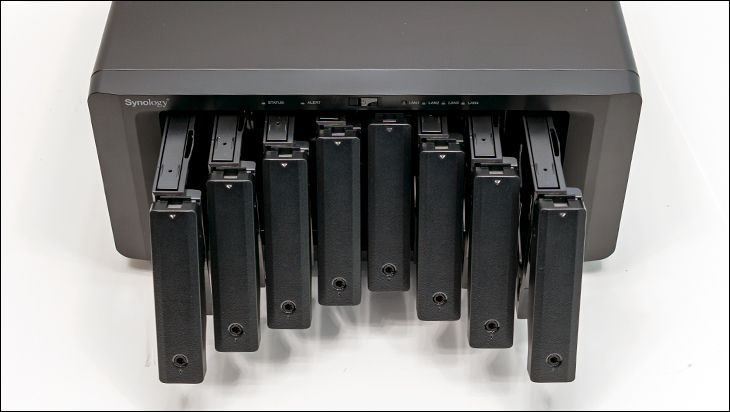
Like any Network Attached Storage appliance, the Synology DS1821+ is rather easy to get up and running. There really are only a few hardware steps needed, as these are as close to ‘plug and play’ devices you can get with any ‘Bring Your Own Drive’ (BYOD) models. This means the first few steps are simple. Take the Synology DS1821+ out of its shipping container, place it wherever it is going to (probably) spend the rest of its life, plug in 1 to 4 Ethernet cables, plug in the thick power cable to the NAS’ body, but do not plug it into a wall outlet yet.
Of these four steps we only have a few observations / comments. The first is pretty self-obvious. Like most, this model has a back to front air flow pattern so you do want there to be plenty of room behind the unit. Next. The AMD Ryzen V1000-series comes with dual 10GbE abilities baked right in. Synology does not use these native NICs. So if you want 10GbE (or 5 or even 2.5GbE) you need to purchase an Add In Card. That is suboptimal to say the least.
Lastly, Synology only includes two RJ45 ethernet cables and they are shielded cables. So if you want to make full use of this device’s redundancy and/or L.A.G abilities you need to spend a couple dollars and buy 2 to 4 more cables (2 if you are using a fully shielded network, 4 if you are running unshielded. If you do not know what this means, buy four. Never buy Copper Clad Aluminum, and buy the lowest “AWG” / gauge you can find – our personal cutoff is 24AWG or smaller). That too is a touch suboptimal. NAS appliances are all about ease of use and having to spend more money is ungood.
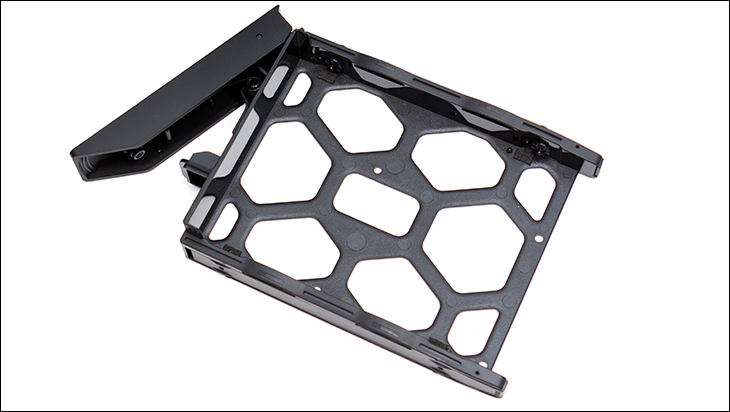
The next step is to prepare the hard drives and the caddies. Start by unlocking each caddy one by one and sliding it out of its hot swap bay. These are plastic caddies so be gentle. They are not business grade caddies. These are home user grade caddies. So be very gentle. On the positive side, they do a good job at securing the drive-in place, are fully compatible with 2.5-inch and 3.5inch HDDs, and act as blanking panels if you do not install drives into all eight drive bays.
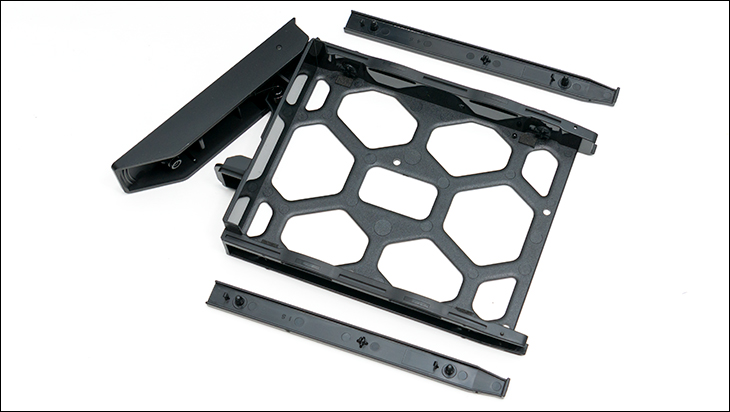
They are also incredibly easy to work with. On each side of the caddy are two ‘strips’ of plastic.
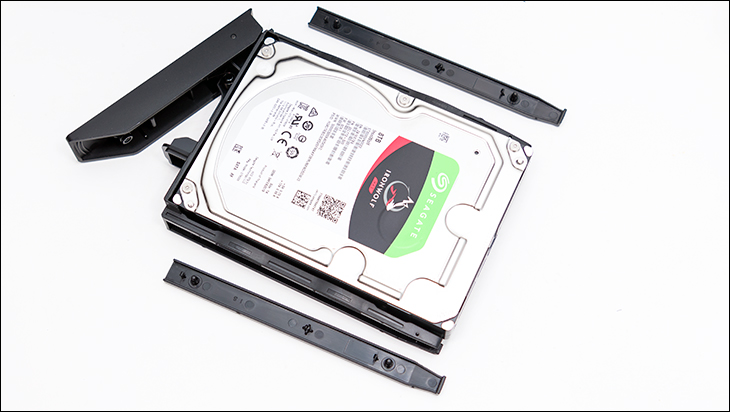
Pull them off, gently place the HDD into the caddy with the drive’s label orientated up and the power and data ports sticking out the ‘back’.
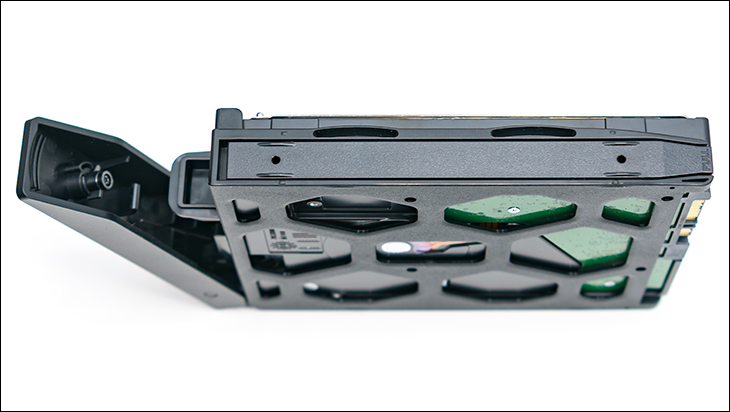
Then push the two clips back in place. This locks the drive into the caddy and on their own are ‘good enough’ for home users. If you so choose, Synology does include enough screws to securely lock all drives to their caddies. Just be careful you do not overtighten the screws… as the plastic may break from the pressure.
On the hardware side of things… all that is left is to slide the drives back in, plug in your new Synology DS1821+ to the wall, and hit the power button. When that is done you are ready to actually configure your shiny new NAS appliance.
