BIOS TL;DR
MSI has spent a lot of time and effort refining their unique BIOS and the end result is a very easy to use interface. Basically if you like what MSI has done before you will like what the X99A Tomahawk comes with.
A closer look at the BIOS
Even though the MSI X99A Tomahawk is nowhere near the top end of their line you would never tell that by the BIOS. Put simply, it doesn’t act nor feel like a BIOS that comes on such an inexpensive X99 motherboard. Instead it looks, acts, and yes feels, like the premium BIOS it is.
If you have recently used an MSI BIOS – even a LGA1151 and not socket 2011-v3 MSI motherboard – you will feel right at home with this BIOS. As with most manufactures, MSI has spent a lot of time and effort in refining their BIOS layout and this layout – or theme if you will – is fairly consistent across their entire line. Yes the colors will change, and yes the names may slightly differ, but the core ideas remain the same: providing an interactive experience that requires as few sub-sub-menus as possible. Some may find the end result to be a touch busy, or even a touch disconcerting, but compared to some other manufacture’s quirks, MSI BIOS’ always get the job done.
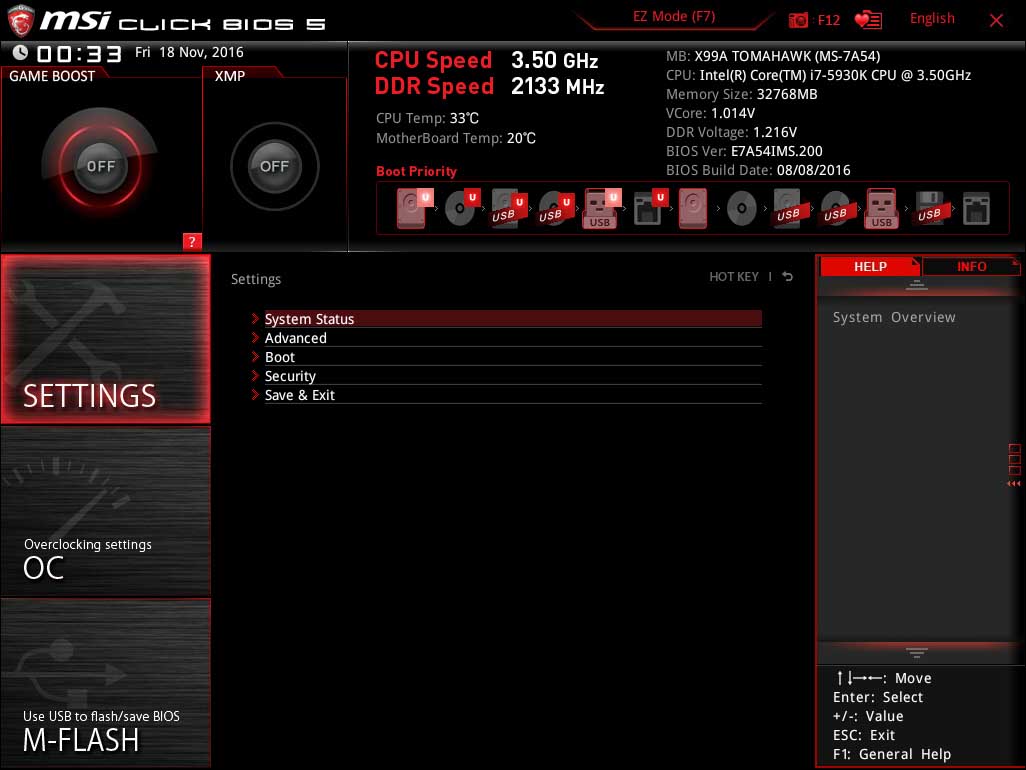
The easiest way to understand the underlying theme of MSI BIOS is to imagine it as a rather old school webpage. Running across the top is a header area that doesn’t really change all that much, regardless of submenu section you are in. Here you will find a brief over view of the temperatures, if OC genie is active, and have the ability to drag and drop the boot configuration.
Along both sides of the rest of the page is two vertical menus, each of which consists of various sub-sections. Simply click on one of these six and the center section will change to that sub-menus options. The upside to this GUI layout is you do not have to first go up a couple levels before navigating to another sub-section, simply click and enter it! The downside is MSI had to cram all the various sections into six headers, and not one of them includes the classical ‘exit’ section! Having to either hit the ‘X’ in the corner as if this was an application and not a GUI BIOS, or first navigating to the Settings section can be a bit off putting to first time users, but it is fairly intuitive never the less.
As with nearly every MSI motherboard, the BIOS main sections are Settings. OC, M-FLASH, OC-Profile, Hardware Monitor, and Board explorer.
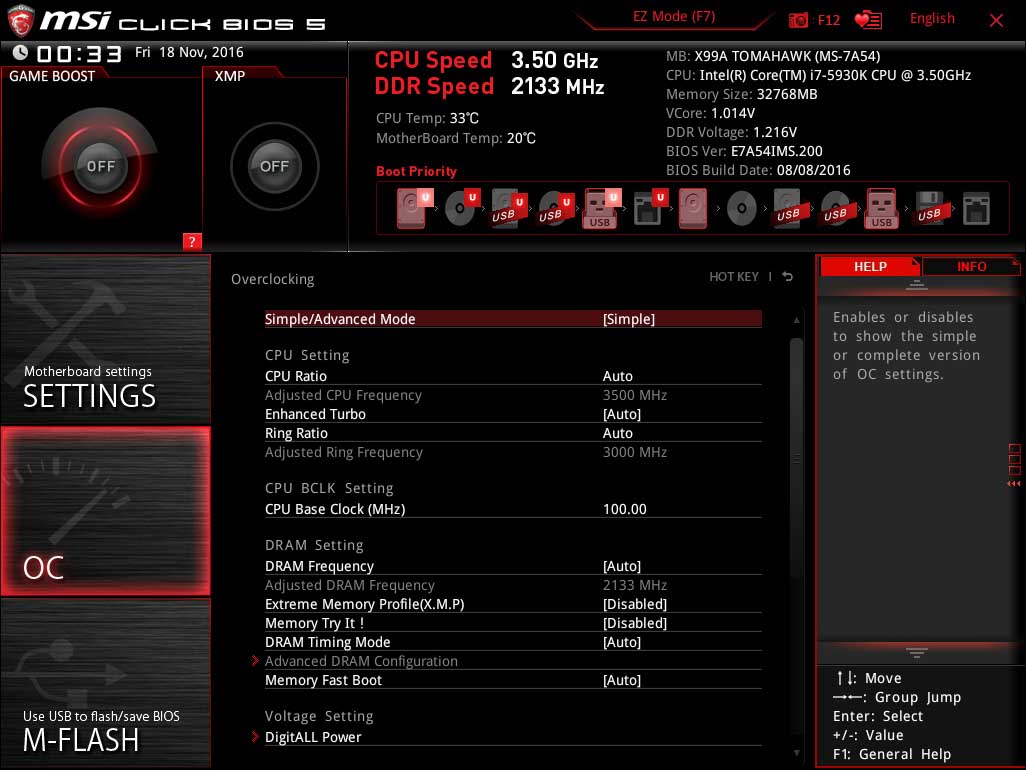
Of these six sections most users will spend the majority of their time in the Settings sub-section or the OC section. The first covers the basic motherboard settings, as well as some advanced features; while the OC section allows you delve deeply into overclocking your RAM and CPU.
While many buyers will be satisfied with what the ‘OC Genie’ can do, more advanced users will love the sheer number of features that the OC section covers. Basically everything you need and want are included and while you may have to read the ‘help’ on the right side for a definition of what a certain option does MSI really has gone all out here. So much so that unless you are really, really into overclocking you will not be disappointed.
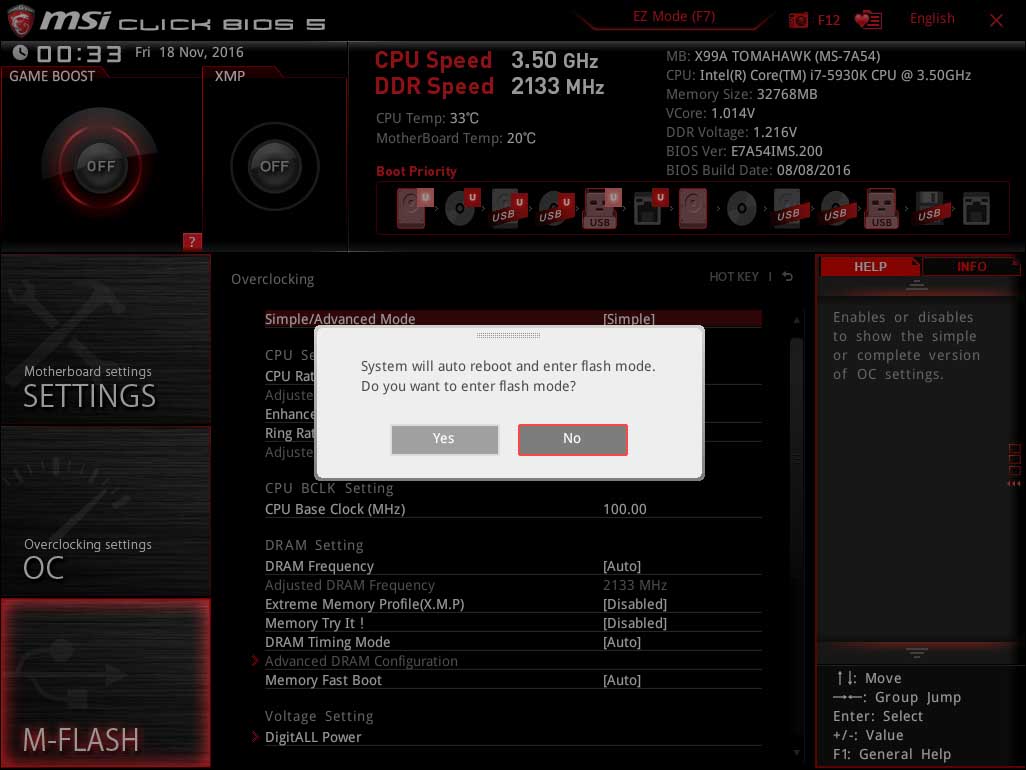
M-FLASH is for flashing the BIOS to a latest version as well as backing up (and restoring) your BIOS via a flash drive. Thanks to the dual-BIOS abilities of this motherboard we doubt you will ever have to use this option… but if you do its nice having it!
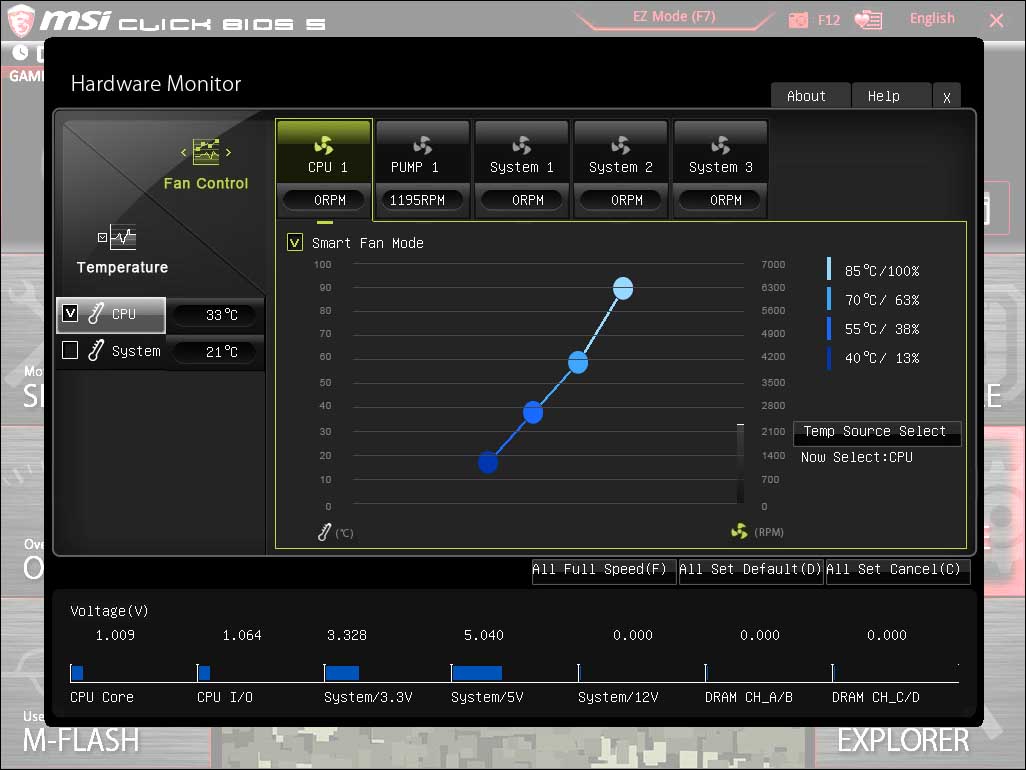
Out of all six major sections, the Hardware Monitor section is easily the most impressive. This section contains advanced command and control of various hard components including any attached fans. The included fan controller really does make creation of advanced fan profiles a relatively painless affair. We highly recommend you do this for your CPU cooling solutions fan if said device doesn’t come with its own built in fan controller!
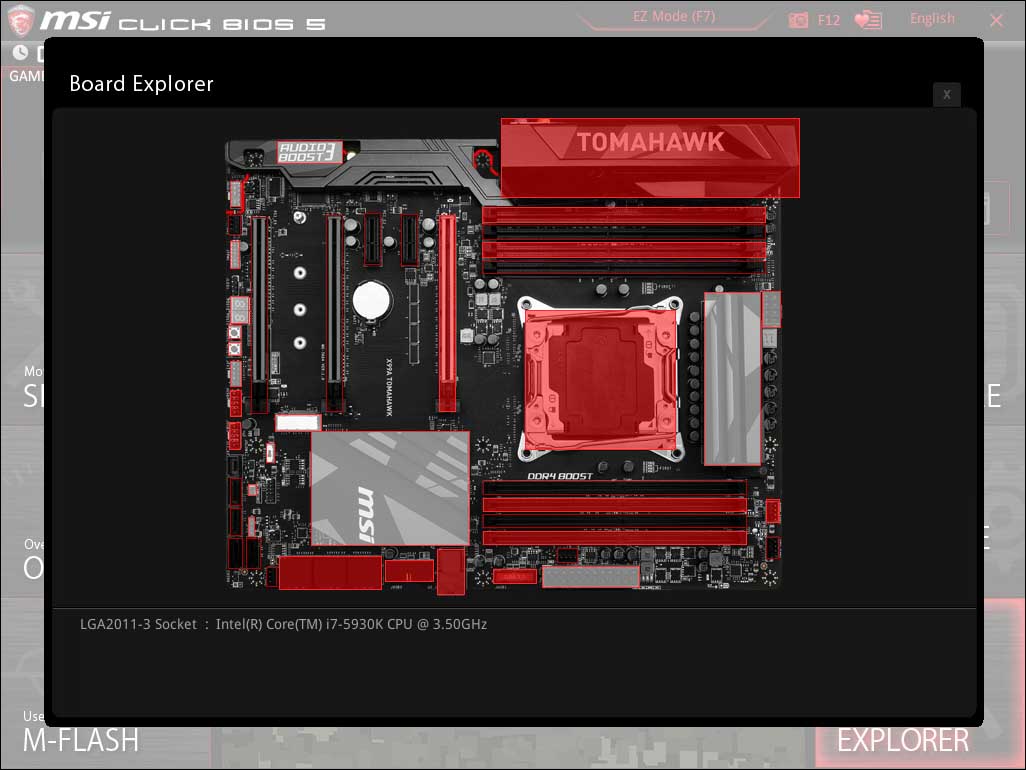
The last main menu option – aka ‘Board Explorer’ – provides users with a real-time, interactive map of the motherboard and what is attached to it. Simply click on any of the highlighted areas and you can easily pull up detailed information. This makes troubleshooting the pesky hardware problem a lot easier – as if it is not recognized you know what the issue is!


