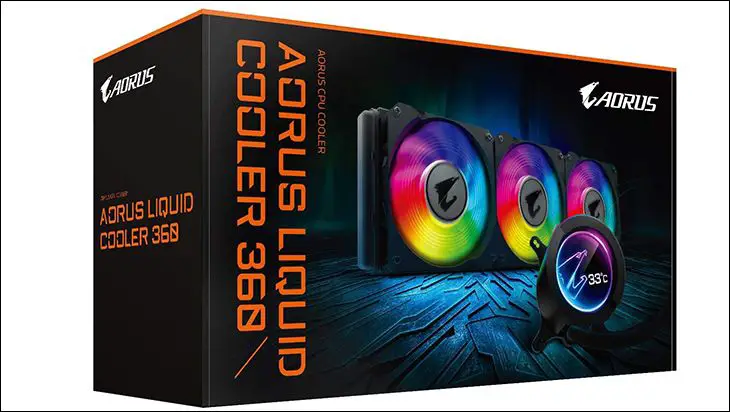
If you have installed an All In One / Closed Loop Cooling solution in the past decade you probably already know what to expect when it comes time to install your shiny new Aorus WaterForce X 360. After all, Asetek is the OEM for this CLC/AIO… and they make the vast majority of AIO’s out there. As such there are very few issues you are going to run into and they should already be ‘old hat week’ to you. With that said, every generation of Asetek does do things a tiny bit different. Sometimes easier, sometimes not. The Aorus WaterForce X 360 is no exception to this rule.

For example, none of the fans are preinstalled on to the radiator for you. Neither is the top bracket preinstalled. Gigabyte does not even have Asetek pre-install the TIM. For the most part this is a good thing as it treats all owners the same vs. the days of yore where the fans were mounted for exhaust, the pre-applied TIM was terrible, and the waterblock was setup for Intel systems… all of which did annoy a great many owners because of it.
In either case the first thing you want to do is not messing with your system. Instead reboot your rig, enter your BIOS and turn CPU fan monitoring to ‘off’ or ‘ignore’ or whatever terminology your motherboard manufactures uses. If you do not, you are going to be quickly annoyed by this cooler’s lack of communication abilities with your motherboard. With that done you then can power down the rig and get on with removing your existing cooling solution, cleaning your CPU’s Integrated Heat Sink of old TIM gunk, and possibly even remove your motherboard from the system. That generally is what we do, as dealing with the waterblock the radiator and fans all at the same time requires a bit of juggling.

With that accomplished the real work begins and the first step will quickly diverge depending on which type of CPU you are using. For Intel users the included plastic backplate will be needed. For AMD consumer orientated CPUs (e.g. AM4 socket type) the motherboard’s metal backplate will be used… but you will have to remove the ‘stock’ top plastic AMD mounting bracket(s). If you are using ThreadRipper… well things are different again but honestly you should not be using any Asetek AIO with ThreadRipper. The waterblock simply will not give you 100 percent coverage. That is the epitome of A Bad Thing™.
Further making things tricky, is for Intel users the backplate will only be needed for non-HEDT systems. If you have an Intel socket 20xx system you basically can skip this step all together as Asetek coolers uses both the Intel stock backplate and these motherboard’s do not come with a “top bracket” preinstalled. Yes, that sounds confusing, but it really isn’t. If you are not 100 percent certain… look at the installation pamphlet and read the description for the included backplate.
If you are not the ‘read the instructions first’ type builder… for most Intel based system owners the backplate will be used. This backplate may not be “rectangular’ish” instead of “roundish” but not much has been changed. It still is made from plastic but has been upgraded to ensure perfect compatibility with upcoming socket 1700 systems. So while this “new and improved” backplate is plastic, it is thick plastic that really does not have much stress applied to it (as it just has to handle the waterblock’s weight). More importantly the posts are metal so stripping a post is an extremely unlikely event.
In either case, if you play careful attention to the four integrated posts you will notice they can slide in or out. For 115x users you slide them inwards toward the center of the bracket. For bigger Intel socket’s… slide them outwards.

The next step is to place the backplate (if needed) so that all four of these posts go up and through their proper holes in the motherboard. At this point all three ‘paths’ converge (for a moment) as then you have to screw in the proper standoffs to the backplate (be it the Asetek or the motherboard’s backplate). Once again there will be different parts used depending on which socket type you use… but they are all properly labeled in their own baggies.
At this point you need to turn your attention back to the Aorus WaterForce X 360. Specifically, the waterblock and mounting its top bracket. This is one area Asetek has always excelled at and the latest gen is no different. Simply pick up the proper top bracket (refer to the manual… but basically rectangle = AMD, square looking = Intel). Grab it and place it in your right hand so you are looking at the ‘tooth side’ and the ‘smooth side’ is pointed away from you.
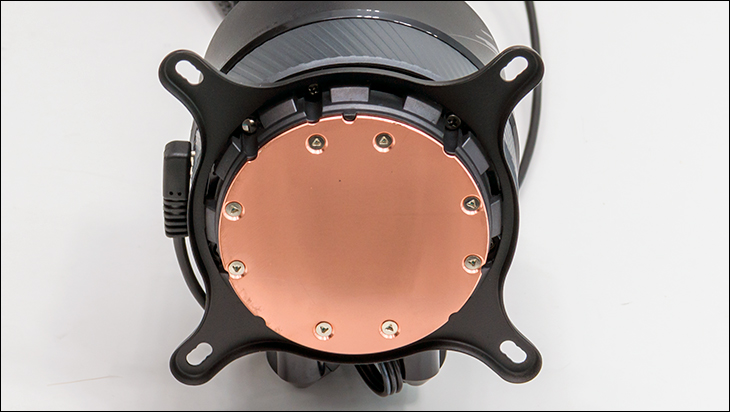
With your right, flip the block over so you are looking at the copper base. Then push the bracket in and over the waterblock. Then gently twist the bracket slightly to lock it in place. You do not have to turn it much, just enough so the thick plastic teeth on the bottom of the block engage the metal tabs of the bracket. Before mounting the block to your motherboard one decision has to be made. It regards inlet and outlet orientation on the motherboard. Now, since the top mounted tubing pivots in place around a set axis worrying about kinking the tubing during installation is almost moot. The actual issue is whether you want the tubes positioned towards the back, front, top, or bottom of the case. This really comes down to – pardon the pun – a case by case basis. For larger cases with a large ‘gap’ between the motherboard and the top of the case maybe having the inlets towards the back will be most optimal. For others, the opposite will be true. If you want you can easily try multiple orientations before mounting the block, just be careful to not touch the block to the CPU or you will have re-apply the TIM.
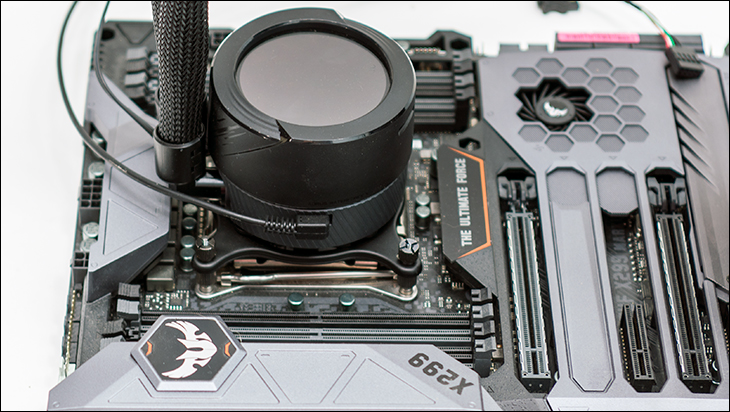
This brings us to the next issue and it is rather unfortunate that the USB 2.0 port is not located on the top half of the waterblock. Instead, it is on the bottom half that does not twist. Thankfully, Gigabyte does include a long cable with a 90-degree header so it really does not matter all that much the orientation of this cable vs. a free USB header on your motherboard. There of course will be edge cases where it will matter, but for most the cable does mitigate most of this… quirky layout.
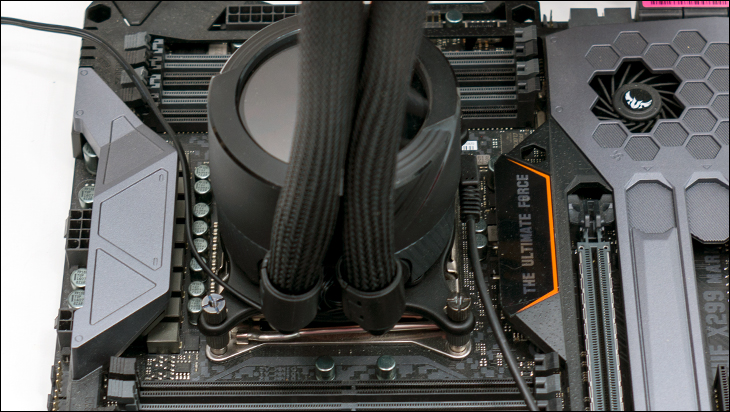
The next step is to apply TIM to the CPU’s IHS and then secure the block to the motherboard via the four nicely sized nuts. These nuts are both knurled and come slotted in the top for a screwdriver. We would recommend tightening them one twist per, in a nut 1 – nut 4 – nut 3 – nut 2 ‘zigzag’ methodology so as to reduce unnecessary stress on the CPU. Keep doing this 1-4-3-2 tightening process until are all hand tight… then break out a screwdriver. A screwdriver not included with the accessories. That “missing” screwdriver is par for the course with Asetek units, but Gigabyte should have gone the extra mile and included one.
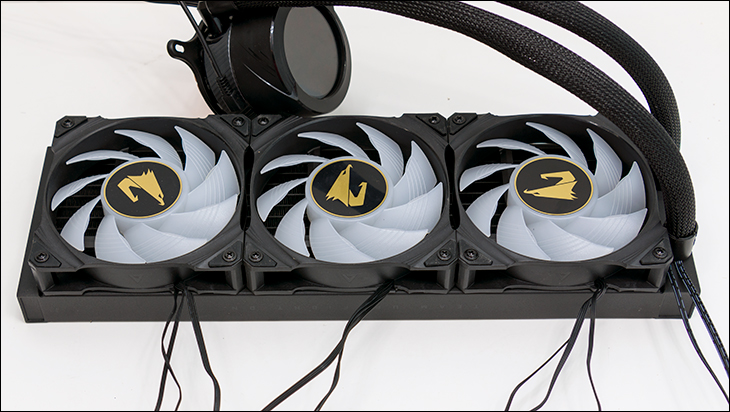
Then it is time to mount the radiator and fans. Unless you have a monster “cube” case you will want to install the fans before installing the radiator. Place the fans in their proper location, make sure all six cables are on the same side. Then think about which side will be easier for cable tidying later. Then when you are positive you got it right. Use all 12 of the long bolts and bolt those bad boys in place so that they push air through the radiator and then out of the case.
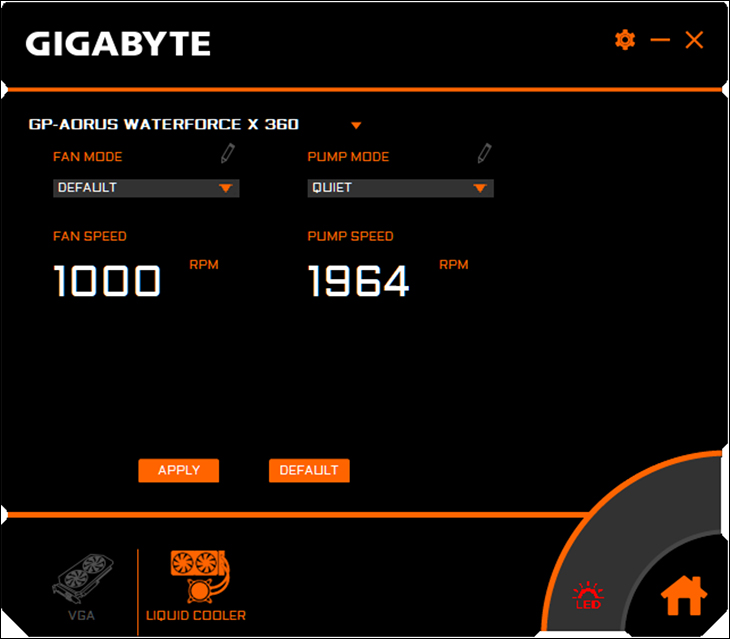
Then plug the three 4-pin cables into the triple-headed connector. Then daisy chain the three RGB controller cables together and then into the Aorus WaterForce X 360’s RGB header. Now you can mount the radiator. With three bay rads a second set of hands can come in handy. Even if it is just to hold the washers and small screws and then pass them to you at the proper time. At this point all that is left is to install the USB cable, plug in the SATA power connector, boot the rig up, and install the Gigabyte software.
