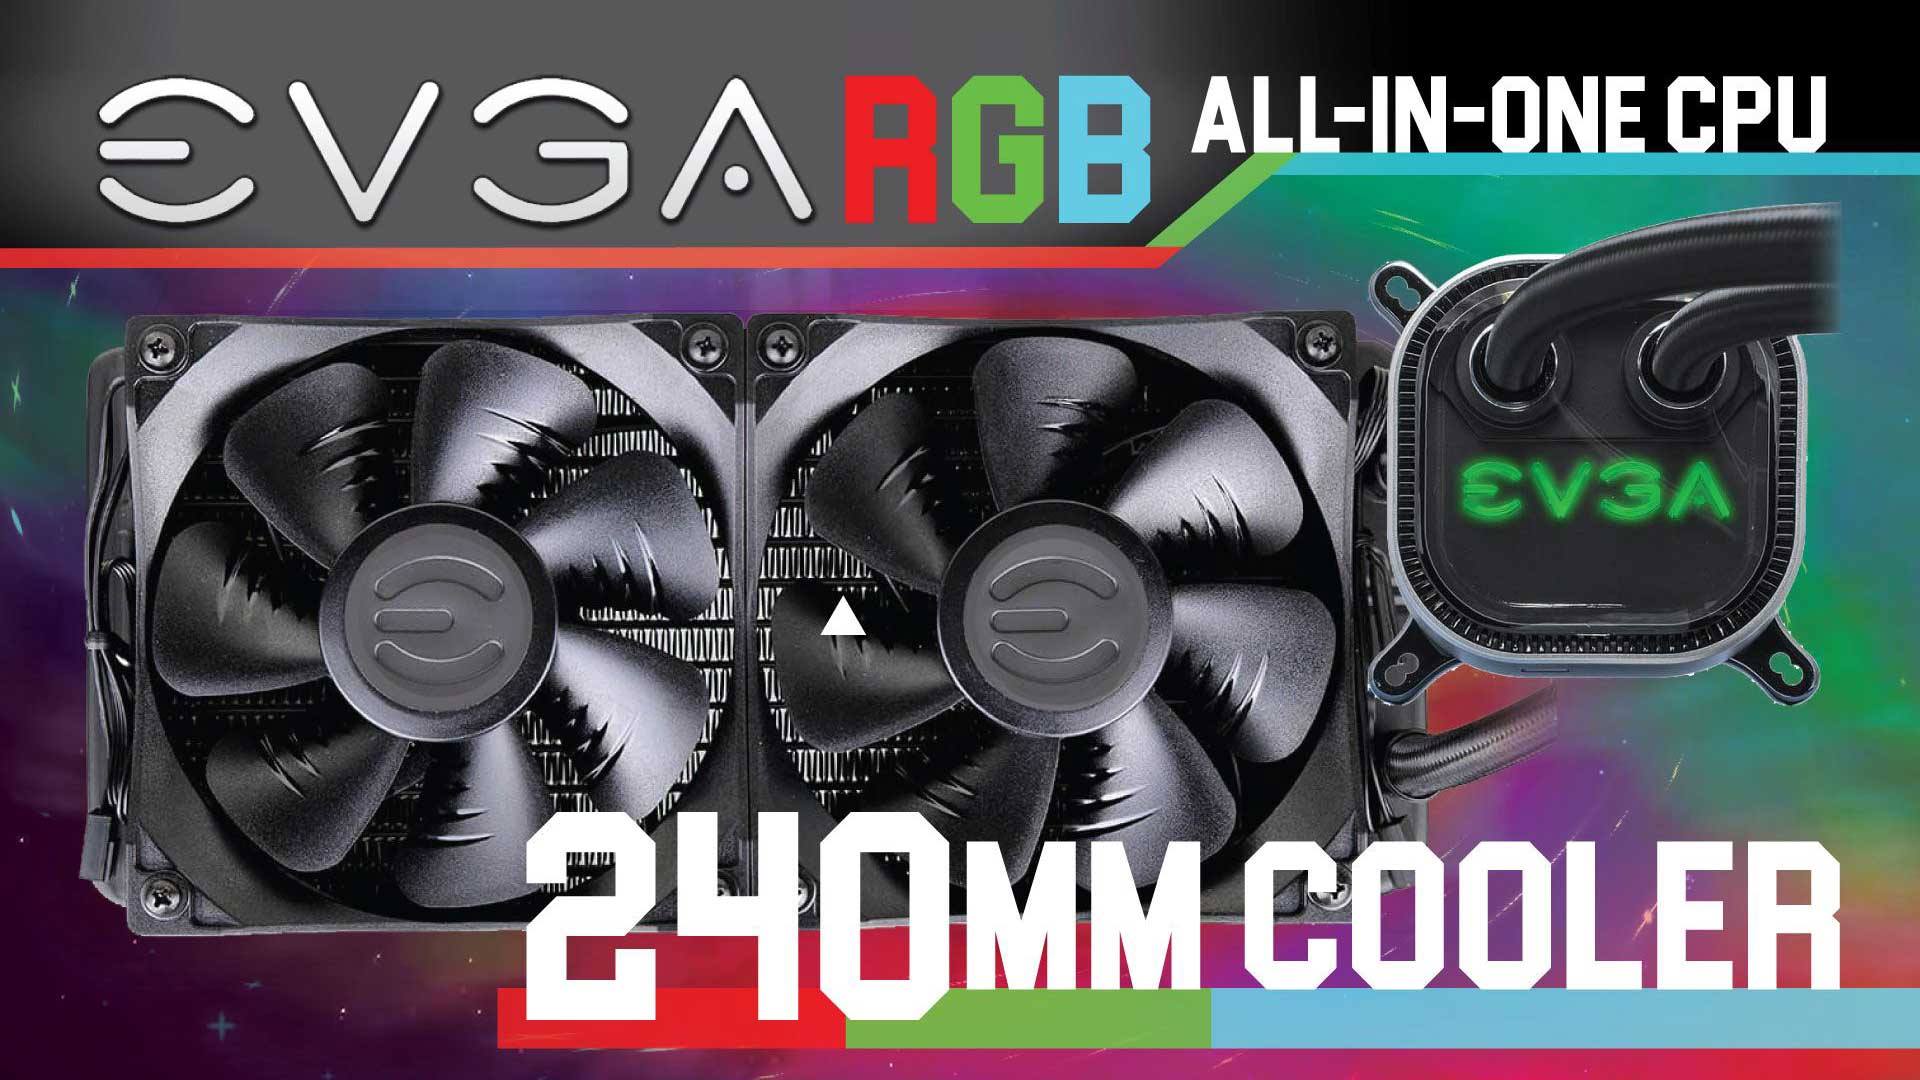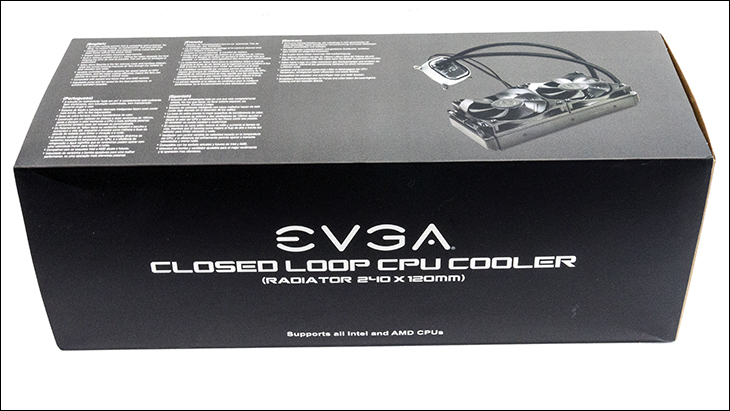
The shipping container is everything we have come to expect from EVGA. That is to say, it is bold, bordering on aggressive, and very eye-catching. By using a monochromatic color pallet EVGA’s CLC 240 easily stands out in the crowded AIO marketplace. While others need (sometimes) garish colors to catch your eye, the EVGA black box loudly proclaims its hardcore enthusiast roots. Mix in a dollop of information on the side (and more underneath the exterior sleeve), with a side order of a fairly sized image of the CLC 240 and the end result is eye-catching without overdosing on the testosterone injections.
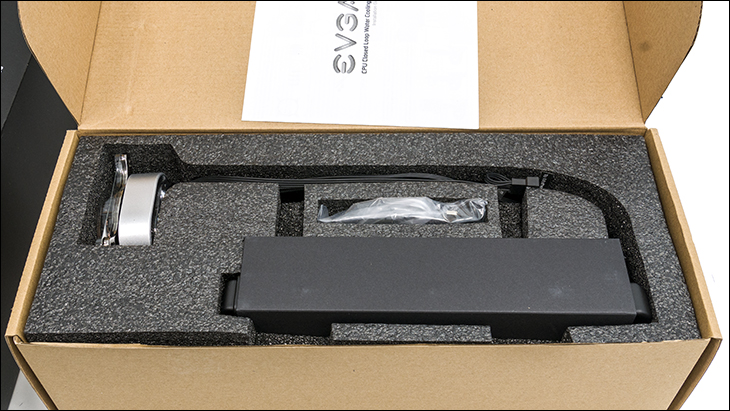
Even though the CLC 240 costs noticeably less than the typical premier 240mm AIO, EVGA clearly did not cut corners on the protection of said shipping container. Where others rely solely on form-fitting cardboard, EVGA uses high-density foam inside a cardboard box. Quite honestly the shipping company could drop kick this box across the country to get it to your door and it still would come intact with nary a scratch on the AIO to show for it. We just wish all AIO’s used such premium levels of protection for their CPU cooling devices.
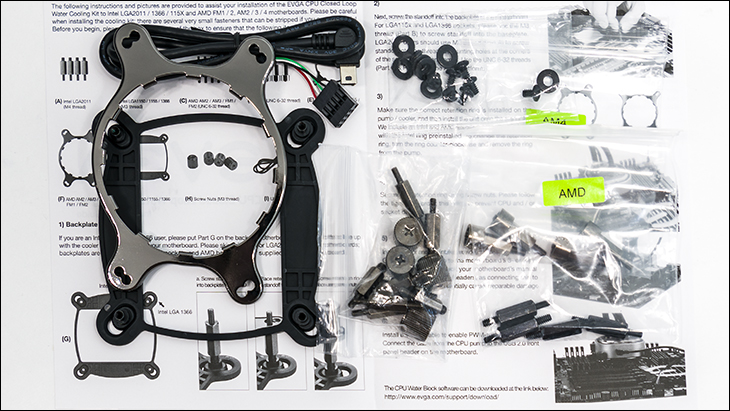
The accessories which accompany the EVGA CLC 240 are for the most part standard Asetek gen 5. This means enough mounting hardware to install the CLC 240 to nearly any Intel or AMD CPU known to man, enough additional washers and bolts to mount two more fans, and generally all-round goodness sure to lower the hassle factor associated with installing large CPU cooling solutions. It also, sadly, means no extra TIM (as the waterblock is pre-TIM’ed for you). Where it differs from the typical OEM Asetek accessory list is three-fold. Firstly, unlike many, EVGA specified that the two fans included come pre-attached to the radiator for you. This is a great time saver, and will cut down on the time required to install this bad boy. The next is in the installation pamphlet included. Not only is it clear and concise… it does not read like an IKEA installation manual… nor is there any Chinglish sentences or odd turn of phrases that seemed to have been spit out by a random frustration generator. As an added bonus for AMD users, the AMD hardware has not only been separately bagged and labeled from the Intel, the AM4 hardware has been pre-separated and comes in its own baggie. In fact, the Intel hardware comes in one, AM1-3 (plus FM series) comes in another, and AM4 hardware is in a third. This means no time trying to compare a nut or a bolt to a small diagram to figure out if it is the right part for your socket type motherboard… or not… usually not. Once again, another little tweak that is sure to save you time, effort, and headaches.
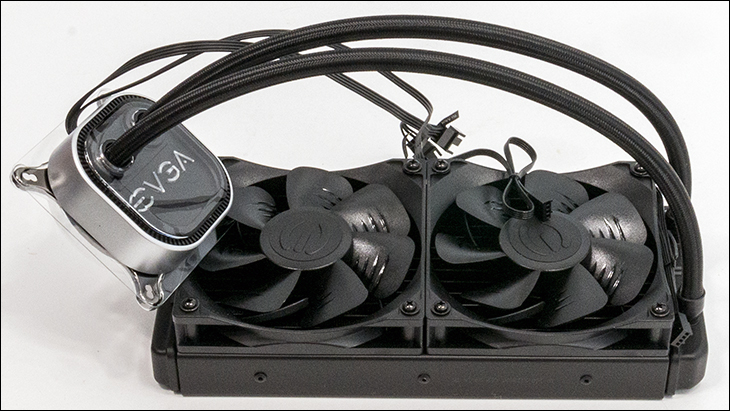
As we mentioned in the introduction the fans that come with an AIO can make or break it for many consumers. Be it noise (“omg these are TOO LOUD!”) to performance (“omg do these fans actually do anything?!”) or some combination of the two. In the case of EVGA the fans included are rather advanced. They may spin up to a blistering 2400RPM but have been optimized to push air hard even at lower rotational speeds.
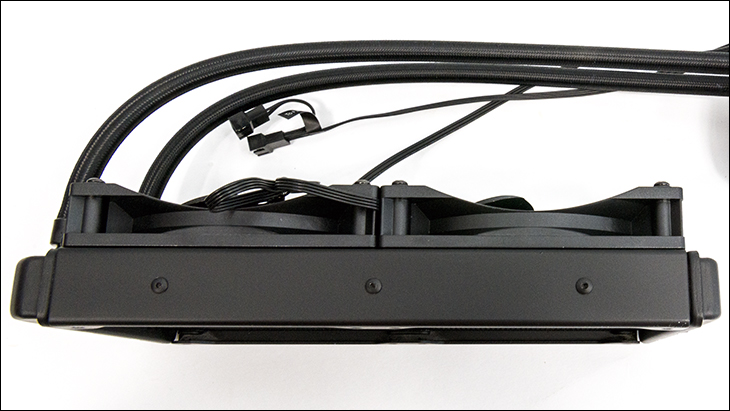
If you pay close attention to the fans there are some very nifty features included that allow these fans to perform optimally across a rather wide range of speeds. The first is the frame itself. With typical fans the frame covers the sides of the fan. This, in turn, narrows the zone the fan can suck air from to basically a cylinder(ish) the width of the fan blades itself. In good airflow cases (or better still on an open testbench) this narrow air zone does not matter. However, at higher speeds, the air being sucked in can be greater than the air replacing it in this zone. Sometimes enough to noticeably lower the air pressure in this critical air supply zone. This does two things. It causes the fans to spin faster to try and get enough air into them, and increases ‘wind noise’ (i.e. noise from the air being sucked into the fans).
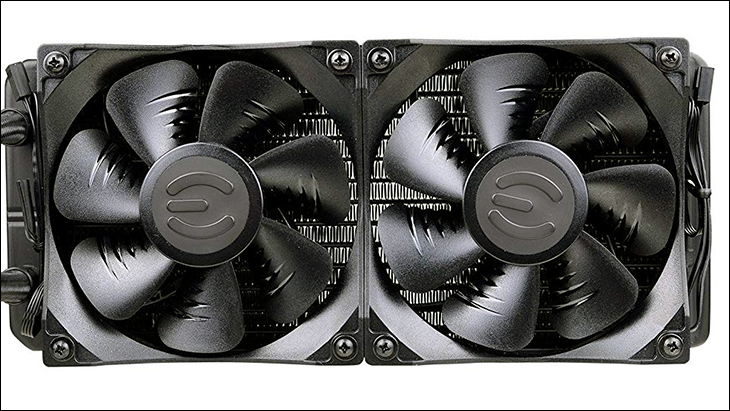
With EVGA the sides of the fan frame are scalloped or ‘scoped’ shape. This allows air from the sides to be sucked in… and in turn increases the size of the air zone they can take from. This is usually not done as it can be backfire if the design team is not careful. Basically, when not designed properly the static pressure of the radiator can cause the air from the fan to ‘bounce’ and reverse flow out the sides of the fan frame. Needless to say… this is a bad thing.

To ensure this does not happen EVGA’s engineers have included a feature that is usually not found on ‘stock’ fans… acceleration channels on the top of each blade. Noctua was one of the first to introduce this feature in what they call “Flow Acceleration Channels”, but what most people simple calls ridges on the blade. These ridges increase the air velocity on top of the blade, straighten the air flow direction and thus reduce air vortices that usually occur on the top of each blade (especially out at the leading edge where the blade is moving the fastest). This keeps more air from wanting to flow over the top of the blade… and off the side of each blade. In turn, the need for a frame to act as an ‘air dam’ is reduced. It also increases static pressure at all RPMS… and further reduces the rotational speed needed to keep a radiator cool. As an added bonus they also reduce ‘wind noise’ – which is basically waste air hitting the incoming air and causing turbulence (and thus noise).
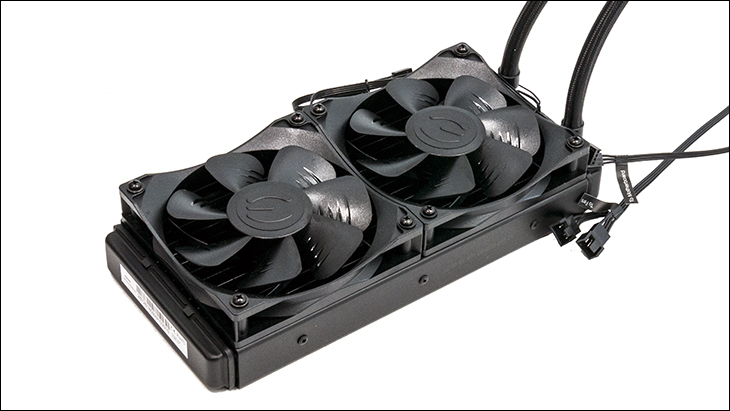
Mix in advanced geometry to each blade to optimize static pressure over speed, Teflon coated ‘nano-steel’ ball bearings (which are long lived and rather quiet), and you have fans that are highly advanced for ‘stock fans’. Advanced enough that few AIO manufactures bother including them as they cost noticeably more than typical fans. The only misstep in this fan design is a lack of rubber noise dampening pads in each corner. As such some vibration noise will be heard when they are running at higher speeds. If this really matters to you, you can either purchase a thin noise dampener… or do what we do. A small smear of silicon (obviously allowed to dry before reinstallation) in each corner of the fan will reduce the vibrations nicely… and is an extremely cheap fix.

The radiator itself is a pretty much a bog standard Asetek gen 5 radiator. That is to say it is very decent in the number of water channels it has (13), number of aluminum folded fins between each water channel (~19 FPI with moderately low static pressure requirements) to help transfer the heat from the water channels to the air, and is not so thick as to cause too many headaches in most cases (as it is 28mm thick… aka ‘standard thickness’ and not ‘double thick’). Like all good rads it comes with build in standoffs between the radiator and where the fans reside (aka a ‘fan shroud’) which will reduce static pressure and the ‘dead zone’ directly in front of each fan’s motor hub.

As it is a gen 5 radiator this is no tertiary ‘fill hole’ to worry about leaking from and instead the (very small) reservoir at the base of the rad only has two holes: an inlet and outlet. The pre-attached (as this is a sealed or ‘prefilled’ or ‘All In One’ pre-built water cooling system) are nicely done with very little restrictions introduced. Of course, they are not quick connect/disconnect connectors… but few will want to mess with refilling instead they will RMA if things go sideways.
Like all good AIOs the neoprene low evaporation tubing has been nicely braided with a tight black nylon braid that does help finish the look of a build. Also like a good AIO the tubing is a nice length (about 400mm) but not so long as to have it bending all over the place in most PC cases.
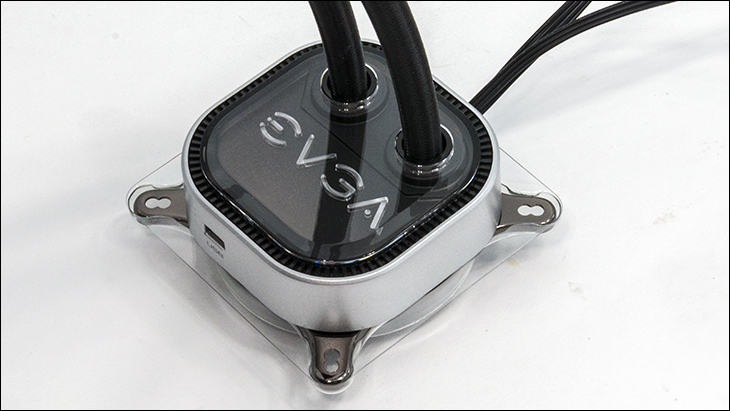
To help with both the overall aesthetics and ease of installation the waterblock is a moderately compact at about 1.5inches tall, with a nice silver and black fascia covering.
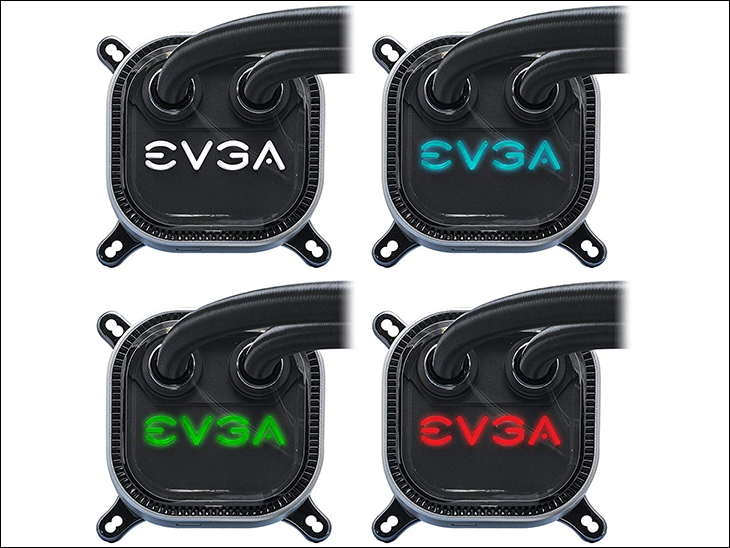
The top, of course, is clear plastic so as to allow the ‘EVGA’ logo to glow when in use – and is fully customizable via software for color, lighting scheme, etc. Equally important is it does fully cover the round waterblock, so you get a very nice clean final build without the mounting bracket nor cabling showing all that much. In the case of the wiring it comes out underneath one side and can be easily hidden/routed around various parts of the motherboard (e.g. the DIMMS, the block itself, etc.).
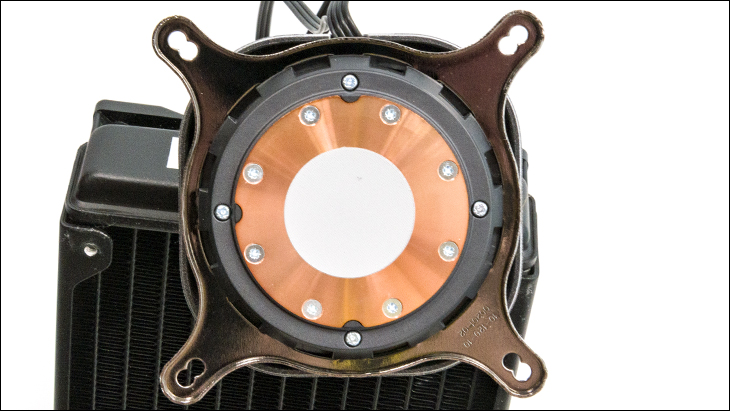
In the case of the top mounting bracket, it does not attach to the fascia; rather it is attached to the circular ASETEK waterblock hidden underneath. Of course, as this cooler is compatible with a multitude of Intel and AMD sockets the bracket is easily removed via simply rotating it. The only downside is that while the waterblock and pump combo is low-profile the end result is larger than it needs to be. We personally prefer this look to the earlier gen ASETEK designs which were round, had no fascia covering… and rather hard to work into a final build. You may, however, prefer the ‘round’ look of earlier generations. In either case, the water block itself is still round, it just is square(ish) thanks to the plastic covering.
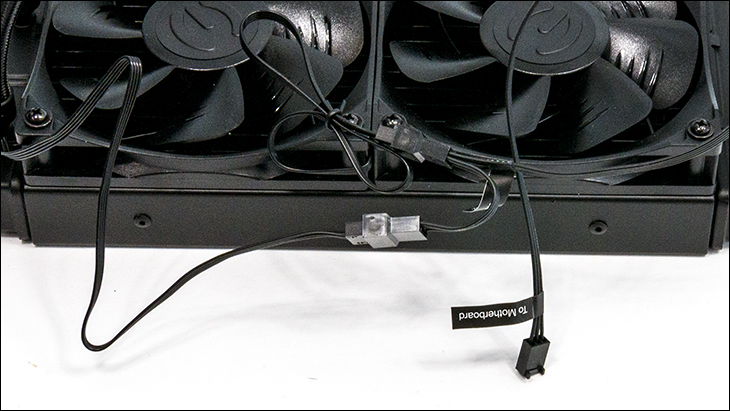
Moving on, the cabling attached to the waterblock consists of two cables. Sadly, neither are braided. On the positive side, they are flat and thin (and thus easier to hide). These two cables are nicely labeled with a sticker that can be removed after build completion, but make it impossible to mess up and trying to plug the wrong one into the wrong header(s). One is a small 3-pin power connector that powers the pump, LEDS, fans, and built-in controller. As the label suggests this you plug into your motherboard’s ‘CPU’ fan header. The other is a double-headed 4-pin fan header cable (which plugs into the included fans 4-pin cables). The downside to this is if you do go for quad fan configurations you will have to pick up two fan splitters… as only two fans can (obviously) be directly attached this cable’s two headers. The upside is there is a lot less wiring to tidy up, and you need not worry about your motherboard messing with the fan profile – the built-in fan controller does it all for you.

This brings us the next included feature: the micro-USB port on the side of the block. Once again EVGA has gone with a flat and not braided USB cable, but this minimally impacts the final build’s aesthetics… and you really, really want to use this feature. This cable is how the software can communicate with the onboard controller. While yes, the CLC 240 will work without the software of USB cable (as it has been programmed with a default profile), it is the only way to talk to the controller and get a custom water pump and fan speed profile that is tailored to your needs, wants, and (noise) desires. More importantly, your custom profile gets saved to the onboard controller so you only have to run the software when you want to make changes… not implement an already saved change every time you reboot the system.
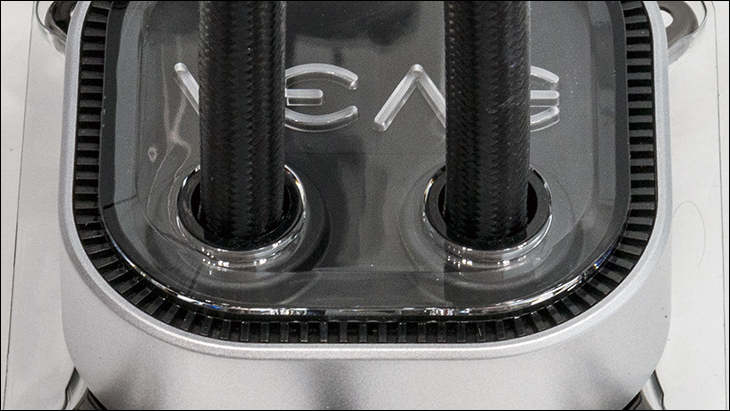
Moving on. The inlet and outlet of the waterblock are once again low restriction connectors that may increase the hassle factor during installation but do increase the overall efficiency of the loop. Of course, as they do go down and through the clear plastic top covering of the block… replacing them requires a somewhat hassle-inducing teardown of the block. Once again few will care, as this is a sealed unit that few will mess with during the warranty period.
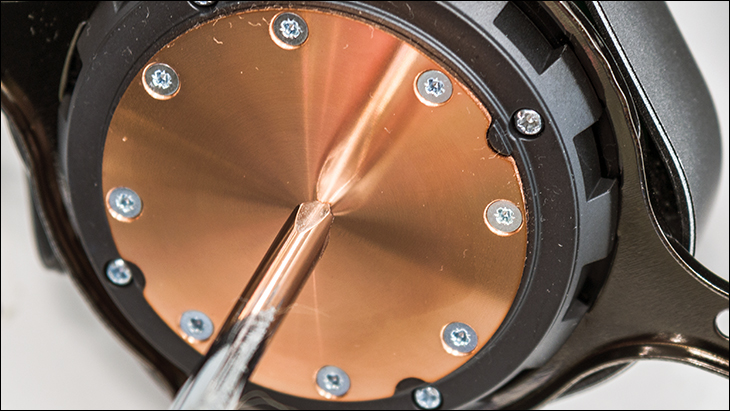
As this is a gen 5 Asetek waterblock the copper bottom is nicely finished, but could do with a touch more polishing. As it stands it is very good, but pretty much average for Asetek built AIOs these days. For some the pre-applied TIM will be a nice touch. For others, the lack of additional TIM in the accessories will be disappointing. We fall into the latter case. Few of our builds last the full five warranty period of the AIO before parts are swapped out. Then again while the included TIM is good, we always use MX-4 TIM (or diamond or liquid metal based TIM depending on the builds needs)… so including a small tube of TIM would just needlessly add to the final cost of the AIO. You may feel otherwise.
Overall the EVGA CLC 240 is a high end closed loop ‘All in One’ cooling device with almost no corners cut. In fact, some of these features (especially the fans) belie the lower asking price… and make typical Asetek based 240mm AIO device’s look over-priced in comparison.
