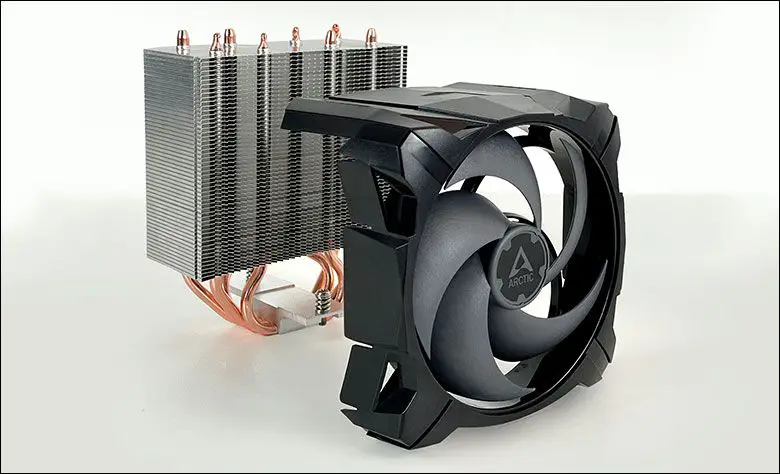
Arctic’s literature makes a big deal about the fact that the Freezer 35 series comes with improved installation hardware that makes for an even easier experience. This is true. It is better. It is easier. Is it all that better? That is not so easy to answer as the Freezer 34 series was an easy to install cooler that smoked the typical ‘value’ or ‘budget’ cooler. It really was only when you (unfairly) compared them against the likes of Noctua or similarly priced ‘premium’ coolers that the Freezer 34 came up short. We assume that Arctic took that personally and this is why they improved upon an already good foundation.

Yes, the most obvious change is Arctic went to Intel or AMD specific hardware and that does rub us the wrong way… but hot darn is the new hardware almost good enough to justify that major downgrade. Just take a look at this new all metal backplate. We have literally, and we mean literally, steel targets that used thinner, lower quality, metal than this backplate. This is a backplate meant to support the likes of Arctic’s Freezer 50 mega cooler rather than a piddly little 700gram range cooling solution.

With that said, the steps necessary to get this backplate ready for use are a bit more than what was necessary with the last gen polymer backplate. That is the downside to metal… as you cannot (easily) just heat weld in threaded bolts and call it day. Instead, you need to use external bolts that have to be mounted before you can use the backplate. Even here Arctic has gone above and beyond to create an extremely easy, if slightly complex, setup using hardware that even the Swiss would be embarrassed by its level of precision and quality.

This is where Arctic’s animated gifs really pay dividends… as there really is only small (and easy to miss) clues on how to install the bolts to this bad boy. Basically, all you need to do is take the backplate and hold it so that the side with big ‘X’ is sunk in and away from you.
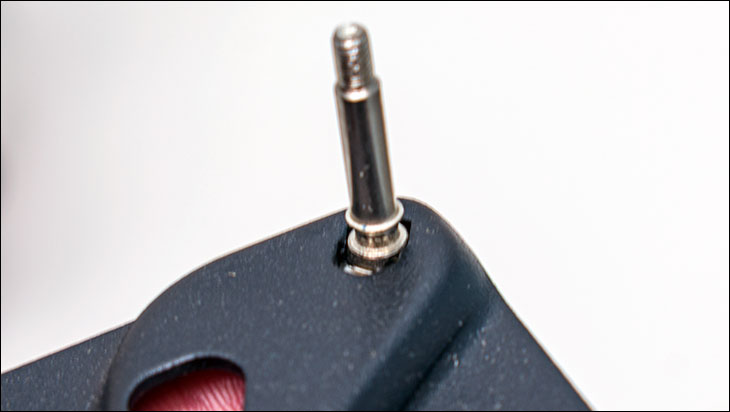
Then grab the bolts and one by one stick them in the corners.
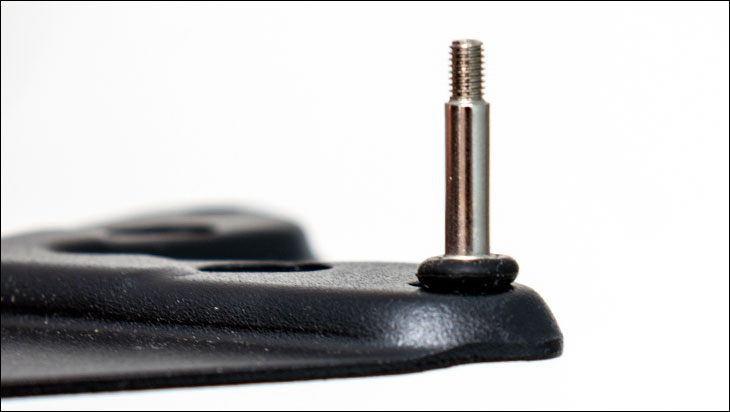
Then using the o-rings… roll them on to the bolt till they are in the machined slot on the bolt. This keeps the bolt in place while also electrically insulating the backplate from the bolts and backplate.
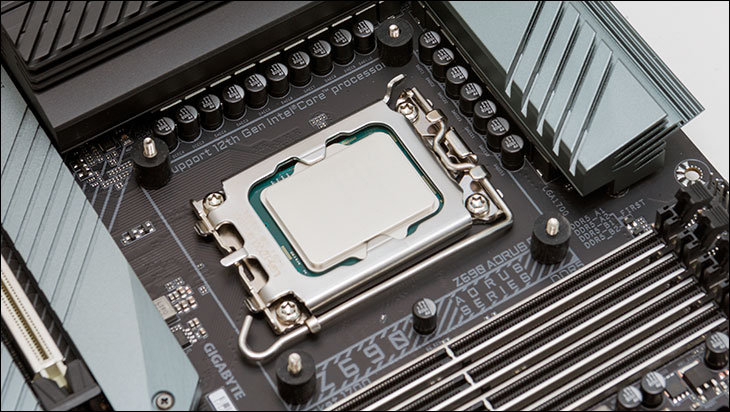
When all four are done, things go back to being 1+1=2 easy… and if you have ever installed any tower cooling solution it will be like old home week. With that said, there are still two minor to moderate issues that you will run into.
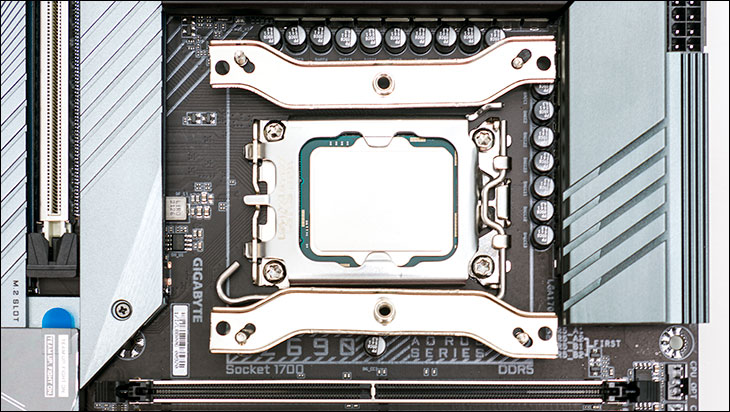
The first is the four small top nuts are tiny. Mix in an overly dense thread pattern and you will spend a good chunk of the entire installation process either installing them… or finding them as they try and hide underneath your motherboard’s heatsinks. Ooof.
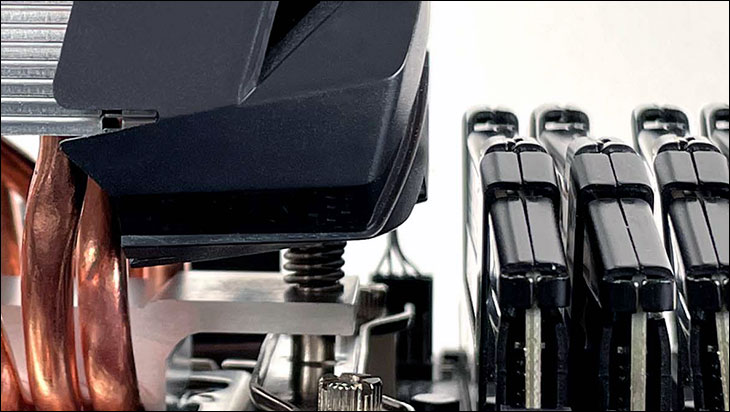
The other issue is a carry-over from the Freezer 34 series. Just like the Freezer 34 before you can actually mount the heatsink (and take advantage of the improved integrated locking bolts on said heatsink’s base) you first have to take off the fan+fascia covering. Yes, this is an annoyance more than an issue. It still is a pain to do. More importantly, every time you have to flex those plastic locking tabs you risk them cracking and dead-lining the cooler until you can RMA it. Double oof.
That however is the grand total of issues you should/will run into with the Freezer 35 series. So overall it is improved but there is still room for improvement on the improvements.
