No matter if you have built and/or managed ten, hundreds, thousands… or zero Network Attached Storage devices. One thing will be the same: Synology has taken great pains and gone that extra mile to make your life easier. We say this as the setup and configuration process of the Synology DS1821Plus is extremely easy. So easy that you need zero experience with Network Attached Storage, it will hold your hand and do all the heavy lifting for you. With that said, and like any manufacturer, ‘The Synology Way’ has a few quirks that are unique to their process and expected workflow. That however is getting a bit ahead of ourselves.
The very first step is to either log into your router and find the IP address and then open up your web-browser of choice, enter it and then add “:5000” to the end. That is the old school way of doing things. For novices, all you really need do is type in “http://find.synology.com” and let it do all the work for you. Of course, if you have a secured network with good opsec… you will have to do it old school as the DS1821Plus’ broadcasting will/should be blocked by your router.
Either way can/will work and bring you to a nice, calming blue themed startup screen once it finds (and loads) the NAS gateway’s built-in setup wizard. Hit the big blue ‘connect’ button and dig in. Don’t panic. It is one of the easiest, pain-free processes you will find in the industry.
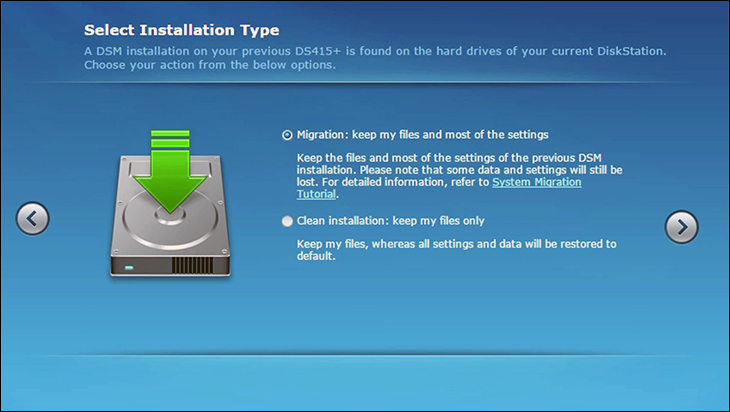
This is where things can take one of two paths. If you are upgrading your older Synology NAS to a new model and want to be up and running in no time flat with all your data saved you can. This is called migrating. To migrate your old to new, all you need is install all the fully working and verified drives from the old unit into the new… before turning it on for the first time. We recommend keeping Drive 1 in Drive Bay 1, Drive 2 in Drive Bay 2… etc. etc. Basically, as long as you new NAS has the same or more drive bays, and is running same generation of DSM; you can easily power down your old Synology; yank the drives; plug them into the new unit… and be good to go. This is a lot riskier than doing a new setup and then manually copying the data from a backup (or your old NAS)… but if your old NAS is dead and you don’t want to start from scratch it typical ‘just works’.
If this is what you are doing, the next screen will have a big ‘Migrate’ button on it. Hit it. You will then be greeted with a screen asking what you want to do with the data it found on the drives. Migration or Clean Installation. Don’t worry, both options will save your data… but if you had your old NAS customized, the “clean install” option will not transfer your old settings over to the new. How much of your old settings get transferred depends on old vs new NAS. Same model? Everything (with the possible exception of licenses which may or may not get carried over – e.g. surveillance licenses can be transferred once and then you are SOL). Moderately different? A lot less. Extremely different (e.g. ARM to Intel or one bay ‘NAS’ to a 2/4/5/6/8/etc. bay NAS)? It probably will fail the test it does before it starts and tell you that it will not do a migration… and you need to choose clean install option (which protects your data). At which point you are better off starting fresh, and adding the drives’ data later via the DSM built in migration feature. The last caveat is that no matter what the two models are… do not expect miracles. Regardless of how much differences there are it will try and do a modified DSM install and try to carry over as much of the customized settings as possible. Operative words are ‘try’ and ‘as possible’.
Where the drives last had DS1621Plus images on them our first upgrade test was AMD to AMD. That was a breeze. A couple extra minutes for minor tweaking, but generally speaking was an entirely painless process. This was to be expected. Since that caused no issues, we then grabbed disc images of when the drives were in the DS1520Plus (5 drive RAID 6 array) and did it a DS1520Plus to DS1821Plus migration. Even though this is Intel to AMD migration it too resulted in basically no major quirks with nearly everything carried over. A few minor niggles here and there, like static IP address and fan profile, but overall just as easy as migrating via the wizard as going from one gen of Intel to a new gen Intel Synology NAS. Most importantly… no data was harmed in the move. Going from an ancient ARMv7 (a dual core Marvell armada xp mv78230) DS414 actually worked too. Of course, before being taken out and shot we had upgraded that NAS’ OS to DSM 6. As such if it had been DSM5 we have serious doubts about it being as simple and hassle free a process as it was. Still. That is not too bad considering it was migrating from an eight-year-old NAS.
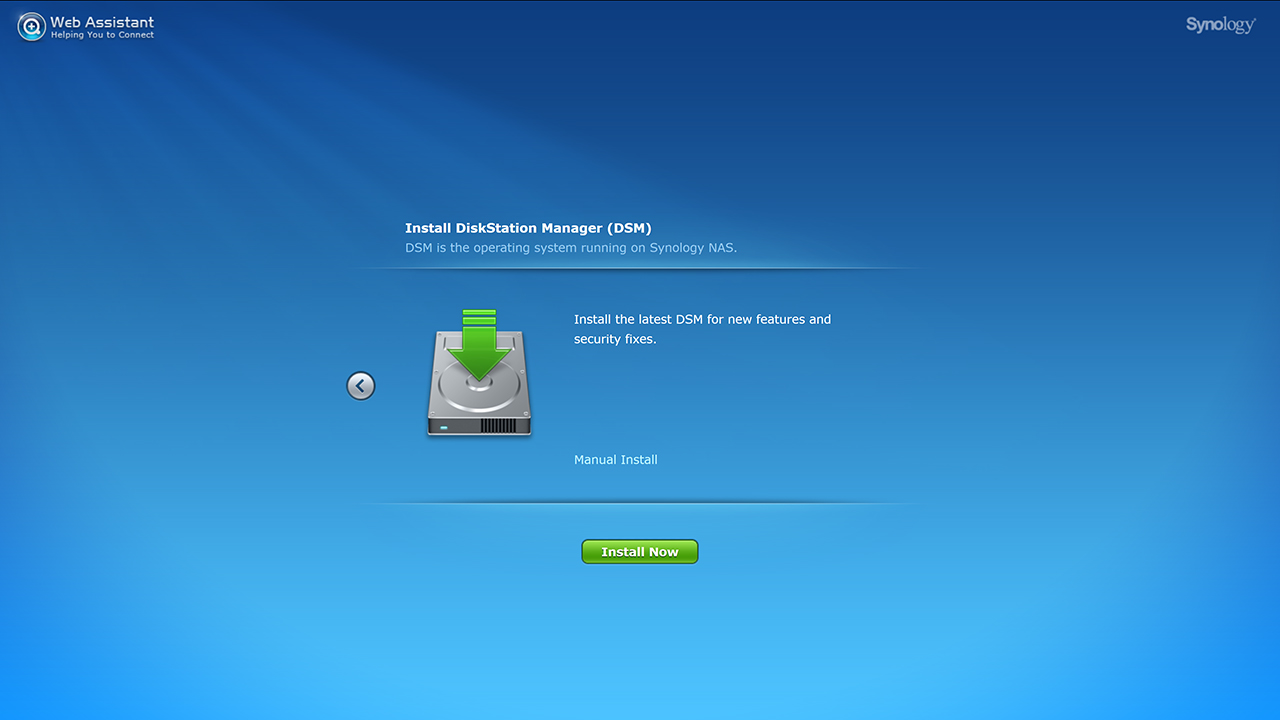
For truly fresh installs, the page you will be greeted with does not have a ‘migrate’ button, it will have a ‘Install Now’ button. When this easy button is pressed the wizard will auto-connect to the interwebs and download the latest version of DiskStation Manger (DSM) for you. Depending on your internet connection that can be a ten-minute or longer wait.
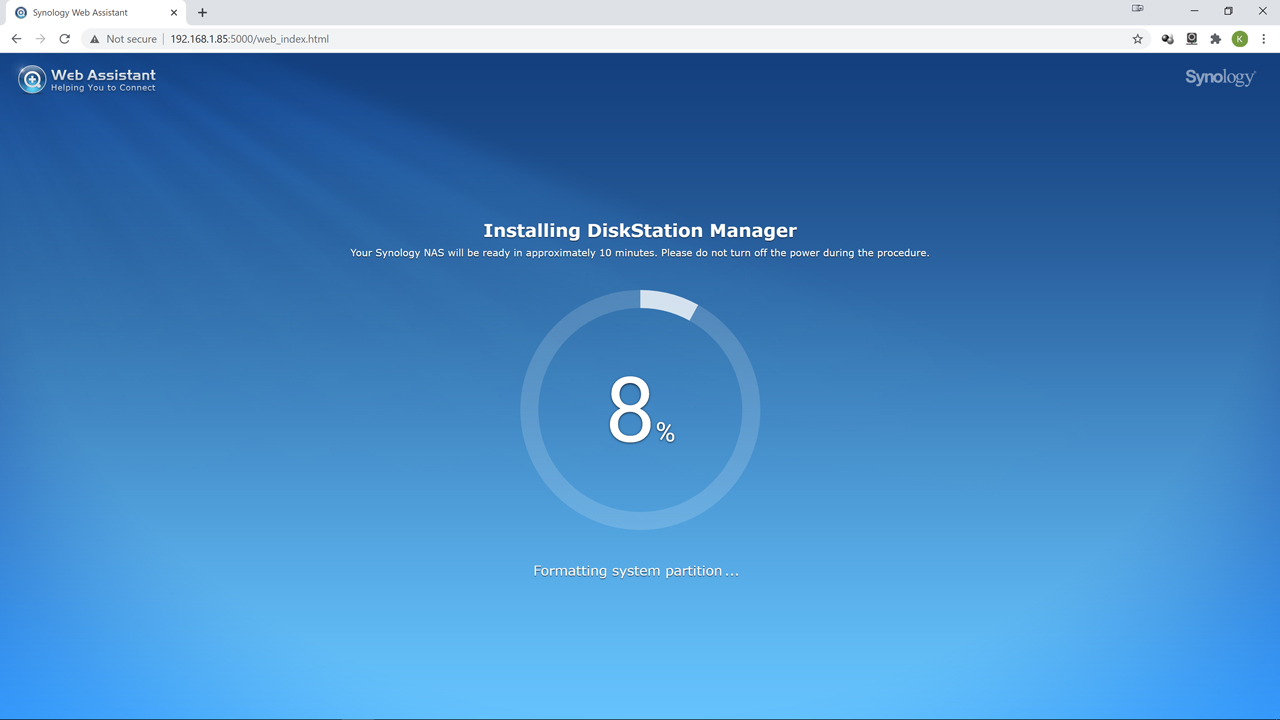
It will give you an ETA on the download and auto-installation process. Don’t worry. If you walk away and forget about it… all you need do is log back in and it will remember where you left off.

Next give the system a unique name, a unique administrator name and a secure password. Please do not use some variant of ‘admin’ and easy to guess password. With the latest version of DSM 6, it will not let you use admin (as administrator accounts called ‘admin’ has been depreciated due to security concerns… finally. If you did a migration, you will be told this on first log in and nagged to change it until you do. Please do that ASAP). So instead, pick a name that is easy to remember and for the password combine three words into one, with the occasional number. For example, we have used things such 2Days1Night0Patience or HKB3caus3USuckAndW3Hat3U. It will tell you how good your password is via the strength meter below the password text boxes. Use it. It will help make your system more secure.
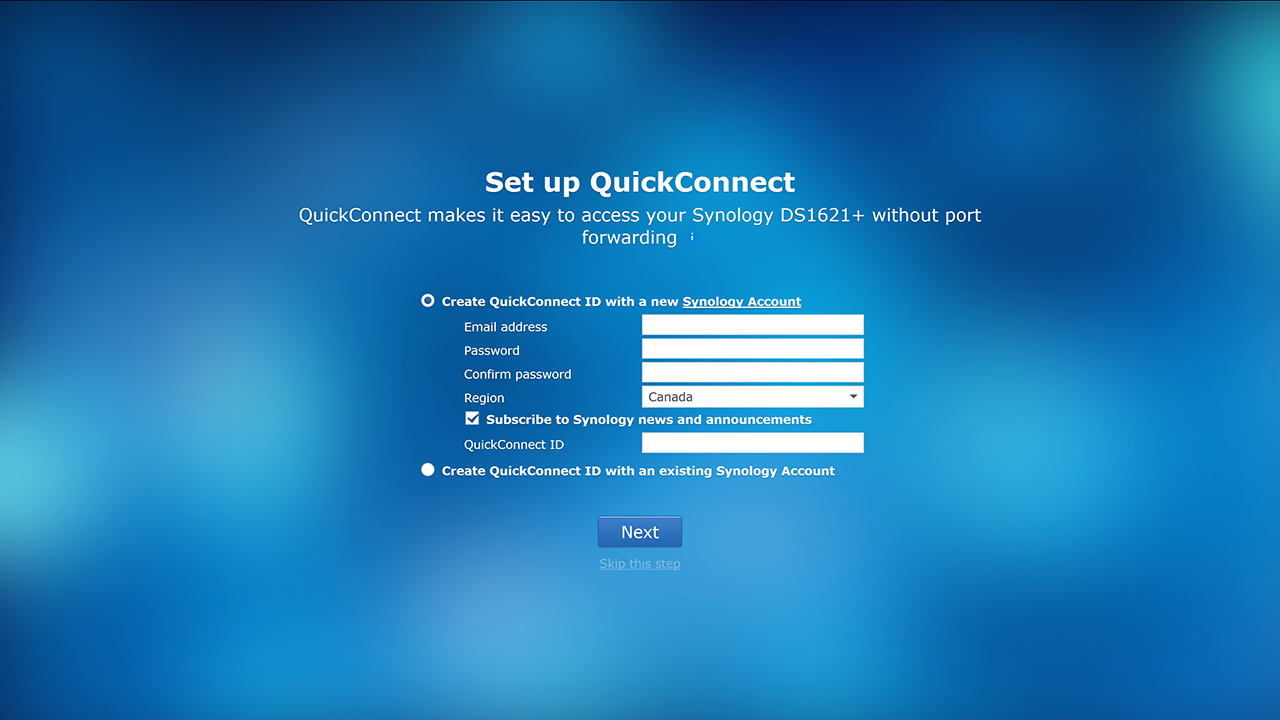
At the next step, we personally hit the little bitty, pale blue, ‘skip this step’ text option below the ‘Next’ button… as we don’t want to create another account with ‘quick’ anything holes in our security. You may feel differently.
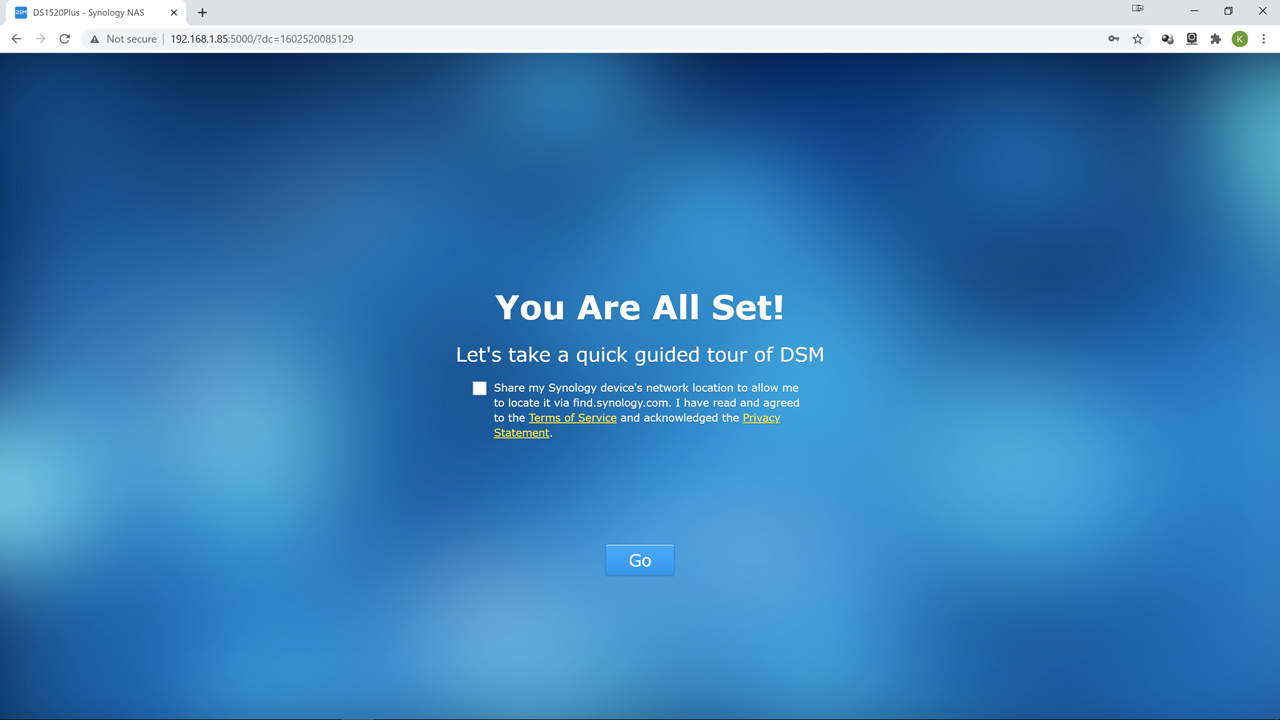
Bam. The DSM software is up and running. Now you can hit the go button and start making the NAS work for you. For those who ever used DSM 6.x and are worried the change from Intel to AMD has caused DSM 6.x UI changes… don’t worry nothing has changed (and why we are recycling the hundred plus screenshots we made and edited during the DS1520Plus review).
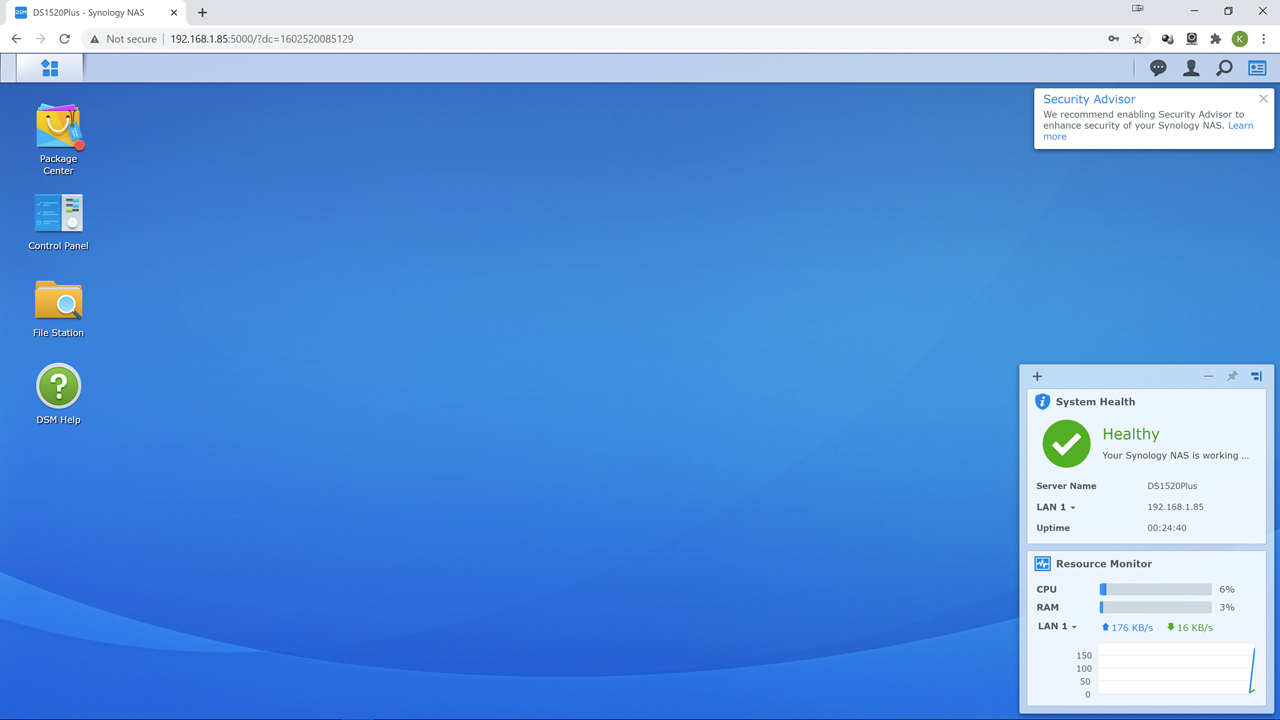
On even just a quick glance one can tell that Synology’s DiskStation Manager is based on Linux… as its ‘desktop’ GUI makes that pretty clear. It is clear, it is clean, but it is a bit quirky. This is probably where the majority of problems with first time users will come from… as ‘what do I do now?!’ will be screaming in their minds inner voice. Honestly, there is really no single ‘right answer’. There multiple ways of doing some of the necessary steps. For example, some will want to configure the various options such as email alerts, SSH, and the like. Others will want to configure their Raid array and pool first. We usually start with the latter and use this critical step as our starting point.
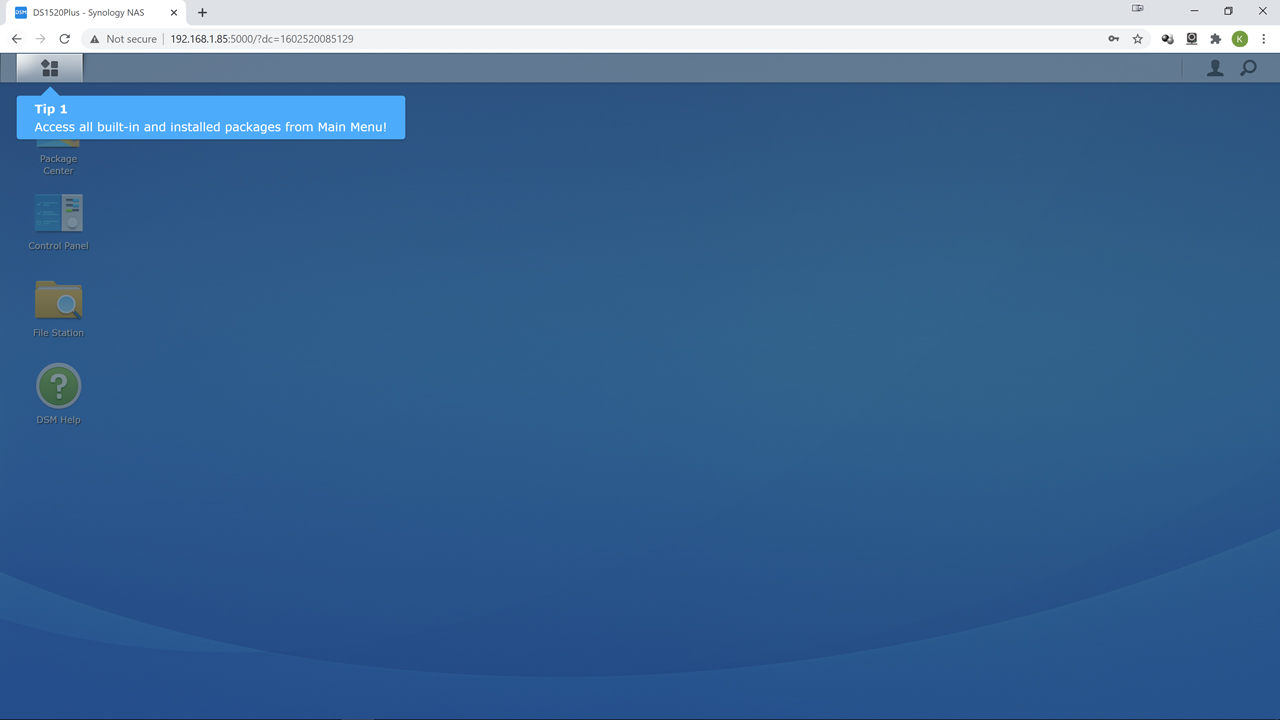
To start this step, you click on the funky ‘four stacked boxes’ icon in the left-hand corner.
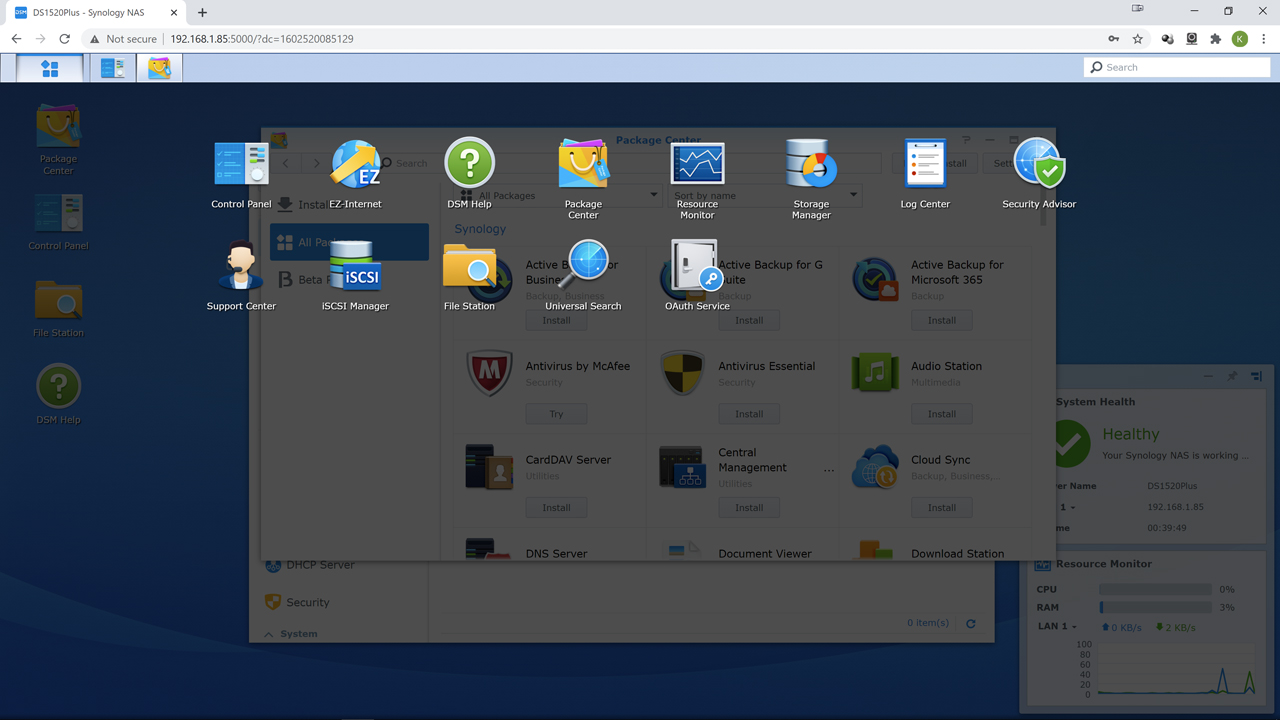
Then within the semi-opaque overlay popup hit ‘Storage Manger’… as that is the header for everything storage related.
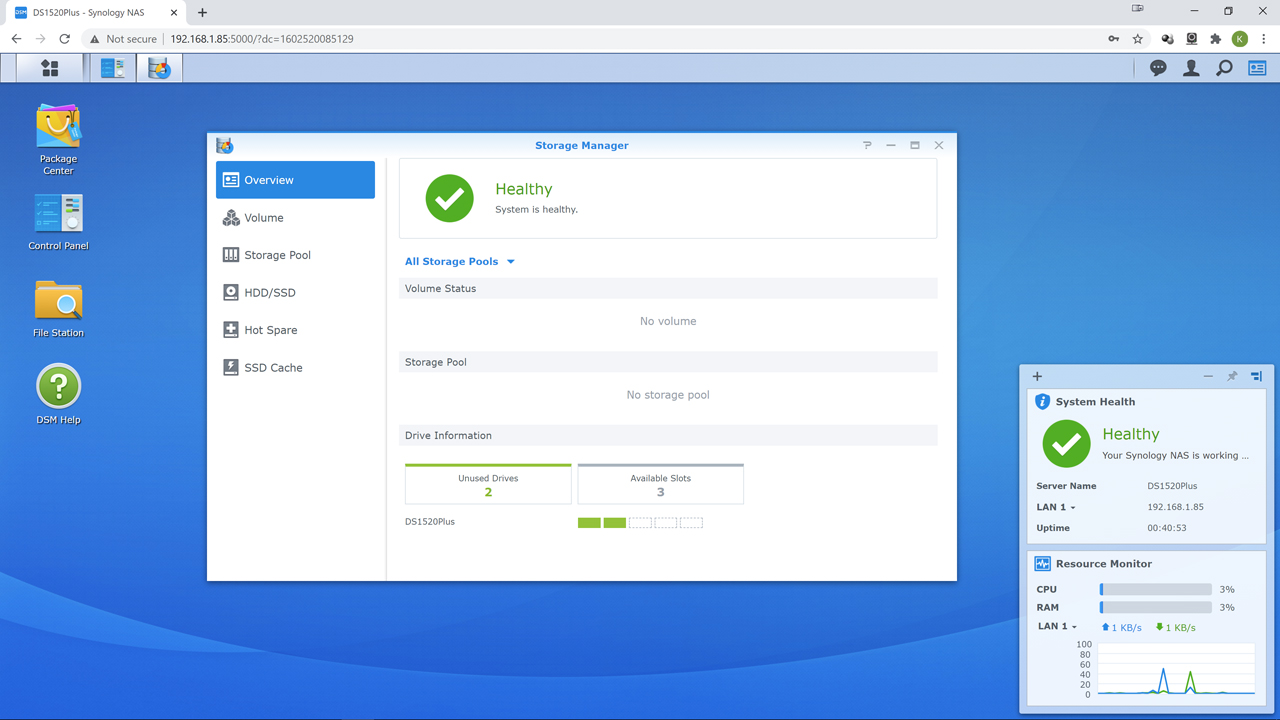
This new page will have a column of options: Overview, Volume, Storage Pool, HDD/SSD, Hot Spare, and SSD Cheche. All are pretty self-evident in what they do and what they offer. For example, HDD/SSD gives you a detailed breakdown on the drives attached. Hot spare allows you to add a hot spare drive that is online but idle, just waiting for a drive to die in an array so that it can be instantly take over and start the rebuild process with zero delay.
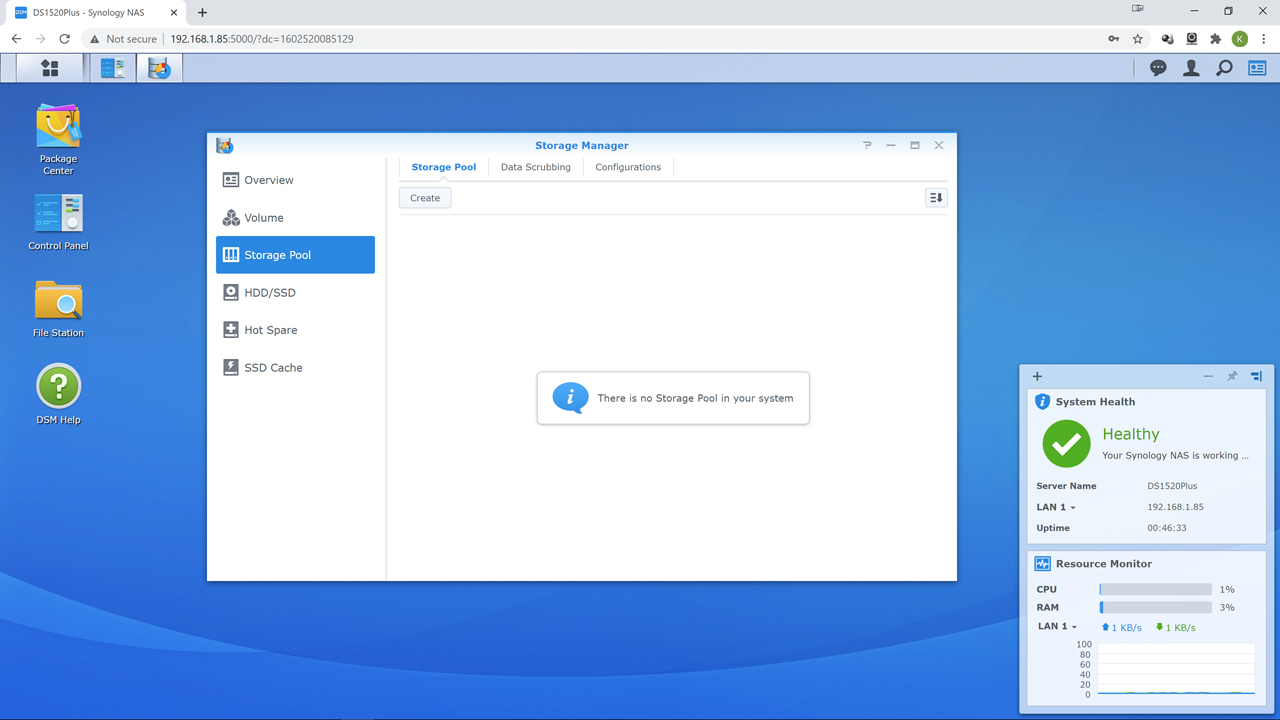
With all that said, for novices a bit of an explanation in the ‘proper flow’ is in order. With Network Attached Storage (or any storage array for that matter) your drives need to be placed into at least one RAID array, and this/these RAID array(s) are then configured into a pool. Then that pool is used to create a ‘volume’ or your actual ‘Z drive’ that users access across the network. Advanced users will create multiple smaller RAID arrays and place them all in the pool… as that improves performance and redundancy at the expense of capacity. Others will make two pools so that pool 1 can backup to pool 2 and have complete redundancy in case an array dies. Most home users will only do a ‘one array to one pool’ configuration. That is why you actually do not need to go to the storage pool option first. Instead, you can just click “Volume” and then ‘create’. DSM is smart enough to know that you do not have a pool ready to go so it will step you through the entire process first.
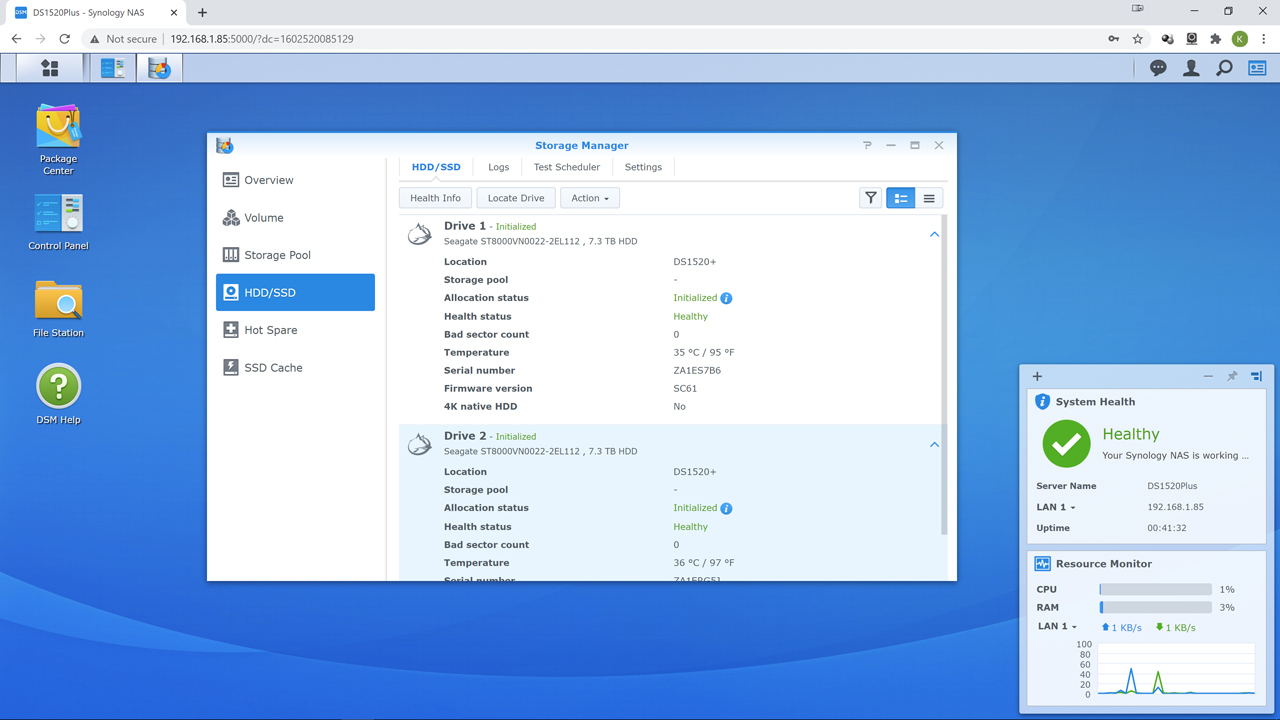
Personally, before doing either the pool or volume we like to make sure all our drives are actually being seen by DSM and then their options are configured to our liking. Thus, we start with ‘HDD/SSD’ subsection. Here you will see a list of your drives.

As long as they are seen we would not worry too much if they are on the official compatible list or not. Basically, if it is a SATA NAS drive it should work with DSM. Synology just is getting less and less generous in what they test and certify to work with their new NAS models.
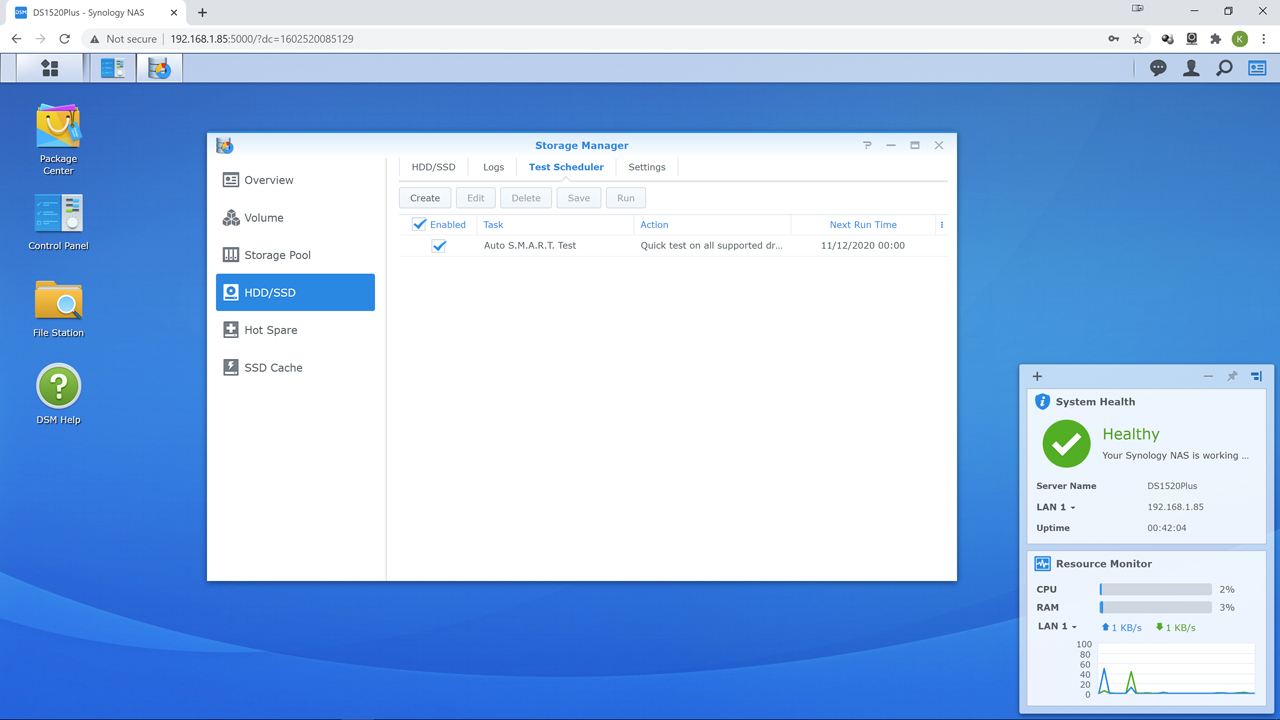
In either case we then hit “Test Scheduler” in the row of options and make sure Auto SMART test is setup to run on a schedule. We typically have it run the SMART test once a week on all the drives.
