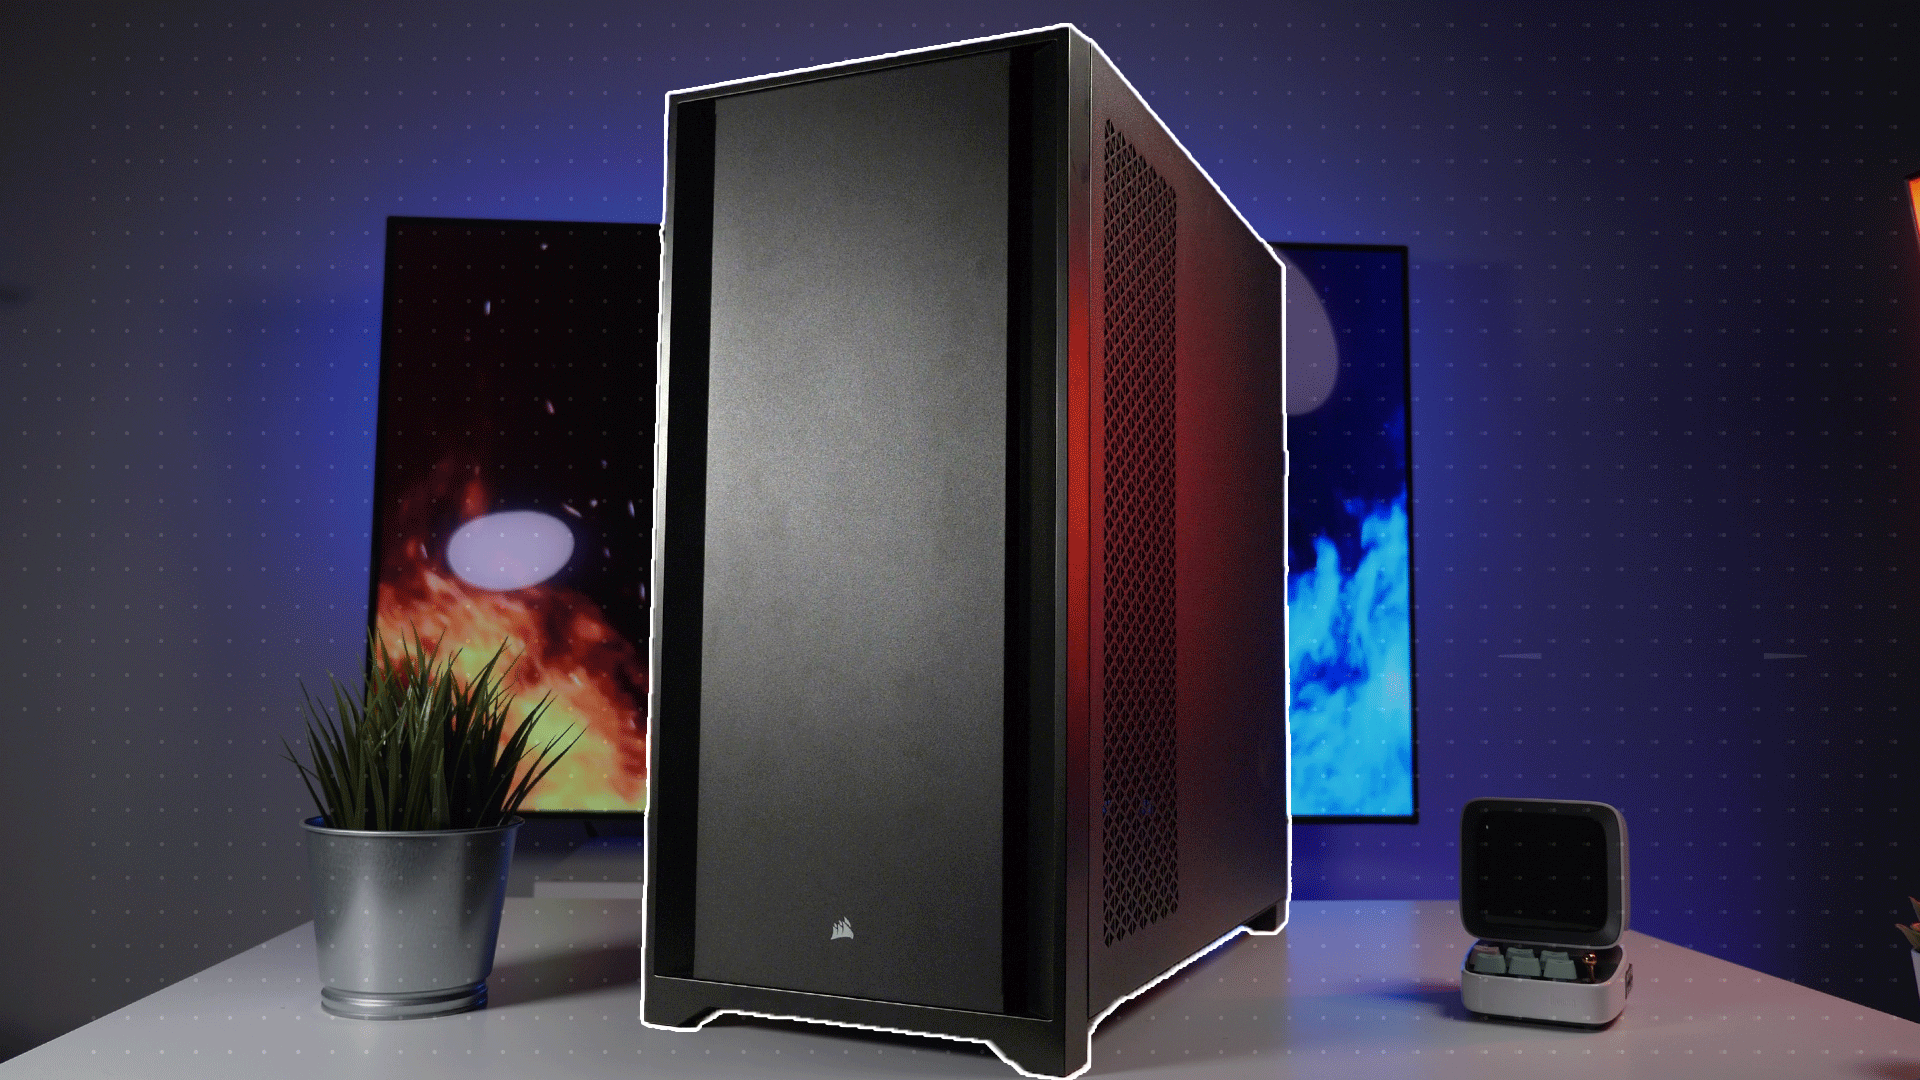
We must admit that when ye olde shipping agent dropped off this rather large box we first thought that Corsair had sent the wrong model. A ‘full towel’ model… as this is one large box. We say this as we have seen ‘full tower’ cases come in boxes this size and typically when we think ‘mid tower’ we think ‘mid-sized box’. Thankfully even just a quick look will tell you that yes, indeed this is the shipping container for the 5000D and it is choke full of details. Some of the increased dimensions comes simply from Corsair stretching the very definition of what is a mid-tower form-factor and some comes from the copious amounts of form-fitting medium density foam that cocoons the case inside the shipping container. Needless to say, thick carboard plus tons of foam means that Mr. Murphy will have a hard time raining all over your parade. No matter if you are shipping it across the country or all the way around the world. Just the way it should be.

The accessories that come with the Corsair 5000D are both extensive and exhaustive. In addition to the usual odds ‘n’ sods like screws, installation pamphlet, etc. Corsair also includes twelve Velcro tie-down straps, a low-profile PSU shroud and even a 90-degree USB 3.1 internal header so as to allow for a tidier and downright clean looking final build.

Of these included accessories it is hard to tell which we like most, but the low-profile shroud certainly is right up there as it neatly negates a common problem with mid-tower cases: three-fan long radiator compatibility. Typically, when a mid-tower boasts of front mounting 360 AIO compatibility what they usually mean is you can technically fit a long rad here but good luck attaching all three fans to it or getting enough air to said fans for them to properly do their job. This is where this seemingly simple molded plastic accessory comes into play. It frees up a veritable ton of room at the front of the case and will allow you to fit basically any 3-fan long rad and have it work optimally. In a mid-tower case. Color us impressed… even if it does mean that any HDD/SSD’s in the dual-drive cage will get nearly zero air flow. I.E. The only way to get any airflow here is by using negative air pressure and hoping it is enough to suck the heat up and out of this area via the ‘ventilation’ slits that located over the top of the PSU area.
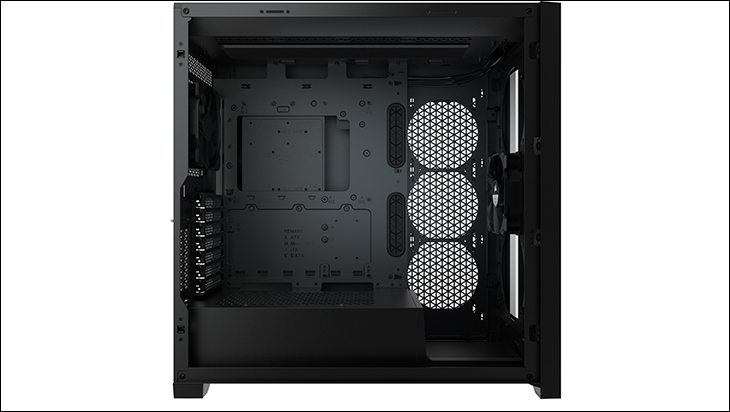
Also noteworthy is this low-profile shroud further allows long three-fan AIOs and radiators to fit at the front left of the case. In other words, you have not one (top), not two (front or top) but three mounting options for long, long water-cooling solutions… as this bad boy can mount 3x120mm fans or multiple 140mm fans. Meaning that all but the longest, widest radiators will work and work without any asterixis. Now that is impressive given this is technically a mid-tower case.
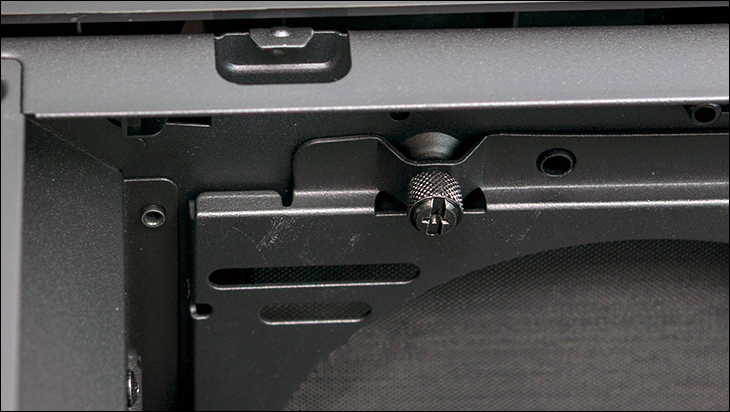
Also impressive is how well thought out the water-cooling options are. Corsair did not just make it accept three different locations for radiators / AIOs and call it a day. Instead, they also made the front radiator mounting bracket easily removeable (the side rad bracket is also removable… but not nearly as easily as you will need to use a screwdriver). So instead of wrestling the rad into the case, then slowly attaching 12 screws through the fan and radiator… you can simply unscrew a couple large ‘thumb screws’ remove the proper bracket, attach it to your cooling solution and then put the entire works back in and screw in a couple screws. Much faster. Much easier. Much less chances of Mister Murphy nuking your new system via slipped screwdriver or bumping your motherboard.
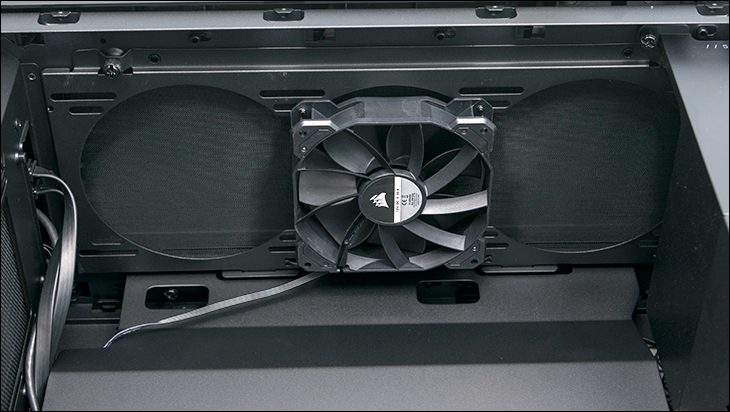
The only minor issue we have with this tri-mounting option setup is that if you want to use the side mounted radiator location you will have to remove that very sweet motherboard cable cover that also covers the side rad holes and buy then install fans in the front and configure them for exhaust. I.E. use a “back to front” negative pressure airflow pattern. Otherwise, it sucks the air from the front, out through the side rad and basically reduces the airflow over the motherboard and video card area to a trickle. In testing the standard ‘front to back’ air flow configuration resulted in M.2 drives and video card temps being noticeably higher than we would like to see. So use enough fans and reverse the flow for best results. Do that and while dust will find its way past the filters, internal temperatures will be much, much better.
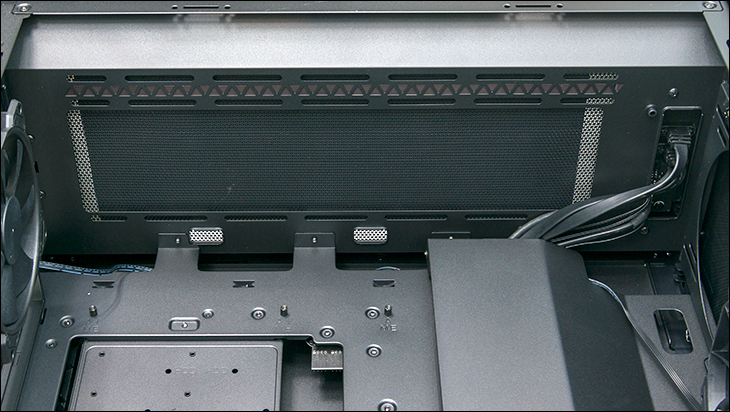
For most buyers this is going to be a non-issue as they will mount their lone AIO or water loop’s radiator at the top of the case and use the front or side mounts for the pump and reservoir. Here, Corsair has gone with an interesting configuration. Basically, there is an approximate 30mm gap between the top of the motherboard area and the ‘top’ of the case where you will mount the radiator. Then on the other side of the internal ‘top’ you will mount your fans which is more than big enough for 25mm thick fans. Obviously, this means uber thick AIOs like Alphacool Eisbaer are non-starters… but this is a mid-tower case. Albeit a mid-tower case with more internal room for water cooling than many ‘full tower’ cases.
