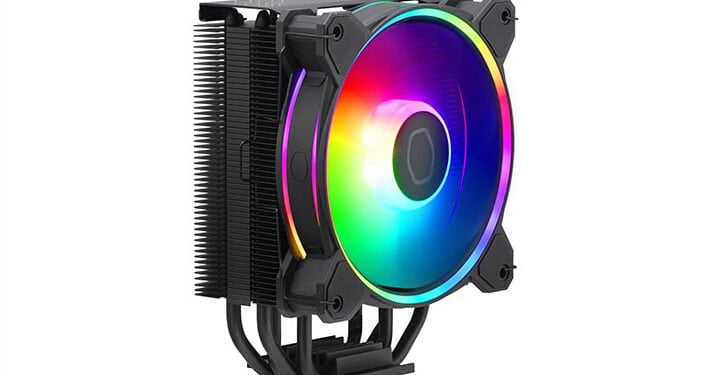
Let’s be real, the Cooler Master Hyper 212 series may have been downright revolutionary when it was released. It may be downright amazing in its longevity. Even today it may even be a good, safe choice for a wide variety of builds. These are all things widely known about the Hyper 212 series. Sadly, what was also widely known, was the fact that the installation process was mediocre when it was first released and has not really gotten any better over the years. This not to say the hardware or process got worse with each revision, rather it was because in the past decade the rest of the industry stepped up their game and improved enough that the Hyper 212 fell further and further behind.
Counteracting all that was the fact that the ‘212 was a hell of a deal. When you are talking 20 or 30 dollars (USD) for good (enough) cooling… well system builders are willing to put up with a mediocre (at best) installation process. Sadly, in the intervening years the Hyper 212 series has gotten much more expensive. Mix in Chinese clones with as good, and sometimes arguably better, installation process and well… an “old school” installation process is no longer good enough. For some that line is at the $40 mark. Others… the $50. Thankfully, and unlike with the circa 2019 Hyper Black edition, the 2023 Hyper 212 Halo Black has been upgraded. Upgraded with not only noticeably more robust hardware… but also easier to work with hardware.
The impact of this one-two combination can not be overstated. It does turn a mediocre install process into on that is good decent, bordering on being great, by even modern standards. Hopefully, for the next generation they will get away from the whole ‘flip it upside down to install a tiny screw to secure the bracket to the cooler’… and either go with a top bracket that does not require one to first secure it to the cooler before using it or more optimally still use their own MasterAir method of having the securing bolt baked right into the cooler itself. In either case the Hyper 212 Halo Black is much improved.
This however is getting ahead of ourselves. Let’s back up and start at the beginning and walk through the entire process.
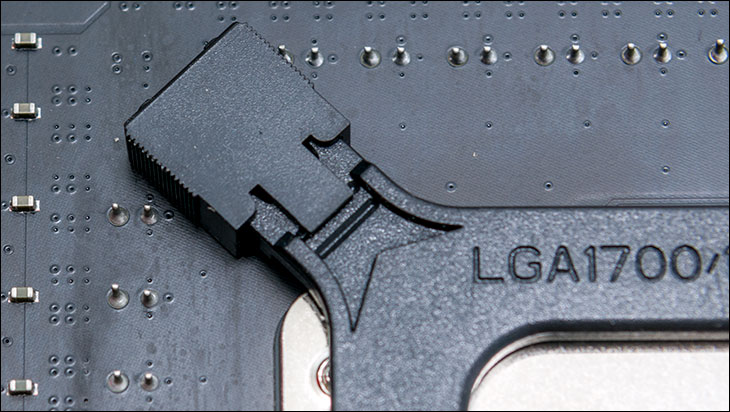
We personally like to start by prepping the motherboard before starting in on a given cooler. In the Halo Black’s case this means either emplacing the Intel backplate or first removing the AMD’s two ‘stock’ top brackets. Since we are using an Intel Socket LGA 1700 based motherboard we simply had to slide the post coverings in each corner to their proper spot (1700 is towards the outside edge, 1200/115x is in further). Then place the polymer backplate on the back of the motherboard so the posts go up and through the proper holes in the motherboard. This amount of backplate prep is better than earlier models, that some of the clones still use, and literally takes seconds.

Before moving on, yes… the polymer backplate design has also been carried over (albeit with 1700 compatibility baked in) from previous Hyper 212s. We have no issues with this. This is not a 1 Kilogram cooler that needs all the support it can get. Neither is this a bad backplate that one should be worried over longevity concerns. Similar polymers have been used in Sig, Glock, H&K, and a ton of other poly pistols over the years. So polymer is more than ‘good enough’ for a lightweight cooling solution.
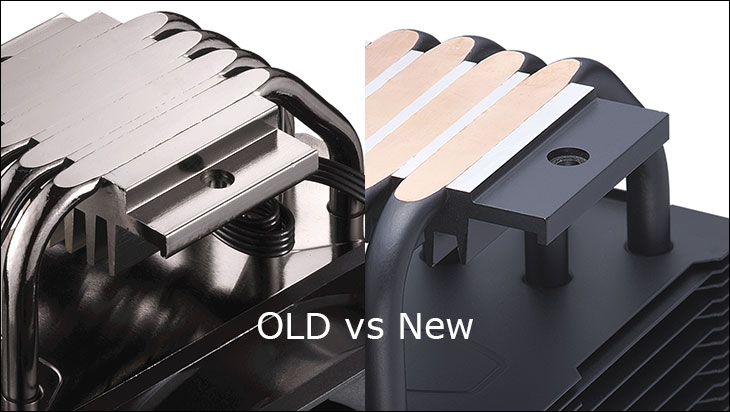
Moving on. In previous Hyper 212s the top brackets would then have to be mounted to the cooler itself. Depending on Intel or AMD flavored systems these backplates would look entirely different but would share one thing in common: being a royal PITA to install. Part of it was the bent and crooked nature of them, part of its was the shear flimsiness of them. Part of it was the teeny tiny screw. Hell, even the randomness of trying to line up a hole in the cooler with a hole in these brackets could be frustrating. All in all… the process felt cheap. Cheap and frustrating.
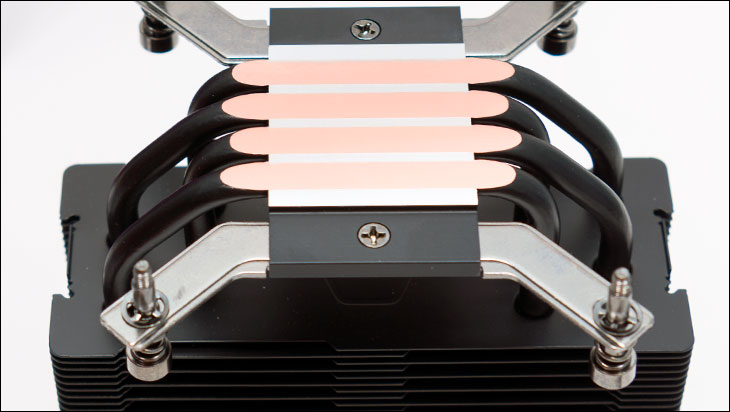
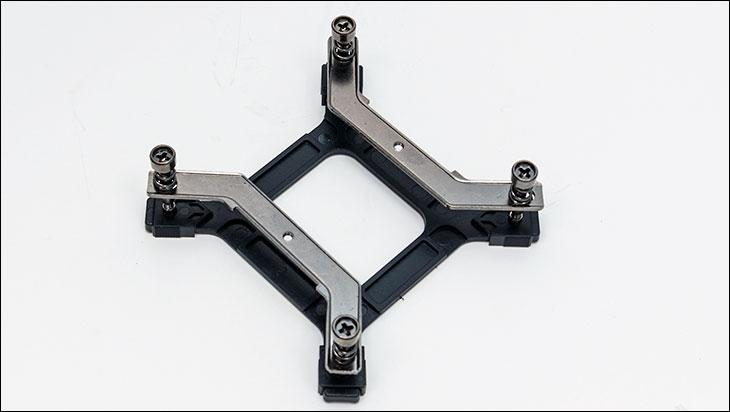
The Halo Black solves most of those issues and complaints. First the Intel brackets are not bent in the middle. Nor do they just slip slide around the bottom of the cooler’s “wings”. Instead, these noticeably thicker brackets are basically straight (in the z-axis) and slide into a slot in the top of the coolers base. So instead of worrying about two (arguably three) axis of movement one need only worry about one axis. As such, while you still have to line up the holes and use a small screw to secure them, the entire process is not only faster, not only easier… but it does not feel cheap. It feels like hardware and an installation process you would use with a $50 cooler. As it should, as this is a fifty-dollar cooler.
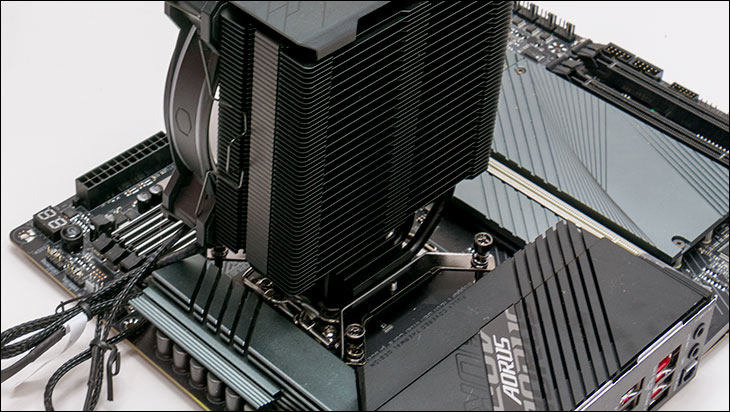
Moving on. With all the hard parts either done… or eliminated from the installation process all one must do is apply some TIM to the CPU, and then gently lay the 212 Halo Black in place. We recommend a quick twist left and right to squish and spread the TIM (if you have not done a full coverage TIM application method), and then line up the integrated mounting bolts with the posts in the four corners. Using a diagonal rotation (we recommend ½ turn per bolt, per cycle) lock the new Halo Black beast in place. Since the bolts are not only pre-installed but come with tensioner springs you do not need to worry about over-tightening them. Crank ‘em down till they hit their ‘stops’.

Then using the wire fan mounting brackets… mount the fan. Yes, ‘wire’ is an old school method of securing a fan to a cooling tower. Yes this is a reversal of hardware compared to the plastic brackets that the RGB Black Edition used, and goes back to the way the older 212s mounted fans. We have zero issues with this reversal. Wire simply works. It works the first time, every time. All without worry over some catastrophic failure of some custom piece of plastic that makes your $50 cooler a paper weight. Either way, plug in the Ye Old 4-pin fan, and the new auto-sensing ARGB cables and you are done.

Taken as a whole, the improved aesthetics and the improved mounting hardware, combined with the same great thinness (which can not be discounted as much like a Noctua ‘Slim’ there are zero worries over both RAM height and motherboard heatsink height) makes this the easiest, quickest, most pain free Hyper 212 cooler we have ever had the pleasure of installing. Color us impressed… and yes. These improvements do go a long way to not only justifying the increase in price but justifying opting for the improved blueprint over a less expensive clone.
