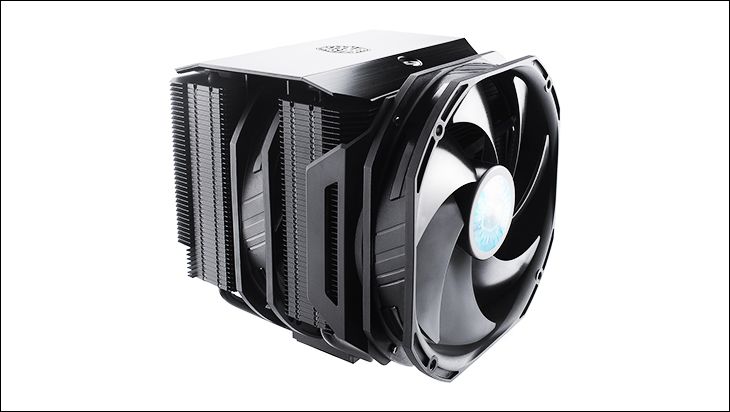
Let us start by stating that we are judging the MasterAir MA624 Stealth against other dual tower beasties… not itty-bitty single towers like Noctua U14S or Cooler Master Hyper 212’s. These big boys come with big boy problems and even the best of the best of the best are more difficult to work with than all but the worst of the lightweight air-based cooling solutions available today.
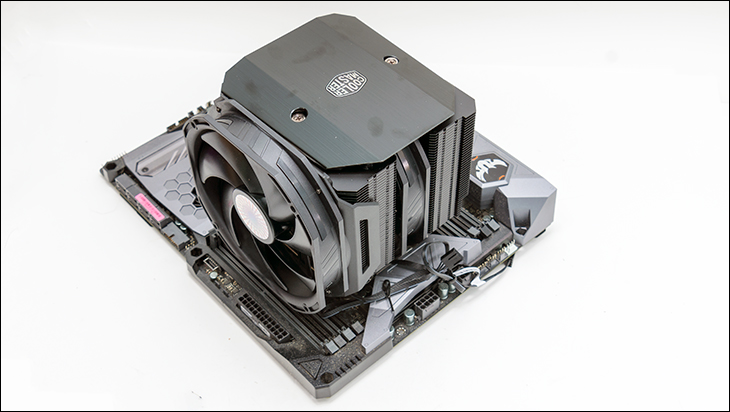
The above caveat is needed as the MasterAir MA624 Stealth is rather easy to work with… for its class. Cooler Master went out of their way to make things as easy as possible and it shows. For example, most dual towers which come with integrated top fascia / ‘plates’ are a bloody nightmare to work with. The MasterAir MA624 Stealth on the other hand is almost as easy to install as a Noctua D15. We say almost as easy as there are a couple finicky portions that Noctua eliminated… and there is one or two user-friendly ideas that do not work out as well as Cooler Master had envisioned.

This however is getting ahead of ourselves. It should come as no surprise, as this is a heavy cooler, that the foundation upon which the MasterAir MA624 Stealth is built is a custom, multi-purpose backplate that is used for (near all) Intel and all AMD socketed motherboards. The only exception is Intel HEDT motherboard owners who use the integrated “Intel” backplate that came with the motherboard. In an ‘interesting’ (but not in a good way) twist Cooler Master has gone for a polymer ‘all in one’ backplate. We typically do not like putting the words ‘polymer’ and ‘over 1.5KG’ in the same sentence but this backplate is not made from cheap plastic. It is made from an advanced polymer that allows it to be both flexible and yet sturdy enough to handle the weight of the MA624. This is not as comforting as a good old hunk of metal but decent none the less.
Moving on. Where it is multi-purpose, one side is for Intel and the other is AMD. To get it ‘right’ make sure the side with the manufacture is facing towards you when it is installed on the motherboard (i.e. on Intel systems… make sure you can read Intel on the bottom, if AMD the AMD side will be pointing down and away from the motherboard).
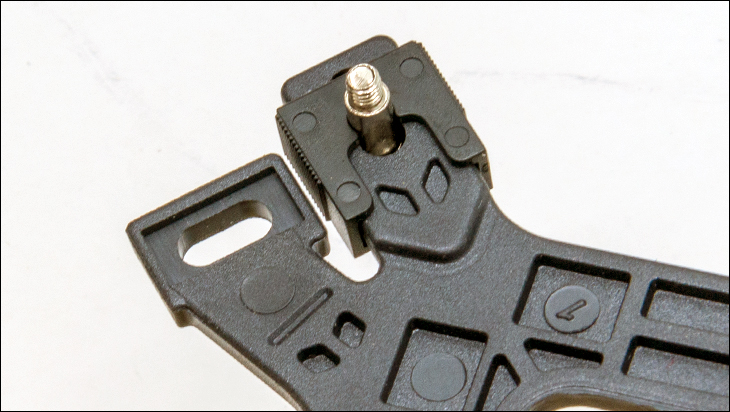
In either case, grab the four metal posts and thread up and through the proper holes (Intel are the long but narrow posts, the AMD are short but fat). Then grab the four appropriate plastic locking tabs (once again long and narrow = Intel, short ‘n’ fat = AMD) and slide them on to lock the posts in the proper position. Personally, this is an old-school way of doing things that is needlessly complicated and less than 100 percent stable. More modern variants use captured posts and dedicated Intel and AMD backplates.

Moving on. If you are using AMD systems… you will have to remove the two top plastic mounting brackets before you can actually install this backplate. Once this is done, assuming you needed to do so, screw in the appropriate double ended bolts. Then install the two top metal brackets. There are four in the box. Two for AMD, and two for Intel. Make sure to pick the right ones. Depending on if you want front/back or north/south orientation how you install the two metal is critical. For example, with Intel for front to back air movement you want to install them… pointing up and down not front to back of the motherboard.
Things get a bit tricky here as you then must secure the brackets in place via small nuts. They are knurled so do not use a screwdriver. Use your fingers to start them. Obviously when finger tight we would then crank them down with a screwdriver but if start with a screwdriver you may cross thread them and there are no replacements included.
We are unsure if it is the backplate flexing or the brackets flexing but the end result is a bit… too flexible for our peace of mind. It does however get the job done. This setup just will never be accused of being overkill like what Phanteks or Noctua use.

The next step would be to clean your CPU and then apply some TIM, but we would recommend double checking the orientation of the two top brackets before doing this. So, take the extra moment and gently place the MasterAir MA624 Stealth over the CPU and make sure the integrated captured bolts align with brackets. If they do not, remove thee MasterAir MA624 Stealth and the top brackets. Then rotate each top bracket 90-degrees. Then apply the TIM and move the MasterAir MA624 Stealth back into position.

One the one had we love the fact that you do not have to remove the centrally located fan to install this big boy. We even love the integrated bolts that run all the way from the top of the fin arrays (albeit slightly recessed so as not to ruin the good looks of the MA624). What we do not love is the included screwdriver. Either our sample’s screwdriver was improperly sized/manufactured or the bolt heads were wrong, but using the handy dandy included screwdriver is a good way to scratch the hell out of the top metal fascia’s paint. Before throwing it out and using a normal Philips screwdriver we spent more time trying to keep it in the bolt heads than actually turning said bolts. So, while we do give koodos for including a screwdriver and integrated bolts, the implementation does leave a bit to be desired.
On the positive side the two bolts are captured, and you cannot overtight them… so have at it. One full twist on one side, one full twist on the other and rinse ‘n’ repeat until you can not tighten either screw anymore.

Next, you install the second fan. If you plan on going the 140mm route simply grab it, move it to the height you want and push until you hear a ‘click’ from both sides. Then double check to make sure both locking tabs are fully engaged. In testing it is about a 40 percent chance of them doing so on the first try (based on a sample size of 10 tries). Typically, you will have to poke and prod them to fully engage.

If you want to use the included 120mm instead of the 140mm fan (and we probably would go the 120mm route due to decreased RAM combability issues and lack of fins covering all 140mm worth of air movement) you will have to peel off the rubber dampeners and remove all four screws holding these pieces of plastic in place on the fan. Then put them on the 120, reinstall the dampeners and waste a bit of time because Cooler Master decided owners of their product really did not want/need/desire three fan mojo goodness. Once again… a great idea with less-than-ideal implementation.
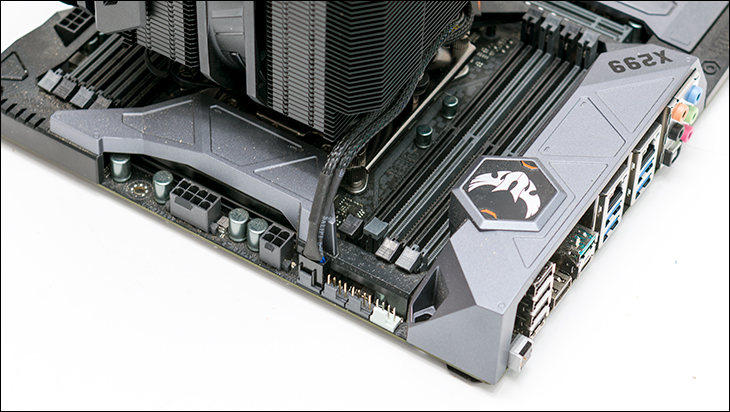
Then plug in the fans to your motherboard header(s) and you are good to go.
Overall it is not perfect, but most of the MA624 Stealth’s issues are more annoyances than deal-breakers. Go into the installation stage knowing what to look out for and you will have a (relatively) easy time of it. Just understand that these big boys are not something you can just slap in and be up and running.
