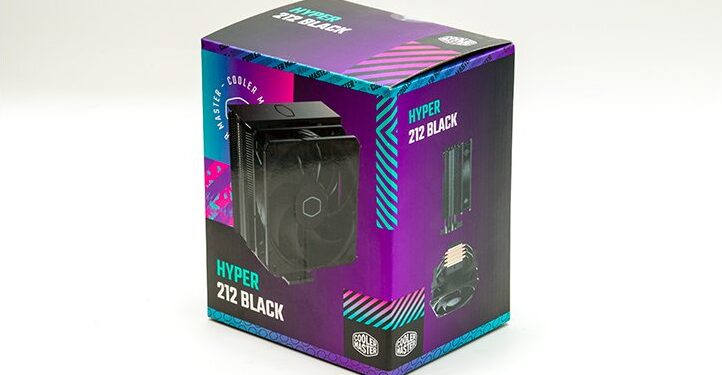
Over the years Cooler Master’s engineers have spent a lot of time, money, and effort in refining their entry level cooling solution’s ease of installation. After all, as the budget constrained cooler of choice for many years a lot of novice system builder’s introduction to the world of PC building included a random flavor of Hyper 212. As such, and unlike many other companies, Cooler Master realized that they not only had a fiduciary duty to make things as easy as possible, but a moral obligation to the next generation. This is why the Hyper 212 Halo set the standard for ease of installation and why the new 2023 Black edition does not mess with a good thing. Instead, it takes from this ‘Halo’ variant and carries over these tweaks to the blueprint and solidifies them as the Hyper 212 installation process going forward.
This reusing of both the hardware and methodology of a more expensive model on future inexpensive models is not a Good Thing™. It is a Great Thing. The Hyper 212 Halo B/W editions are some of the easiest to install air cooling solutions available as they even make other Hyper 212’s look overly finicky and complicated in comparison. Some of this has to do with the fact that there are basically only four steps (arguably three if one does not include the fan installation) to the whole shebang. Of these four steps really only one can be messed up and even then, it will not cost a novice much time, nor cause them to think system building is overly hard… as it is an instant negative feedback loop.
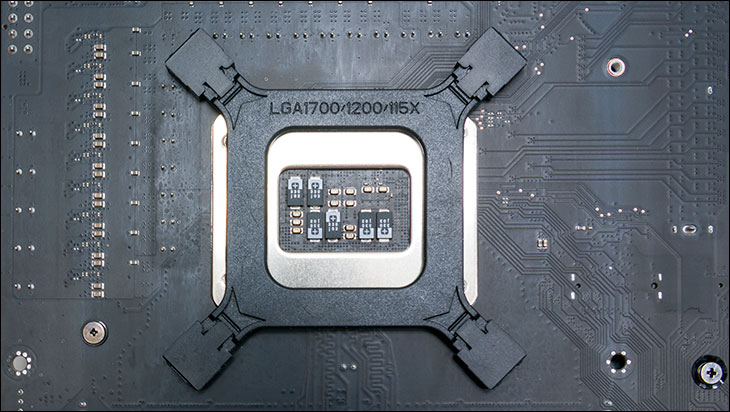
That is getting a bit ahead of ourselves so let’s start at the beginning and “work the problem” from start to finish. The first step is to prep your motherboard and (if necessary) install the backplate. For AMD users that (may) mean removing the top brackets and using the stock AMD backplate. For Intel users it means prepping the included polymer backplate and then laying it in place.

To be precise Intel users need to move/slide the four already attached posts to the proper location at each corner (1700 is towards the outside edge, 1200/115x is in further). Then place the polymer backplate on the back of the motherboard so the posts go up and through the proper holes in the motherboard. This will take mere seconds and is not an onerous task by any stretch of the imagination. Thus step 1 of 4 is complete.

Step 2 is where things go in a different direction compared to most air-based CPU cooling solutions. With most other models the next step would be to firmly attach said backplate to the motherboard via bolts and a top bracket. Typically, that also would take a few seconds and not be overly difficult and at which point installers would move on the coolers mounting hardware step. The Hyper series does things differently as this top bracket is attached directly to the cooler and thus combines two steps into one. The upside is one step is easier than two steps.
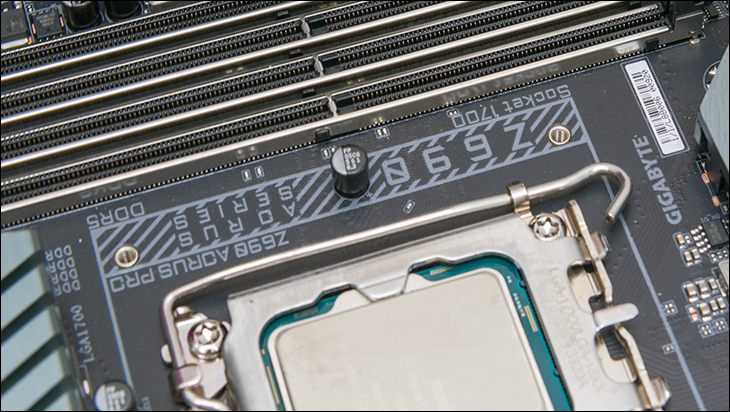
The potential down side is two-fold. The first is the backplate is just sitting there and it can be difficult to install if the motherboard is already mounted in the PC case (e.g. one is upgrading the cooling solution and it is not a true ‘new build’). That is not a deal-breaking issue and it just means either having a helping hand hold the backplate in place or using a bit of tape to hold the backplate in place until you do secure it (and then removing said tape). The other issue that plagued earlier Hypers was the fact that installing those backplates onto the base of the cooler was a major PITA with small screws and a learning curve to what was the proper orientation for them… as they could be installed backwards.

The Halo solved the first by using a bigger screw and installing it up from the bottom instead of down from the top. Mix in better hardware and the 212 Hyper Halo edition(s) was easy mode compared to both previous Cooler Master Hyper 212 models and the Clones. Thankfully the 2023 Black series also uses this methodology. What this means is the Cooler Master engineers took the feedback from earlier models and the top brackets are now properly keyed. Yes. If one pays careful attention, you will see that that this top bracket arm can be installed in only one orientation as the ends ‘hug’ the robust hunk of alloy that is permanently attached to the Hyper 212 Black’s base. As such. If you can follow Ikea “place slot A into tab B” level installation methods you will be golden.

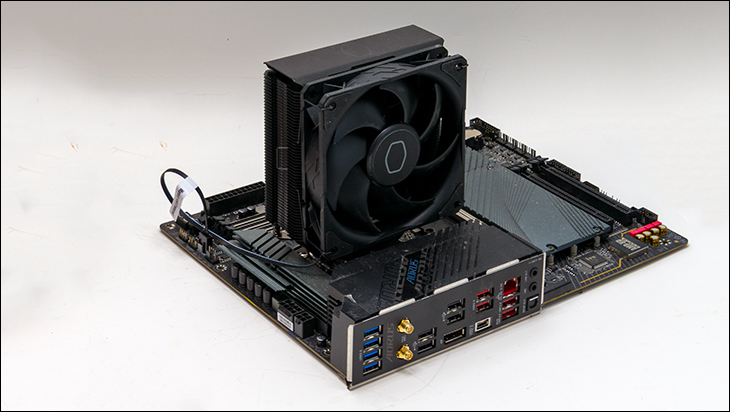
Step 3 is to prep the CPU with the included multi-use tube of TIM. Gently place the cooler in place while lining up the integrated mounting bolts with the posts in the four corners. Then using a diagonal rotation (we recommend ½ turn per bolt, per cycle) lock the new Black 2023 in place. Since the bolts are not only pre-installed but come with tensioner springs you do not need to worry about over-tightening them. Crank ‘em down till they hit their ‘stops’.
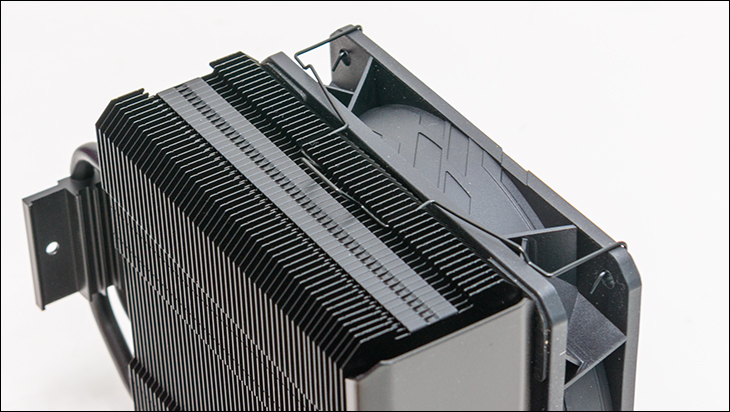
That just leaves step four. Attaching the fan. Using the wire fan mounting brackets is a breeze and rather difficult to mess up. If one does… the fan will not mount to the tower and is thus a self-reinforcing process. This is why most coolers use wire and we are glad to see Cooler Master continue to use this ‘old school’ mounting method on the new 2023 Black. Plug in the 4-pin header for said fan and you are done.
Taken as a whole the combination of excellent installation process with rather robust hardware makes this ~40 USD Hyper Black well above average in the installation process. So above average it makes it feel like a much more premium cooling solution than its MSRP would lead one to believe. Color us impressed… and yes. These improvements do go a long way to eliminating and reason to ever use a Clone instead of the original.
