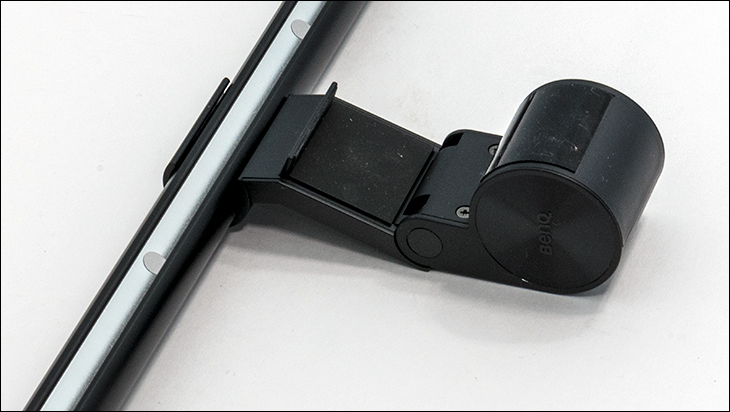
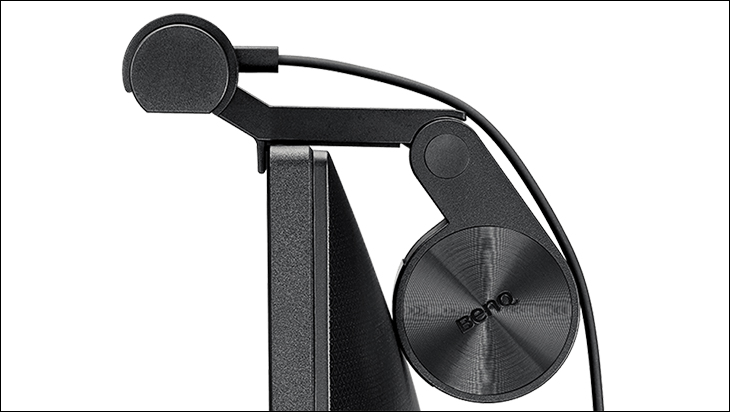
To actually install and start using this ScreenBar requires very little effort, but a bit of thought. That however is getting ahead of ourselves. To start simply grab the light bar and point the LEDs directly down. Then place it in the special lightbar holder and open the holder to its maximum expansion of about 1.2’ish inches.
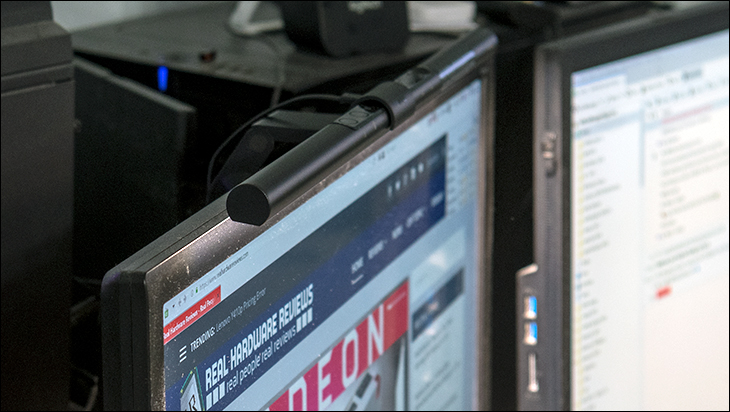
With this ‘very hard’ step completed place the entire works in the center of the top edge of your monitor. You can eyeball it as it doesn’t need, need to be perfectly in the center. In fact, if you wish you can have it offset to push more light to one side of your work environment than the other – say if your monitor is on the edge of your desk and you the use the rest for paper and documents.
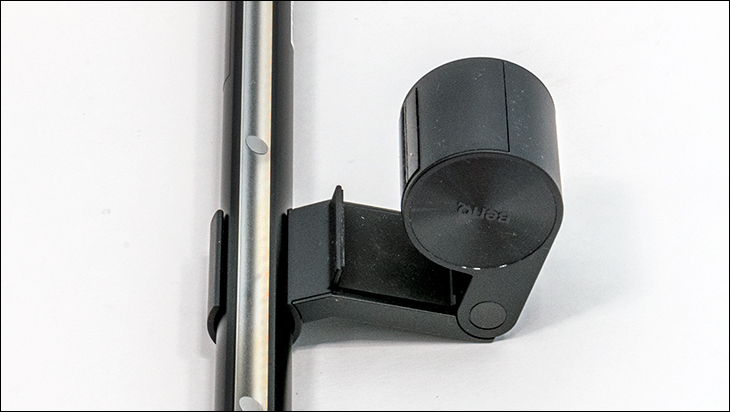
With that done gently squeeze the holder till it is firmly against the back of the monitor. This round heavy end is basically a counterweight and sheer weight combined with friction keeps it in place. Then you plug in the included USB cable to either a free USB port or a USB wallwart/power adapter/etc. that can provide 1A of power – for example our CyberPower 6port power bar comes with two USB ports that offer 2.1A of power.
Then you turn the bad boy on by pushing the button. At this point you need to do two things (and thus the brainwork comes into play): adjust the temperature/color of the light output, and the brightness level. Personally, we would start with the color of the light while it is at maximum output. Basically, what you want to do is adjust the temperature until you can not see a difference in ‘color’ between your existing light sources and the ScreenBar’s output. This will further reduce eye strain as the light sources will blend and not compete. So if your existing light source is ‘yellow’ and the ScreenBar output is blue’ish white… it will be distracting and can confuse your eyes over a period of hours (short term it really makes no nevermind).
With that accomplished you then should adjust the output. This is via another simple button on the top. Once again, under typical circumstances, you want to add to your existing output but not have a spotlight/floodlight zone of light coming from the ScreenBar. Put another way, you want to compliment and ‘blend’ the light sources. This way your irises do not need to expand/contract every time you look from the ScreenBar light zone to the rest of your area. Of course, if it is your only light source… you won’t be able to blend. Instead you will have to decide how much light you want/need/desire and balance light output with iris contraction/expansion… as this is what causes a lot of eye strain to say the least.
With these two decisions taken care of there is just one last thing to do… adjust the light zone. This is where things get tricky. In theory the LEDs in the ScreenBar are focused and delivery a fairly narrow cone of light. The reality is they still create a cone of light so if you plan on using this lightbar on a monitor that is in vertical mode (aka “taller than it is wide” / 9:16 mode) you may get glare along the bottom edge of the monitor even when adjusted out as far as the ScreenBar will swivel. If you plan on using this on a curved monitor… you are going to have a bad day. On a typical 27 to 30 inch it is fine. There will be a bit of dead zone directly below the monitor but it will give a surprisingly decent amount of light in the area in front of the monitor without any glare hitting your eyes. Those are the two big caveats to this device (it wont work on all monitors, and all form-factors).
With all that accomplished… you are good to go.


