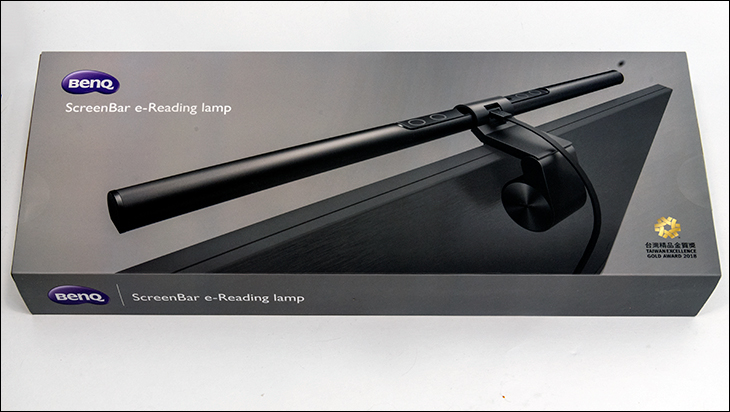
The shipping container the BenQ ScreenBar comes in is best described as large but not ungainly. The easiest visual comparison is to imagine a keyboard shipping container and upsize it. Put simply this box is surprisingly large considering the BenQ ScreenBar is rather svelte to say the least.
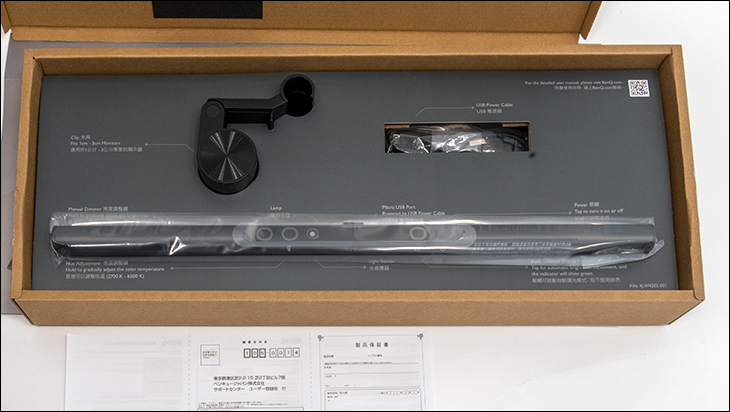
This is because BenQ wants to ensure it safely arrives at your door no matter if it is transported across town from your local brick ‘n’ mortar store… or around the world and through a war zone. Yes, it is robust and its protective abilities are impressive. Also on the positive side, is the box is covered with details and even if this just simply catches your eye on the store shelf and you know nothing about it… you will after just a few moments reading all about it on the back of the box.
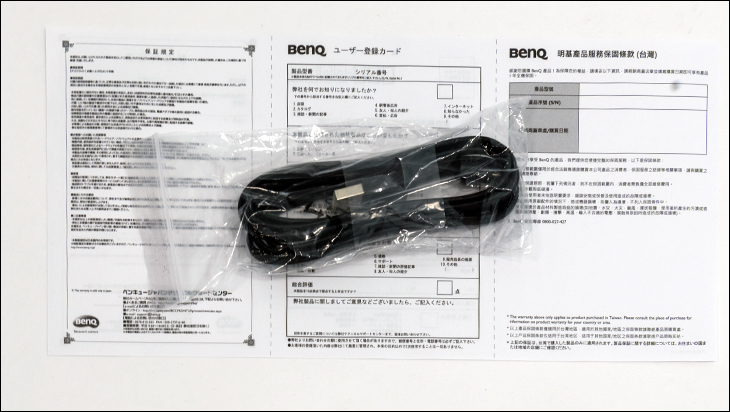
BenQ’s ScreenBar designers did not waste much of their budget on accessories and as such if you are expecting a door hanger, case badges or any other goo-gaws that, just needlessly in our opinion, increases the MSRP you will be disappointed. We are not. Instead expect to find a five foot long microUSB cable, warranty pamphlet… and not much else inside the box besides the two main parts of the BenQ ScreenBar.
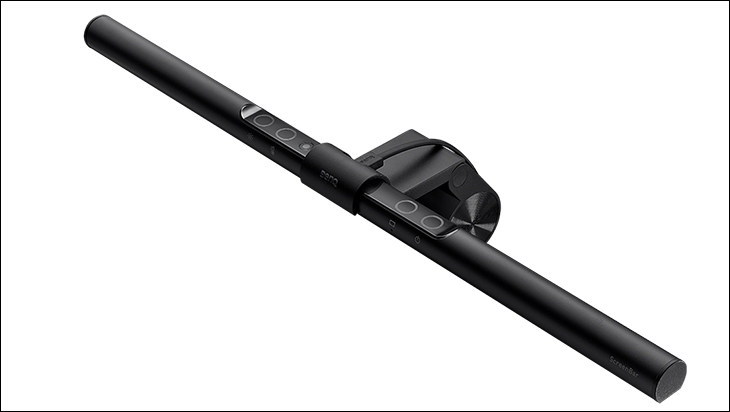
These two parts are of course the 18-inch long lightbar and the holder / base of the ScreenBar itself. The lightbar portion is just that… a lightbar. To be more precise it is a long thin tubular LED based light bar that has numerous LEDs with a maximum output of 320 Lumens. More impressive still is these LEDs are tunable in their color/temperature output.
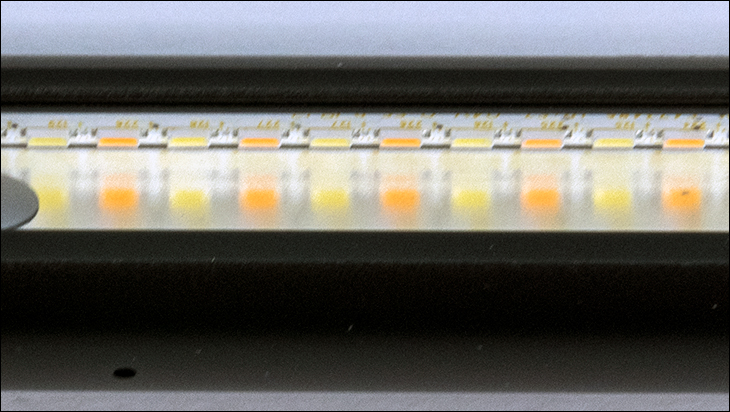
It does this by the use of two different types of LEDs. When only one set is on the end result is a warm color, when the other is on its ‘warmer, and when both are on (though at lowered output) it’s a medium temperature light output.

What this means is that they can be ‘tuned’ from a ‘yellow’ 2700K light…

To a moderate 5000K (that most people are used to via CFL or LED lightbulbs)…

All the way to a blue’ish white 6500K Kelvin light source… for a total of 8 different color/temperature output types. Not bad for just two types of LEDs.
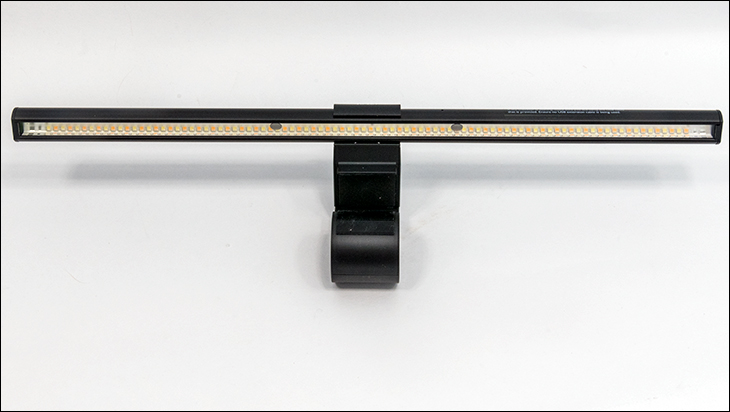
With that said while it can go ‘blue’ish’ the ScreenBar is IEC/TR 62778 certified and is officially deemed to be blue-light hazard free. So, at its worst it’s not that blue in its color output. This is why the ScreenBar only has a CRI of 80 vs mid-90s for ‘full spectrum’ type LEDS – as they have removed the extreme end of the blue spectrum for the health of your eyes.
Equally important is the LEDs do not flicker when their power input is lowered. Instead the LEDS simply dim and not blink in order to lower its output (its actually IEEE PAR 1789 regulation compliant). These two features are key to making a light source that actually reduces eye strain while it increases overall lighting.
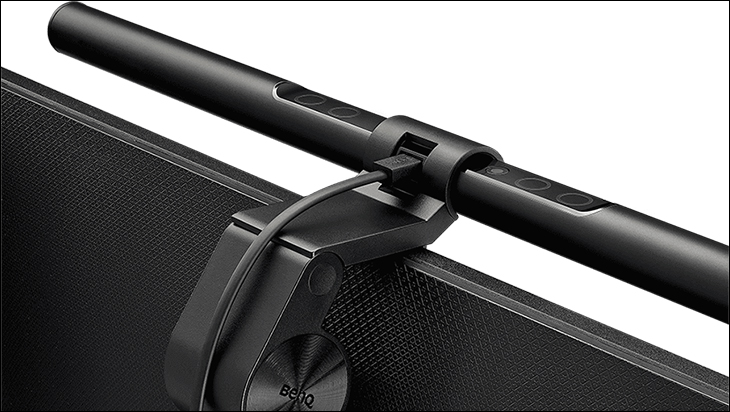
As the lightbar is tubular shaped it not only is output and temperature adjustable but can be swiveled so as to adjust where the fairly focused light covers your desk environment. This is important as it will increase the light near and around your monitor but will not bounce much (if any) of this light off your monitor. Basically, you can get more light where you need it but without increase screen glare. As for the footprint size of the light BenQ states it will be 35cm deep by 74cm wide. Of course, this will vary depending on how far off the desk the lightbar is (e.g. expect it to be less on a 19inch monitor at its lowest height setting compared to a 30inch monitor that is at its maximum height extension).
To get the LEDs (which are not exactly directional all by themselves) BenQ has placed the LEDS on one edge of the inside of the ScreenBar and angled the LEDS towards the top of the inner edge of the ScreenBar. The light then bounces off a mirror statically place here and it is the angle and position of this mirror that focuses the light. All in all, it is pretty nifty way of focusing the LED light into a narrower arc.
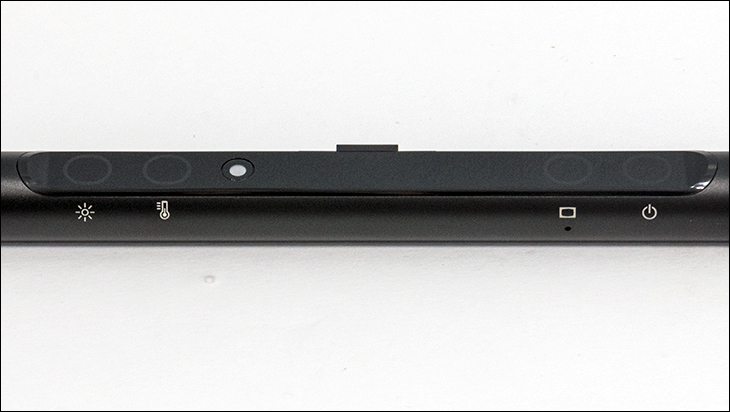
Interestingly enough the input / controller buttons are actually located on the ScreenBar’s lightbar portion. Yes this part is not just a dumb lightbulb but rather also houses the controller and power circuitry – remember the LEDs themselves are dumb and require constant ‘adult supervision’. In grand total there are four buttons and one light sensor (more on this addition in a moment). From left to right these capacitive touch buttons are brightness, color temperature, ‘auto’ output, and the power on/off button. Since these buttons do more than one thing to adjust say the color temperature you do have to cycle through the (eight in the case of color temperature) options to get to the setting you want (for example it goes 1,2,3,4,5,6,7,8,7,6,5,4,3,2,1 in its cycle). This is the downside to such a sleek and svelte design. Thankfully it is not that big a deal and will only take a moment to cycle through them, but expect to overshoot a few times until you get the hang of it.
The auto dimming feature works hand in hand with the built-in light sensor so as to offer a best guess on how much light your environment ‘needs’. This feature is going to be hit or miss. When it works it works great… but when it doesn’t it always guesses higher than needed. It really will depend on your environment, the location of the other light sources in said environment, and if the sensor is in a shadow zone, on how good it will be. Thankfully it can be ignored if you so choose.
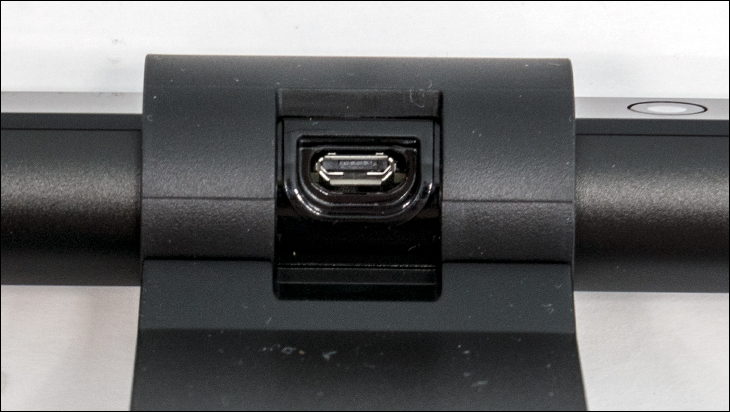
Located in-between the light sensor and the auto dimming button, is the microUSB power port. Yes this device can provide upwards of 320 Lumens but only requires 5watts (at 5v… aka 1amp) of power to do so. To put this in perspective the typical LED bulb that fits in a typical medium base socket requires 4.5watts watts to hit 320 Lumens, and is considered a “20 watt” replacement bulb. So yes this is an efficient design that does not have much overhead to say the least.
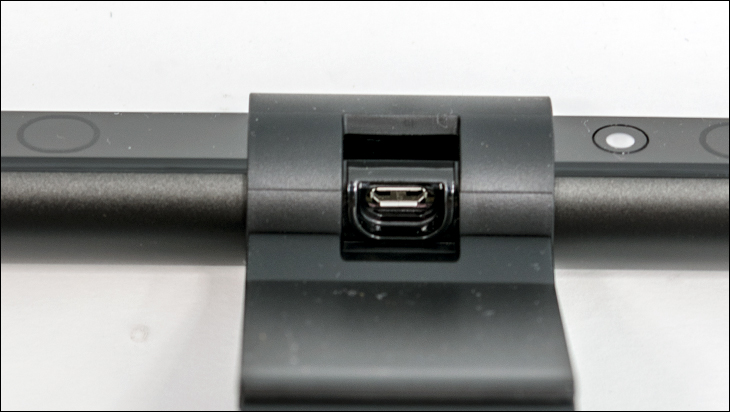
This USB power port however is the weak link in the ScreenBar’s design. Since the USB plug has to be plugged in here the amount of swivel adjustment to the ScreenBar is a touch limited (twenty degrees in total).
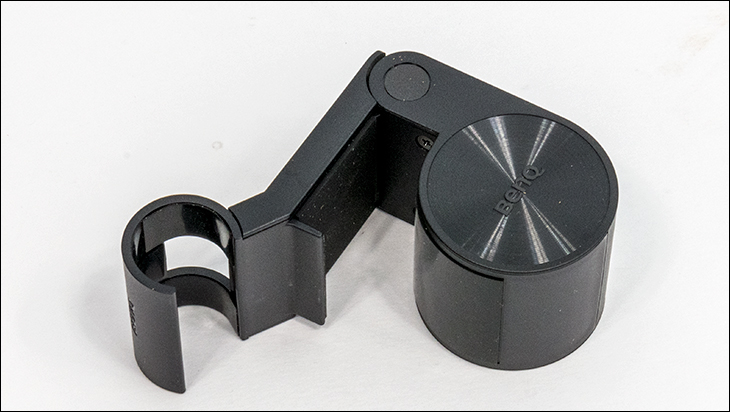
Moving on. The base actually does two things. The first is it holds the ScreenBar in place over the edge of the screen. This is accomplished via a clamp affair (and is why the ScreenBar can swivel). The other is to keep it there hanging over the top of your monitor. It does this via two things: weight and friction. Basically, instead of just using a large and heavy counterweight hanging off the back (and lower than the lightbar) this portion also acts a spring-loaded clamp. A clamp that can accommodate upwards of 3cm thick monitors. Mix in some strategically located rubber and a small lip at the front edge and this clamp with weight affair results in a rather stable platform than can take the occasional knock without the ScreenBar falling off the monitor and slamming into your desk.
With that said we would remove it before… aggressively adjusting the monitor’s screen height and certainly would hold onto it before swiveling the monitor from left to right. Overall though, this is a well thought out design that does a pretty good job at providing light where you need it. In testing it worked and worked very well without being obtrusive. In fact, after a couple minutes of use we forgot all about it and just got on with our work… just like it should be.


